At a glance
Floor insulation is often described as the forgotten measure – behind loft insulation and wall insulation in the public consciousness, but capable of making a significant difference to comfort in homes with suspended timber ground floors. The characteristic cold draught coming up between floorboards, the floor that never quite warms up even with the heating on, the rooms that chill quickly when the boiler turns off – these are all signs of an uninsulated void beneath the boards through which cold air from outside circulates freely. In pre-1930s houses and many inter-war properties, suspended timber floors over an underfloor void are the norm on the ground floor, and insulating that void is one of the most effective comfort improvements available. Estimates from the Energy Saving Trust suggest that heat loss through the floor accounts for around 10-15% of total heat loss in an uninsulated older home, making it a meaningful target even if the absolute energy saving is smaller than loft or wall insulation.
The annual energy saving from floor insulation is modest compared to loft insulation or cavity wall insulation – typically £40-£70 per year for a three-bedroom semi-detached house at current energy prices. The real benefit is in comfort rather than bills. Insulating under floorboards raises the surface temperature of the floor, eliminates the cold draught that moves through uninsulated gaps, and reduces the amount of heating energy lost downwards. For households where cold floors are a daily irritant and draughts around the skirting boards are persistent, it is a highly worthwhile improvement even if the payback period in bill savings alone is long.
Do You Have a Suspended Timber Floor?
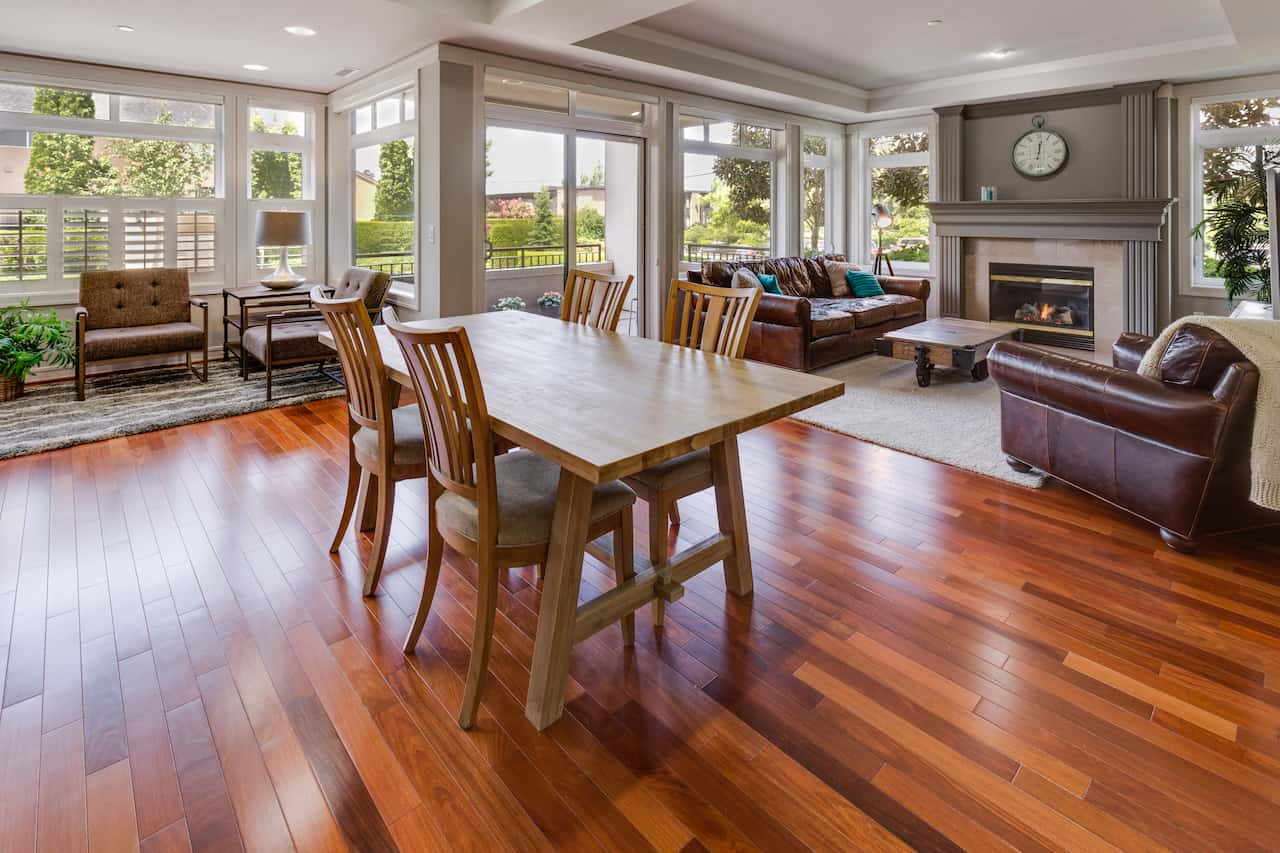
Floor insulation under boards only applies to suspended timber floors – boards laid over joists that sit above an underfloor void or crawl space. Solid concrete floors, beam and block floors, and floors on a direct screed cannot be insulated in the same way. The simplest test is to lift a skirting board section or check whether your home has air bricks (small ventilation bricks at low level on external walls near ground level) – these are present on suspended timber floor houses to keep the underfloor void ventilated and prevent rot. Homes built after the mid-1990s typically have solid or beam-and-block ground floors and do not have an underfloor void.
Insulation Methods Compared
There are three practical methods for insulating under suspended timber floors in UK homes. The choice between them depends primarily on whether you have access to the underfloor void from below (a crawl space tall enough to work in), or whether the boards need to come up. Each method has its own material requirements, costs and installation demands.
Mineral wool batts fitted between the joists from above (after lifting the boards) is the most common DIY approach and gives excellent results when done correctly. The batts need to be supported from below – either by netting stapled between the joists, thin wooden battens nailed to the sides of the joists, or purpose-made mesh supports – otherwise they sag over time and lose contact with the boards. Rigid insulation boards (PIR boards such as Kingspan or Recticel) are more expensive but offer a higher insulation value per millimetre of thickness, making them preferable in voids where joist depth is limited. A 100mm mineral wool batt achieves approximately the same thermal performance as a 60mm PIR board, so where joists are shallow or where there is a need to preserve headroom in the void for access to services, PIR is the better choice despite the higher material cost. Blown-in insulation, where loose-fill material is injected into the void through small access holes drilled in the skirting or floorboards, avoids lifting boards entirely but requires a specialist contractor and is only cost-effective on large areas where access would otherwise be very disruptive.
How to Install Floorboard Insulation – the Process
Lifting floorboards without damaging them requires a bolster chisel and a flat pry bar. Boards are typically tongue-and-grooved in homes from the 1930s onwards – the first board in a run must be cut along the tongue before the others can be levered up. Label each board or row with chalk as it comes up so they go back in the same position and the same way round. The order matters for fit: floorboards cut during plumbing or electrical work over the years may not be interchangeable.
Before fitting any insulation, inspect the void carefully. Damp, rotting joists or evidence of rodent activity should be addressed before the void is closed up – sealing insulation over a moisture problem accelerates decay rather than preventing it. The void needs adequate ventilation through the existing air bricks to prevent condensation on the underside of the boards. Do not block air bricks when insulating – this is one of the most damaging mistakes in suspended floor insulation. Instead, ensure the perimeter of the void is draught-sealed at wall plate level while the air bricks remain clear. Mineral wool batts should be cut about 10mm wider than the joist spacing and pressed firmly in place – this compression fit is what keeps them in place once the support net is fixed beneath them.
Support the insulation from below before it goes in. Mineral wool held only by friction against the joists will eventually sag and create gaps. Run netting or garden mesh between the joists and staple or tack it in place before fitting the batts. The netting supports the full weight of the mineral wool without compressing it – compression reduces the insulation value. Purpose-made polypropylene mesh for underfloor insulation is available from insulation suppliers and is faster to install than netting.
Costs and Savings
The cost of under-floorboard insulation varies considerably depending on the method chosen, the area to be treated, and whether the work is done as a DIY project or by a professional installer. The table below is based on a typical three-bedroom semi-detached home with approximately 40 square metres of ground-floor suspended timber floor. Note that the payback periods shown in bill savings alone are long – the real case for floor insulation is comfort improvement rather than short-term financial return. If you are prioritising energy measures by cost-effectiveness in bill savings, loft insulation and cavity wall insulation should both be completed first. Floor insulation then makes sense as a comfort-focused measure once the higher-return improvements have been made.
Common Mistakes and Problems to Avoid
The most damaging error in suspended floor insulation is blocking ventilation to the underfloor void. Air bricks must remain clear – their purpose is to prevent the joists and subfloor from becoming damp and rotting. Insulating in a way that traps moisture in the void accelerates decay and can cause significant structural damage over time. When insulating the perimeter, seal the draught gap at the wall plate (where the floor joist sits on the outer wall) but never seal or cover air bricks. Check them before and after insulation and clear any that have become blocked with leaves or debris. If your property has had previous work done on the underfloor void – such as pipework or electrical rewiring – there is a chance that air bricks have been covered or blocked accidentally. A visual check from outside the property confirms whether all existing air bricks are clear before you begin.
Check for pipes and cables before lifting boards. Heating pipes, water supply pipes and electrical cables are commonly run under floorboards in older homes. Before levering up any board, establish where the pipes and cables run using a stud and pipe detector. Piercing a pipe or damaging a cable in the process of lifting boards is an expensive and disruptive mistake. If pipes run across the joist direction, the insulation will need to be cut around them rather than laid in a continuous layer.
Share on socials: