At a glance
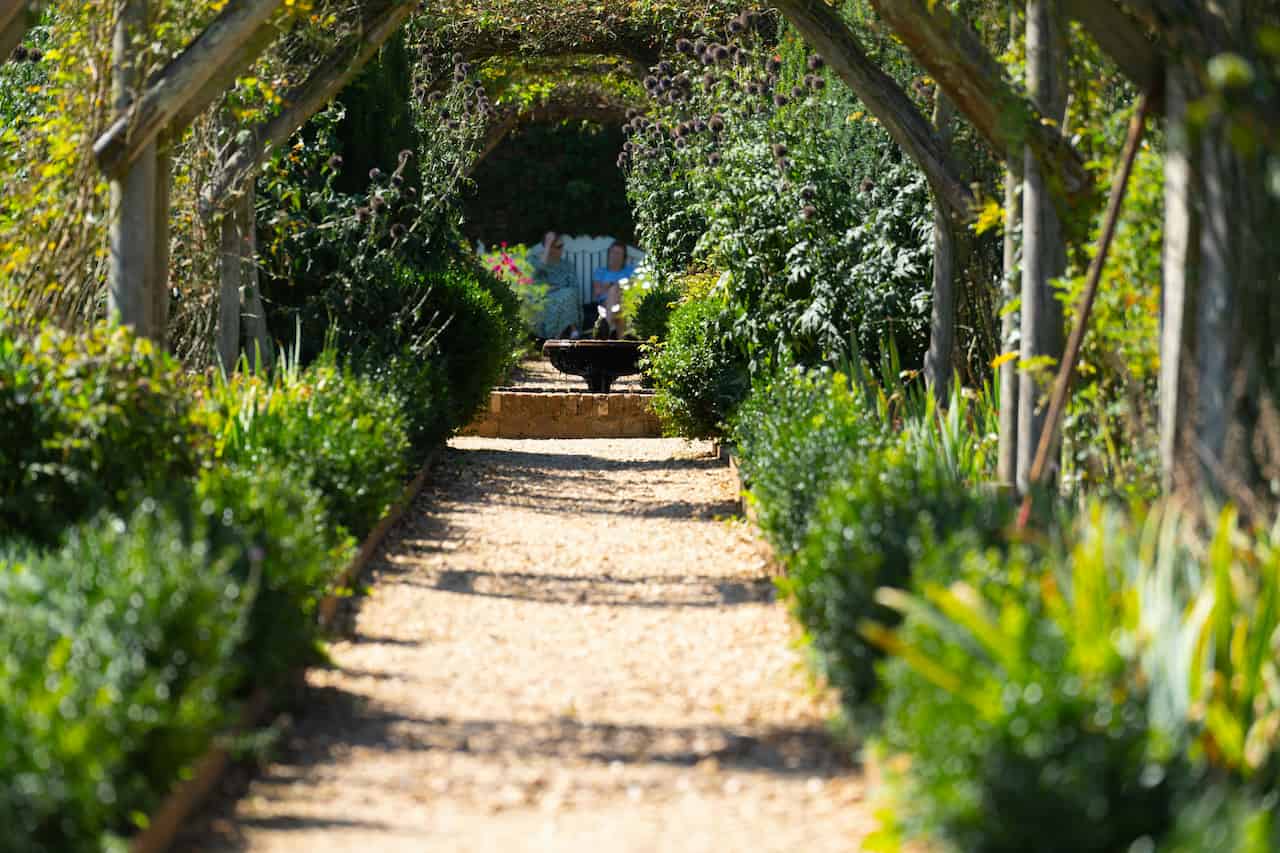
A garden path serves a practical purpose that no amount of planting can replace – it gets you from one part of the garden to another without turning the lawn into a muddy track or damaging beds. But paths have a reputation for being expensive, and that reputation is largely undeserved. The cheapest material options – gravel, bark chip, and concrete stepping stones – produce entirely functional and good-looking results at a fraction of the cost of natural stone paving. The difference between a path that lasts and one that fails within a season has very little to do with the material chosen and almost everything to do with the preparation of the ground underneath it.
Budget path materials work well in UK gardens because the moderate climate and relatively low foot traffic of a domestic garden does not demand the structural integrity required in commercial or public settings. A bark chip path laid over weed membrane on a prepared base will last two to four years before the bark needs topping up, at very low cost. A stepping stone path laid correctly on sharp sand will last indefinitely with minimal maintenance. Understanding which material suits your situation, traffic level and aesthetic is the starting point before any digging begins. A path alongside decking or leading to a garden structure like steps benefits from materials that visually complement those features.
What you’ll need
Choosing a material for your budget
Bark chip is the cheapest and quickest path surface, works well in informal cottage or woodland gardens, and is comfortable underfoot. Its drawback is longevity – it decomposes and compresses within two to three years and needs topping up, and it disperses onto lawns and beds in heavy rain unless well contained with edging. It is best suited to lightly used paths in informal areas rather than main routes. Gravel and slate chippings last far longer, stay reasonably clean, and drain freely – a significant advantage in the wet UK climate. The key to gravel paths that work is weed membrane beneath the gravel and edging that keeps the stones contained; without these, weeds growing through gravel become a persistent maintenance burden.
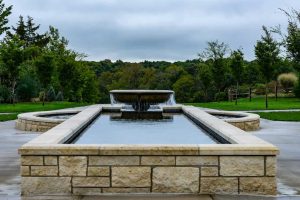
Concrete stepping stones set into grass or gravel are the most cost-effective hard surface option and suit most garden styles if chosen carefully – textured or riven-finish concrete stones are far less institutional-looking than smooth flat ones. Budget concrete paving slabs from builders merchants are significantly cheaper than garden centre prices for equivalent quality. Reclaimed bricks from salvage yards offer a premium look at a fraction of the cost of new, and the aged appearance suits traditional UK gardens particularly well alongside established planting or a garden wall.
Ground preparation
Ground preparation is where the difference between a path that lasts five years and one that fails within a season is decided. The single most common reason budget paths look shabby quickly is insufficient preparation – materials laid directly on undisturbed topsoil settle unevenly, allow weed growth and move underfoot in ways that properly prepared ground would not permit.
Mark the path route with string lines and canes, then excavate the topsoil to a depth appropriate to the material: 75-100mm for bark or gravel, 100mm for stepping stones, 150mm for a full slab path. The excavated topsoil is valuable – use it to top up beds or store it for future use rather than disposing of it. Once excavated, firm the base with a plate compactor hired from a tool hire shop, or compact thoroughly by treading the full area repeatedly. On very soft or clay ground, a 50mm layer of compacted hardcore or MOT Type 1 sub-base below the bedding layer prevents the path from sinking and shifting over time.
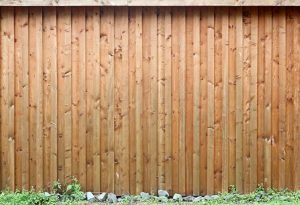
For all loose materials – gravel, bark, slate – lay weed membrane over the compacted base before adding the surface material. Use a good quality woven geotextile membrane rather than thin polythene, which tears easily and lets weeds through within a season. Pin it down at the edges with membrane pegs and overlap joins by at least 150mm. Install path edging – treated timber boards, plastic edging strip, or steel landscape edging – at this stage, securing it to stakes driven into the ground. The edging contains the surface material and gives the path a clean definition.
Laying – by material type
Gravel and bark chip: Once the membrane and edging are in place, simply spread the surface material to a depth of 50mm for gravel or 75mm for bark. Rake level. For gravel, a depth of less than 50mm allows foot pressure to push the stones aside and expose the membrane below. For bark, a greater depth improves longevity before topping up is needed. Both materials can be spread and raked in an afternoon once the preparation work is complete.
Stepping stones in grass: Position the stones at a comfortable walking pace – typically 550-600mm centre to centre for most adults. Place each stone on the grass, stand back and walk the route naturally to check the spacing feels right before committing. Once satisfied with the layout, cut around each stone with a spade, remove the turf to a depth of 50mm, add a 30mm layer of sharp sand, lay the stone and tap level with a rubber mallet checking with a spirit level. The stone should sit 10-15mm proud of the lawn surface so the mower can pass over without catching the edge. Backfill around each stone with fine soil or sand and firm in.
Concrete slabs on sharp sand: Lay a 50mm layer of sharp sand over the compacted base and screed it level using a straight piece of timber drawn across the tops of the edging boards as a guide. Lay slabs from one end, tapping each one into the sand with a rubber mallet and checking level in both directions. Maintain consistent joints of 10-15mm using timber spacers. Once all slabs are laid and level, brush dry kiln-dried sand into the joints and compact with a plate compactor or heavy roller to lock everything in place.
Always lay paths with a slight cross fall for drainage. A fall of 1 in 60 – approximately 15mm across a 900mm wide path – prevents water pooling on the surface in wet UK weather. Use the spirit level to check and adjust while the sand is still workable. A path that holds water becomes slippery in winter, grows moss faster, and deteriorates more quickly than one that sheds rainfall immediately. The fall should direct water towards a bed or lawn rather than towards the house foundations.
Maintenance through the year
Common problems and solutions
Share on socials: