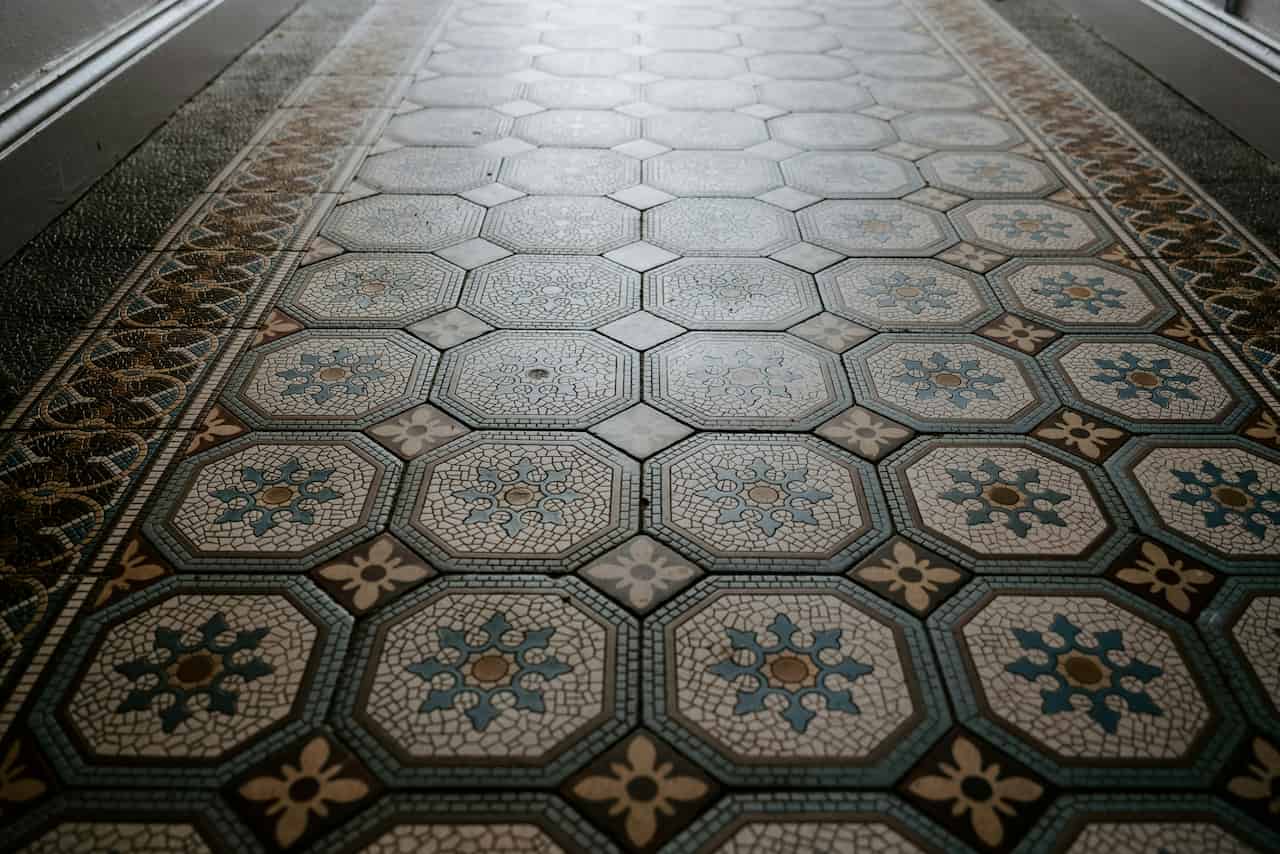
Uneven floor tiles are one of those problems that rarely announces itself dramatically – instead, they catch bare feet, trip people on entry mats and catch the mop head in the same corner every time. The three main types are lippage (where one tile sits higher than its neighbour), hollow tiles (where the adhesive bond has failed and the tile rocks underfoot) and raised edges (where a tile has lifted, usually at a corner or along one side). Each has a different cause and a different fix, and getting the diagnosis right before starting work saves a full retile job in most cases.
This guide covers the full repair process from diagnosis through to reinstatement of grout, including the right approach for each fault type and the materials needed for each. The repair process for floor tiles is more demanding than wall tiles because floor adhesive specifications are higher and the preparation of the substrate matters more – but for isolated faults, it is well within the reach of a capable DIYer.
Never use ready-mixed adhesive on floors – use floor-rated powder adhesive only
Notched floor trowel
6mm notch minimum for floor tiles – deeper for large format tiles over 30cm
Long straightedge – 1m minimum
For checking the substrate level before relaying and verifying the repair afterwards
Tile spacers, grout and rubber mallet
For reinstating the joint width and bedding the tile evenly
Why floor tiles become uneven
Most cases of uneven floor tiles come down to installation errors rather than structural problems. Understanding the cause matters because it determines whether a localised repair will hold or whether the same fault will recur. A hollow tile caused by insufficient adhesive coverage is a simple fix – the same hollow tile caused by a flexing subfloor will fail again within months if the flex is not addressed first.
Causes of uneven floor tiles
Rule
Why
Insufficient adhesive coverage
The adhesive bond fails in voids beneath the tile. UK BS 5385 requires 95% coverage on floors. Tiles laid with a dot-and-dab pattern or a thin screed of adhesive frequently develop hollow spots within 1-2 years
Uneven substrate
Tiles installed on a substrate with high spots or dips will either bridge the high spots (creating voids) or sit in dips (creating lippage at the join). The substrate must be flat to within 3mm over a 3m straightedge before tiling
Subfloor movement
Timber subfloors flex under load. Rigid ceramic tiles cannot move with them and the adhesive bond fails, causing tiles to rock or lift at the edges. A decoupling membrane between the subfloor and tiles prevents this
Wrong adhesive type
Ready-mixed adhesive is not suitable for floors. It retains moisture long-term and does not achieve the compressive strength of powder adhesive. Using wall adhesive on floors is a common cause of bond failure
Lippage from tile variation
Natural stone and handmade tiles vary in thickness. Installers must calibrate adhesive bed depth for each tile individually. Failure to do so creates lippage that is baked in at installation and cannot be fixed without relaying
Diagnosing the problem
Before starting any repair, tap every tile in the affected area with a knuckle or a coin. A solid, dense sound indicates a good bond. A hollow, drum-like sound indicates adhesive failure. Mark every hollow tile with a pencil before deciding on the repair scope. If the hollow area is isolated to one or two tiles, a localised repair is viable. If the hollow sound extends across a large section of floor, the floor may need to come up entirely.
Diagnosis – what you’re dealing with
Hollow sound
Adhesive bond has failed beneath the tile. If the tile is still intact and uncracked, it can often be re-laid without replacement. If it is cracked, it will need replacing. Check surrounding tiles – hollow sound spreading to adjacent tiles indicates a substrate problem.
Raised edge
One or more edges of a tile have lifted while the rest of the tile remains bonded. Often caused by movement in the substrate or insufficient adhesive at the edges. The raised portion needs to be carefully pressed back or the tile removed and relaid.
Lippage
One tile sits higher than its neighbour at the joint. Lippage under 2mm is within acceptable tolerance and does not need repair. Between 2mm and 5mm it is a trip hazard and should be addressed. Over 5mm, the tile needs relaying. Lippage cannot be fixed by grinding down the high tile – the high tile must come out.
Rocking tile
The tile rocks diagonally when stepped on, indicating adhesive failure at two opposing corners. This is common on large format tiles where the adhesive bed was not even. The tile must be removed and relaid with correct coverage.
Lippage tolerance – what is acceptable
<2mm
variation
Within acceptable BS 5385 tolerance. No repair required unless the tile is hollow or rocking. A slight height difference between tiles is normal when working with natural stone or non-rectified ceramics.
2-5mm
variation
A trip hazard and a sign of poor installation. The raised tile should be relaid. If the tile is undamaged it can be cleaned and reused.
>5mm
variation
Significant defect requiring immediate relaying. At this level the substrate beneath is likely uneven – check with a straightedge and level the substrate before relaying.
Fixing hollow or raised tiles
The process for repairing a hollow or raised floor tile follows the same sequence as replacing a broken tile, with the important difference that the tile itself may be reusable if it comes out intact. The key discipline throughout is protecting adjacent tiles – all force should be directed at the target tile and absorbed by the substrate, never transmitted laterally.
Hollow tile repair – process
Step 1 – Cut grout joints: Use an angle grinder with a diamond blade or an oscillating multi-tool to cut along all four grout joints. This isolates the tile fully before any force is applied. Never attempt to lever out a tile without cutting the joints first.
Step 2 – Remove the tile: Drill one or two holes in the centre of the tile, then chisel from the centre outward. On a hollow tile the adhesive bond is already compromised and the tile often lifts with less force than expected. Remove all tile fragments and scrape back to bare substrate.
Step 3 – Prepare the substrate: Remove all old adhesive. Check the substrate with a 1m straightedge. If there are high spots, use a floor grinder or SDS chisel to remove them. If there are low spots deeper than 3mm, fill with a floor levelling compound and allow to cure fully before tiling.
Step 4 – Relay the tile: Mix floor-grade powder adhesive to a firm, lump-free consistency. Apply to the substrate with a notched trowel and back-butter the tile as well. Bed the tile firmly with a rubber mallet, checking height against adjacent tiles continuously. Use tile spacers to maintain joint width.
Step 5 – Regrout: Allow the adhesive to cure for at least 24 hours before grouting. Use floor-grade grout – not wall grout – and press it firmly into the full depth of the joint with a grout float. Clean excess from the tile surface before it sets hard.
⚠️
Back-buttering is mandatory on floor tiles. Applying adhesive to both the substrate and the back of the tile ensures the 95% coverage required by BS 5385. Substrate-only application leaves voids in the adhesive bed that cause hollow spots and tile failure, particularly under concentrated point loads from chair legs and heavy appliances.
As an Amazon Associate I earn from qualifying purchases. Prices correct at time of publishing.
Fixing lippage between tiles
Lippage – where one tile sits measurably higher than the tile next to it – is one of the harder faults to repair because the only genuine fix is removing the higher tile and relaying it correctly. There is no surface treatment that reduces lippage; grinding the high tile down damages the glaze and creates a visually distinct patch that is as bad as the original problem.
Don’t
Do
Grind or sand down the surface of a high tile
Remove and relay the high tile with correct adhesive bed depth
Apply a filler or levelling compound over the joint to mask the step
Identify whether the substrate is uneven before relaying – fix the cause not the symptom
Regrout to hide the height difference – the step is still there
Use a straightedge during relaying and adjust adhesive bed depth until the tile sits flush
Assume the substrate is flat without checking
Level any high spots in the substrate before relaying – lippage usually means the substrate is uneven
When relaying a tile that was causing lippage, the key is managing the adhesive bed depth precisely. The adhesive bed under the high tile was too thick. Remove all old adhesive from the substrate and lay a fresh, even bed with the notched trowel. Check the tile height with a straightedge against adjacent tiles before the adhesive skins over and adjust by adding or removing adhesive as needed. Check all four corners – floor tiles are rarely perfectly flat and each corner may need individual attention.
Preventing uneven tiles in future
When relaying tiles or tackling a new tiling job in the future, the three rules below eliminate the vast majority of the problems that cause tiles to become uneven over time. Substrate flatness is the most important – a tile installed on an uneven substrate will eventually fail regardless of the quality of the adhesive. The second most common cause of callbacks on tiled floors is insufficient adhesive coverage. Both are entirely preventable.
Prevention rules – floor tiling
Rule
Why
Substrate must be flat to within 3mm over 3m
Tiles bridge high spots and rock. Use a self-levelling compound on uneven concrete and a plywood overlay on uneven timber before tiling. Check with a long straightedge in multiple directions.
Back-butter every floor tile – no exceptions
BS 5385 requires 95% adhesive coverage on floors. Substrate-only application reliably creates voids that become hollow spots. Back-buttering takes 30 seconds per tile and eliminates this failure mode entirely.
Use a decoupling membrane on timber subfloors
Timber flexes seasonally and under load. Rigid tiles cannot accommodate this movement and the adhesive bond fails over time. A decoupling membrane – such as Schluter Ditra – isolates the tile from subfloor movement and prevents this entirely.
As an Amazon Associate I earn from qualifying purchases. Prices correct at time of publishing.
Share on socials:
J
James Fletcher
James Fletcher is a home and garden enthusiast based in the north-west of England. He's been growing vegetables in raised beds for over four years and writes practical, no-nonsense guides for UK gardeners and homeowners.