At a glance
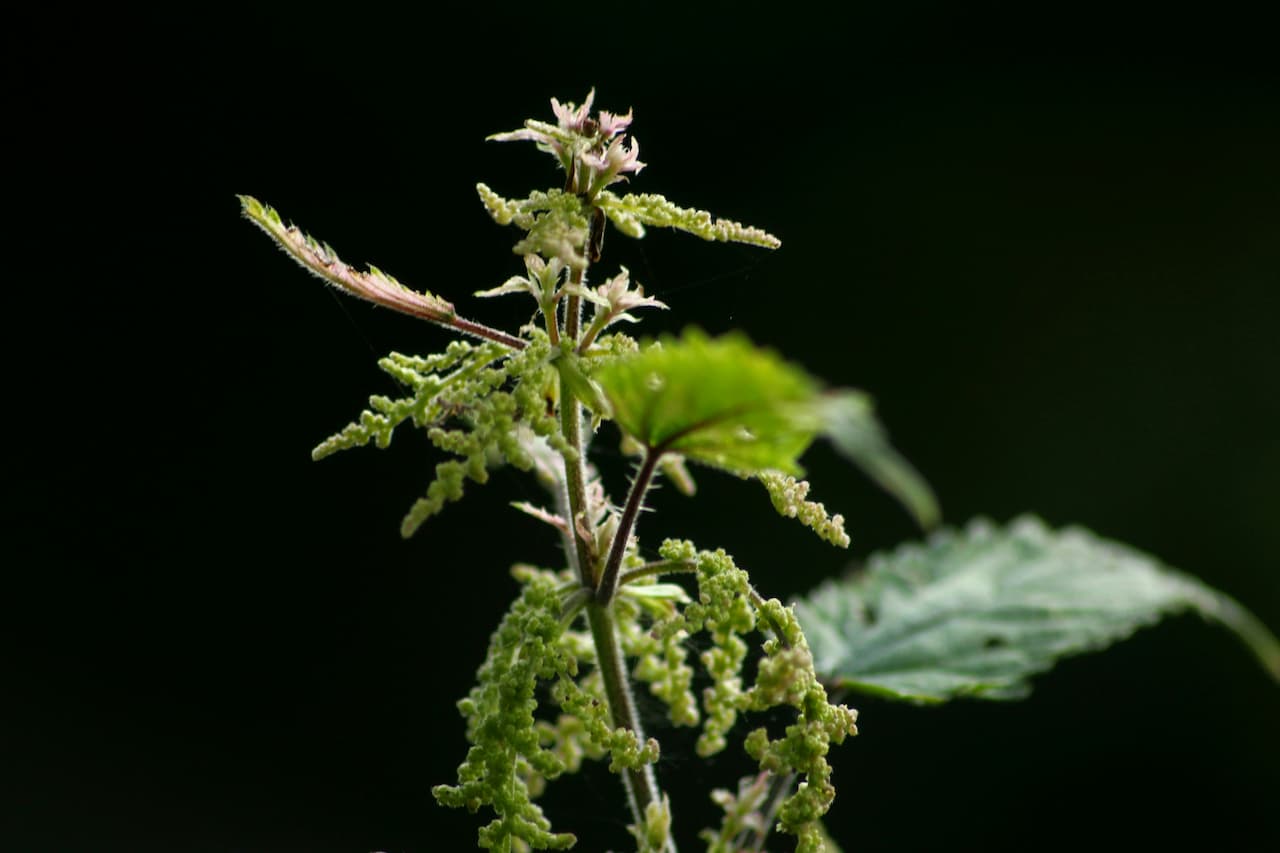
Free fertiliser sounds too good to be true, and in most cases it is. Nettle feed is the exception. A bucket of stinging nettles, some water, and three to four weeks of patience will give you a liquid feed that genuinely works for leafy vegetables, brassicas and anything else that needs nitrogen in a hurry. The smell is genuinely awful. The results are real.
Nettles are unusually high in nitrogen, along with iron and other minerals. When you steep them in water, those nutrients leach into the liquid. Dilute it, water it on, and the plants get a fast-acting feed directly through the roots. It won’t replace a full feeding programme on heavy-cropping plants, but for a nitrogen boost mid-season it does what a bottle of liquid fertiliser does, at no cost and in unlimited supply.
What you need
Equipment is minimal. A large bucket or lidded container is essential because the smell during fermentation is strong enough to clear a greenhouse. Five to ten litres capacity is workable for a small garden; twenty litres is better if you have a lot to feed. A larger volume simply means more nettles fermenting at once and more feed produced per batch.
Gloves for harvesting. A stick or old trowel for pressing down and stirring. Something heavy to weigh the nettles under the water: a brick, large stone or filled plastic bottle. A piece of mesh, old tights or fine sieve for straining. An old watering can for applying diluted feed, and a second container to strain into and store. That is genuinely all. Gardeners have been making this for generations with whatever was to hand.
Harvesting nettles
Young nettles are better than old ones. In spring and early summer, new growth is soft and packed with nitrogen. By midsummer the stems are tougher and woodier, though still perfectly usable. Nettles that have gone to seed are less ideal because the plant has put energy into reproduction, but they will still make a workable feed.
Cut nettles from a clean source. Nettles growing at the edge of a field, in a hedgerow or in an unused corner of the garden are fine. Avoid nettles from roadside verges with heavy traffic, anywhere sprayed with herbicide, or contaminated ground. The principle is the same as any plant material going near food crops. Wear gloves throughout; you will be handling a lot of them and fresh nettles sting through inattention.
You want roughly one part nettles by volume to ten parts water, though this is not an exact recipe. Nettles compress down dramatically once soaked, so a bucket packed to overflowing will compact to a fraction of that volume once the water goes in. Err towards more nettles rather than fewer.
Making the feed
Cover the nettles with water. Rainwater from a butt is preferable because tap water contains chlorine which can slightly inhibit fermentation, though in practice tap water works fine. Press the nettles down under the water using a brick or trowel so they stay submerged. Floating nettles in contact with air decompose differently and produce a weaker result.
Fill to about three-quarters capacity to leave room for fermentation foam. Cover loosely with a lid or mesh, something that keeps flies out and contains the smell without sealing completely since some gas exchange is helpful. Leave to ferment for two to four weeks. In warm summer weather the process runs faster; in cooler spring or autumn temperatures it slows significantly. Stir every few days when you remember.
Topping up through the season
One of the underused advantages of nettle feed is that you do not need to start a fresh batch every time you run out. As you use the feed, add more fresh nettles and top up with water. The existing fermented liquid acts as a starter culture that speeds up each new batch considerably. Second and third batches are often ready in under two weeks because the bacteria needed for fermentation are already established in the liquid.
Press the new nettles under the existing liquid, add water to cover, and reweigh. At the end of the season, empty the bucket completely. Add the sludge to the compost heap, scrub the container out, and store it clean and dry. Old sludge left in the bucket over winter develops a thick unpleasant mat that is difficult to shift in spring and slows the first batch of the following year.
Straining and storing
Strain the liquid through an old piece of tights, mesh or a fine sieve into a second container. The sludge left behind is good compost material. Do not tip it onto borders neat because it is concentrated enough to scorch roots and foliage on contact, but added to a compost heap it breaks down quickly and adds useful nitrogen. If the stored liquid develops a white scum during storage, skim it off. It is harmless surface mould from air contact, not a sign the feed has failed.
The strained liquid stores well in sealed containers in a cool, dark place. Old plastic bottles with tight lids work well. Kept cool and away from direct sun it will keep for up to six months without meaningful loss of potency. Label everything clearly, because the smell alone is not always sufficient warning for anyone else who might handle it.
Using nettle feed
Always dilute before use. One part feed to ten parts water is the standard dilution for watering onto soil. This gives a pale brown liquid safe for roots. Neat or barely diluted nettle feed will scorch roots and foliage on contact. There is no benefit to applying it undiluted; the plants absorb the diluted version, not a stronger concentration.
For container plants, use a slightly more dilute mix of around one part to fifteen parts water. Container roots are concentrated in a smaller compost volume and more sensitive to strong feeds. Always apply to moist compost rather than dry to further reduce the risk of root scorch.
Water onto soil around the plant base rather than directly onto foliage. If you do splash leaves, rinse them off with plain water. Apply in the morning or evening rather than midday. Apply every two to three weeks during the growing season as a supplement to whatever regular feeding programme you use.
For a foliar spray, applied directly to leaves as a fast-acting tonic and mild pest deterrent, dilute further to one part feed to twenty parts water and spray foliage in the evening to avoid the combination of wet leaves and direct sun. At this concentration it has a mild repellent effect on aphids and spider mites. Do not use as a foliar spray on flowering plants; liquid on petals and developing fruit is counterproductive.
What works and what to avoid
Nettle feed earns its place most clearly with leafy crops in active growth. Lettuce, spinach, chard, kale and other salad crops respond noticeably to fortnightly applications. Brassicas, including cabbages, broccoli, cauliflower and Brussels sprouts, are heavy nitrogen feeders throughout the season and will take as much as you give them. Courgettes and sweetcorn in their early weeks before flowering benefit from the nitrogen push. Dahlias respond well through the growing season until buds form.
Root vegetables need a different approach once they are established. Carrots, parsnips, beetroot and potatoes after the first few weeks do not need nitrogen driving the tops. You want the roots to develop, and nitrogen at this stage works against that. Any plant in flower or about to flower does not want a high-nitrogen feed either. Nitrogen at the point of flowering delays fruit set on tomatoes, courgettes, beans and squash. Switch to a potassium-rich feed at that stage. Newly transplanted seedlings should also be left alone for the first week or two until their roots have settled in.
Nettle feed versus comfrey feed
Both are free liquid fertilisers made from common plants, but they work differently and suit different phases of the growing season. Nettle feed has an approximate NPK of 2.0-0.5-1.5, making it a high-nitrogen feed best suited to leafy growth and establishment. Comfrey feed has an approximate NPK of 1.5-0.5-5.0, making it high in potassium and far better suited to flowering and fruiting. I use both through the season: nettle in spring, comfrey from midsummer. Between them they cover most of what a kitchen garden needs.
A combined brew made by fermenting both plants together at roughly equal proportions gives an approximate NPK of 1.75-0.5-3.2, closer to a balanced general fertiliser than either alone. Use the combined feed on leafy crops, brassicas and established ornamentals where you want a single feed that covers most bases. For fruiting crops, use a higher proportion of comfrey in the mix to maximise potassium.
Using nettle feed as a compost activator
A use most gardeners miss: both the liquid and the strained sludge can go directly into a compost heap as an activator. The nitrogen content accelerates decomposition, particularly useful when the heap is heavy on carbon-rich brown material like cardboard, straw or autumn leaves. Pour diluted nettle feed directly into a struggling heap and activity picks up noticeably within days in warm weather.
The sludge from straining is equally valuable. Rather than treating it as waste, add it to the heap with every batch you make through summer. A compost heap that receives the sludge from several batches across the season will decompose significantly faster than one without it. The combined nitrogen input from both liquid and sludge makes a real practical difference to decomposition speed and the quality of the finished compost.
How it compares to commercial feeds
Nettle feed at the standard 1:10 dilution delivers roughly 0.2% nitrogen to the root zone per application. A commercial liquid feed at manufacturer’s recommended dilution delivers somewhere between 0.3 and 0.7% nitrogen depending on the product, so commercial feeds are stronger per individual application.
Where nettle feed wins is cost and frequency. Because it is free and in unlimited supply, you can apply it every ten to fourteen days rather than the two to three week interval typical for commercial products, which narrows the gap in total nitrogen delivery considerably. The trace elements present in nettle feed, including iron, calcium and magnesium, are absent from many synthetic nitrogen feeds. The organic matter in the liquid also feeds soil biology in a way synthetic feeds do not.
The practical conclusion: nettle feed alone is not a substitute for a complete feeding programme on heavy-cropping plants like tomatoes or squash, where commercial feeds or comfrey are more concentrated and better matched to what those crops need at different stages. But for leafy crops, brassicas and ornamentals, a reliable supply of nettle feed applied consistently does the job without spending anything.
Troubleshooting
Most problems with nettle feed come down to a small number of predictable causes. One thing worth saying up front: some gardeners add comfrey leaves or a few drops of lavender oil to reduce the smell during fermentation. Neither makes any meaningful difference. The smell is part of the process.
Clean the bucket fully at end of season. Old sludge left in the bucket over winter develops a thick mat that is difficult to shift in spring and slows the first batch of the following year. Empty completely, add the sludge to the compost heap, scrub the container out, and store it dry. A clean start in spring means a faster first batch.
Share on socials: