At a glance
Scarifying is one of the most physically satisfying and genuinely useful jobs on an allotment plot. The process of raking out the layer of dead thatch – compacted dead grass, moss, decayed organic matter and debris – that builds up on grass paths and grassed areas transforms the surface from a spongy, poorly draining mat into clean, open turf that drains freely and provides a firm, clean walking surface through the growing season. Done properly in spring or autumn, scarifying makes a visible and lasting difference to the condition of allotment paths that few other maintenance tasks can match.
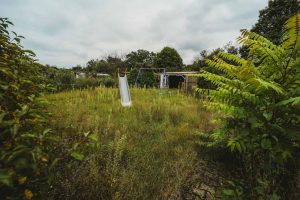
Scarifying is particularly relevant for allotment holders who have taken on an established or neglected plot, where years of accumulated thatch may have created paths that become waterlogged in winter and harbour slugs and other pests throughout the year. Dealing with the thatch is one of the most productive early tasks on a new plot, alongside the broader weed management approaches covered in our guide to keeping an allotment weed free.
What Scarifying Is and Why It Matters
Thatch is the layer of dead and decaying organic material – dead grass stems, moss, runners, compacted roots and debris – that accumulates between the soil surface and the living grass above it. A thin layer of thatch is normal and even beneficial, providing some insulation and moisture retention. A thick layer – more than about 1cm deep – becomes problematic for a range of reasons that compound over time on a working allotment path.
Thick thatch prevents water from penetrating to the soil and roots below, causing the grass to become stressed during dry spells despite apparent surface moisture. It creates ideal conditions for moss, which thrives in the damp, poorly aerated environment between the thatch and soil. It harbours slugs and other pests that overwinter in the spongy surface and emerge to damage crops in spring and early summer. And it makes paths uneven, soft and muddy in wet weather rather than firm and clean. Scarifying removes this layer physically, allowing water to penetrate, air to circulate at soil level and grass to grow more vigorously from the base rather than through an increasingly thick mat of dead material.
When to Scarify
Avoid scarifying when the ground is waterlogged or frozen. The soil surface needs to be firm enough to work without the rake becoming clogged with mud, and the grass needs to be actively growing or approaching active growth to recover well. A dry spell of a few days before scarifying produces the best working conditions and makes the removed thatch lighter and easier to rake up and bag.
Tools Needed
For hand scarifying, a spring-tine rake is the essential tool. This has flexible metal tines that flex into the thatch and drag it out without damaging the living grass excessively. A standard garden rake with rigid tines is less effective as it does not penetrate the thatch layer properly. For larger path areas, a wheeled scarifying rake or a mechanical scarifier significantly reduces the physical effort, though for most allotment paths a spring-tine rake is sufficient and more manoeuvrable around plot obstacles. The thatch removed can go into the compost heap if it is mostly dead grass and organic matter, though heavily moss-laden material is better composted separately or disposed of to prevent reseeding from the compost.
How to Scarify Step by Step
Scarifying Grass Paths
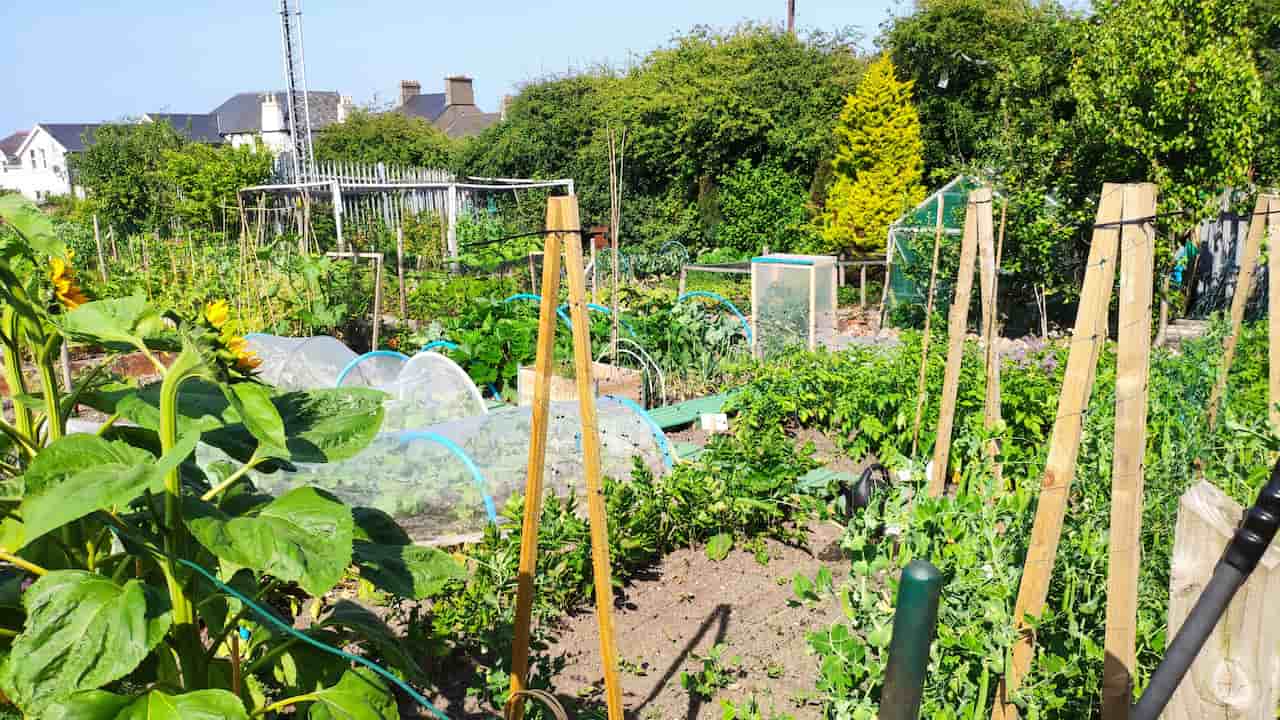
Allotment grass paths take heavy foot traffic throughout the growing season and accumulate thatch faster than domestic lawns in ordinary use. Annual scarifying in spring is the minimum maintenance required for paths that remain firm and functional through the season. On particularly busy paths or those that become muddy, bi-annual scarifying – spring and autumn – makes a significant difference to the working surface quality and to how much mud is tracked onto beds when moving around the plot.
For compacted paths that have become persistently muddy despite scarifying, hollow-tine aeration after scarifying improves drainage further. A garden fork pushed to full tine depth every 15cm across the path allows water to drain more freely and air to reach the soil. Top-dress with sharp sand worked into the holes to keep them open over winter. This combined approach of scarifying, aeration and sand top-dressing transforms persistently muddy allotment paths within one season and the improvement compounds year on year as the drainage structure develops.
After Scarifying – What to Do Next
Immediately after scarifying is the ideal time to overseed any bare or thin patches. Grass seed germinates readily in the open soil exposed by scarifying and establishes quickly when soil temperatures are above 8°C – which they are in spring and early autumn, the two recommended scarifying windows. Sprinkle seed over bare areas, rake gently to make light contact with the soil, and water if no rain is forecast within 24 hours. A light top-dressing of compost or topsoil mixed with the seed further improves germination rates and helps the seedlings establish before the path returns to normal traffic.
Apply a spring lawn fertiliser after scarifying to feed the grass as it recovers and help new seedlings establish. A balanced NPK fertiliser or a specific lawn product encourages strong recovery growth and replaces the nutrients that were bound up in the removed thatch. Water consistently if conditions are dry in the two to three weeks after scarifying – the newly scarified surface dries out faster than established turf and consistent moisture is important for both recovery of existing grass and germination of any overseeded areas.
Dealing with Moss on Allotment Paths
Apply iron sulphate two weeks before scarifying to kill moss first. Dead moss comes out far more easily than living moss, which tends to cling to the soil and break apart rather than pulling out cleanly. Apply at the manufacturer’s recommended rate, wait for the moss to turn black, then scarify. This two-stage approach significantly reduces the effort of heavy moss removal and produces a cleaner result than attempting to rake out living moss.
Moss on allotment paths is almost always a symptom of underlying conditions rather than a problem that can be permanently solved by removal alone. Scarifying removes existing moss effectively but it will return unless the underlying cause is addressed. Understanding which condition is driving the moss determines the correct long-term solution.
Never scarify during a drought or on frozen ground. Scarifying when the soil is bone dry removes too much material and can kill rather than improve the grass, leaving bare patches that take months to recover. On frozen ground the tines damage the grass crowns rather than removing thatch. Check that the soil surface is firm, unfrozen and slightly moist before starting. If in doubt, wait for more suitable conditions – the task can always be done the following week.
Share on socials: