At a glance
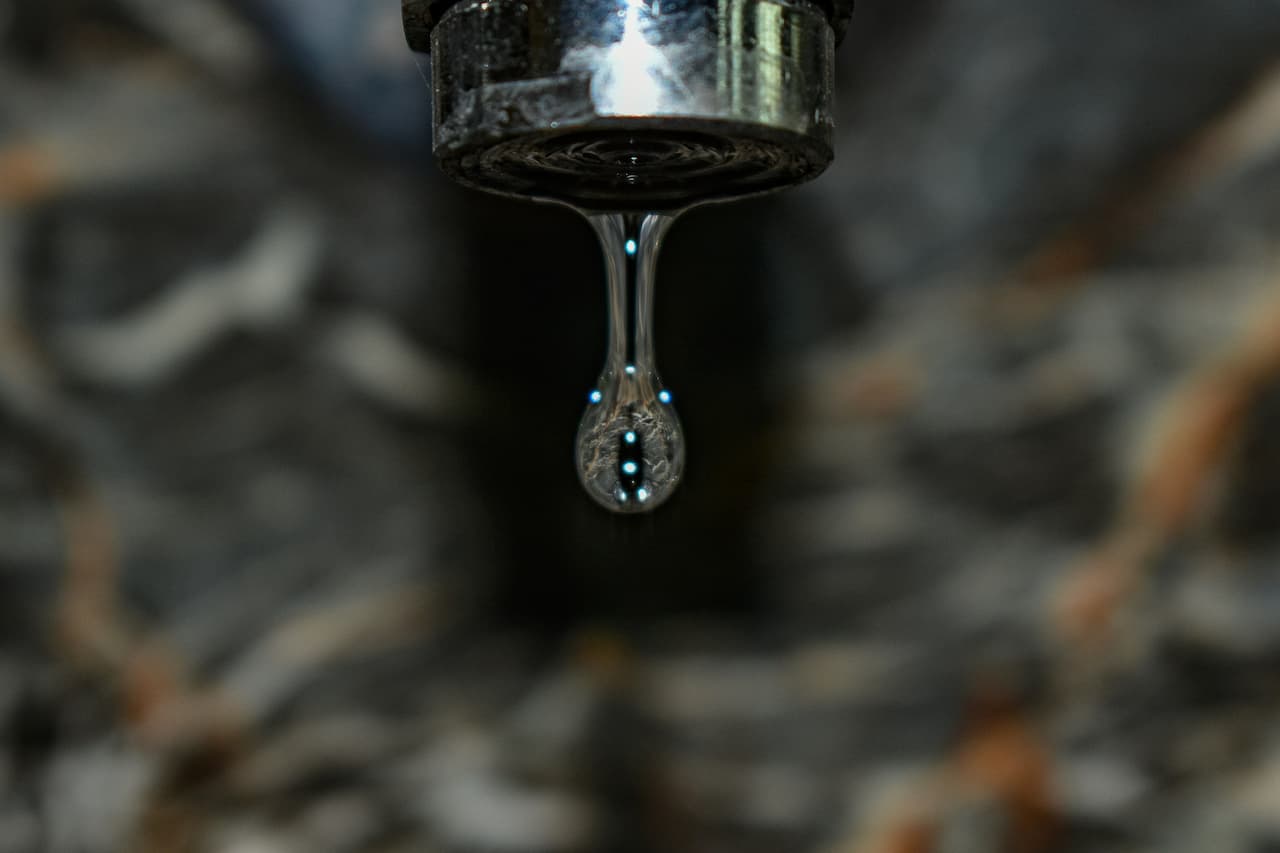
A dripping tap is one of those problems most people tolerate for far too long. The drip sounds minor but a tap dripping once per second wastes approximately 5,000 litres of water per year – roughly £15-25 on a metered supply and a significant environmental waste. The repair is almost always straightforward, costs under £10 in parts and takes less than an hour. The only reason to call a plumber for a dripping tap is if you discover a more serious underlying problem once you open it up.
The most important first step before doing anything else is identifying which type of tap you have – the repair process differs significantly between traditional pillar taps, ceramic disc taps and mixer taps.
Identify your tap type first
| Tap type | How to identify | Common cause of drip | Repair complexity |
|---|---|---|---|
| Traditional pillar tap | Round or cross head, screws open and closed, separate hot and cold | Worn rubber washer | Easy |
| Ceramic disc tap | Quarter-turn head, opens with 90-degree turn | Cracked or worn ceramic disc | Straightforward |
| Mixer tap (single lever) | Single lever controls both temperature and flow | Worn cartridge | Moderate |
| Mixer tap (two handles) | Two separate handles on one spout | Worn washer or ceramic disc | Easy |
Take the old part to a plumbers merchant for an exact match. Tap parts are not universally standardised in the UK. Taking the old washer, cartridge or ceramic disc to a plumbers merchant or B&Q allows you to get an exact match rather than guessing at the correct size. This single step prevents the frustration of disassembling a tap only to find the replacement part doesn’t fit.
Tools and parts you need
- Adjustable spanner or basin wrench
- Flat-head and cross-head screwdrivers
- Replacement washer, ceramic disc or cartridge (tap-specific)
- PTFE tape
- Cloth or towel to catch water
- Lubricating grease (plumber’s grease)
As an Amazon Associate I earn from qualifying purchases. Prices correct at time of publishing.
Turning off the water supply
Always turn off the water supply before opening any tap for repair. There are usually three options:
- Isolation valve on the supply pipe – the best option. A small screw-slot valve on the pipe directly supplying the tap. Turn the slot 90 degrees with a flathead screwdriver to isolate just that tap’s supply.
- Stopcock under the sink or basin – turns the valve fully clockwise to close
- Main stopcock – usually under the kitchen sink near where the water enters the property. Turns off all water to the house.
After turning off the supply, open the tap to release any pressure and drain remaining water from the pipe.
Fixing a traditional pillar tap
- 1Remove the tap headPrise off the decorative cap (usually marked H or C) with a flathead screwdriver. Remove the screw underneath and lift off the tap head.
- 2Unscrew the packing nutWith an adjustable spanner, unscrew the large hexagonal packing nut that holds the headgear in place. Turn anti-clockwise. This may require some force on an older tap.
- 3Lift out the headgearThe entire headgear assembly lifts out. At the bottom you will see the rubber washer held by a small nut. This washer is almost certainly the cause of the drip.
- 4Replace the washerUnscrew the small retaining nut and remove the old washer. Take it to a plumbers merchant for an exact replacement. Fit the new washer and replace the retaining nut.
- 5Reassemble in reverse orderReassemble the tap, reopen the water supply and check for leaks. Tighten the packing nut further if any drip remains from around the headgear rather than the spout.
Fixing a ceramic disc tap
Ceramic disc taps use two ceramic discs that press together to control water flow. If cracked or worn they allow water to pass through even when the tap is closed.
- 1Remove the tap headQuarter-turn ceramic disc taps usually have a screw concealed under a decorative cap. Remove the cap, unscrew and lift off the head.
- 2Unscrew the cartridgeThe ceramic cartridge sits inside the tap body and is usually held by a retaining nut or clips. Unscrew anti-clockwise to remove the complete cartridge assembly.
- 3Inspect the ceramic discsCheck both discs for cracks or visible damage. If one is damaged, replace the entire cartridge rather than attempting to replace individual discs.
- 4Clean or replace as neededIf discs appear undamaged, clean them with a damp cloth and remove any limescale buildup with a limescale remover. If cracked, replace the cartridge with an exact match.
Fixing a mixer tap
Single-lever mixer taps use a cartridge that controls both temperature and flow. When the cartridge wears out the tap drips from the spout or leaks around the base of the lever.
- Remove the lever handle – usually held by a screw under a decorative cap or Allen key bolt at the side
- Remove the retaining ring or nut that holds the cartridge in the tap body
- Pull out the complete cartridge assembly
- Note the cartridge make and model number (usually stamped on the body) before purchasing a replacement
- Fit the new cartridge, reassemble and test
If the tap body is corroded or the threads are damaged, stop and call a plumber. A dripping tap repair is straightforward when the tap body is sound. Corroded or stripped threads require more advanced repair or tap replacement – attempting to force corroded fittings often causes additional damage that makes the repair significantly more expensive.
A dripping tap is one of the most straightforward plumbing jobs a UK homeowner can tackle themselves. Identify the tap type, turn off the supply, replace the washer or cartridge and the job is done in under an hour. For more on DIY home plumbing repairs read our guide on how to fix a running toilet in the UK.
As an Amazon Associate I earn from qualifying purchases. Prices correct at time of publishing.
Share on socials: