At a glance
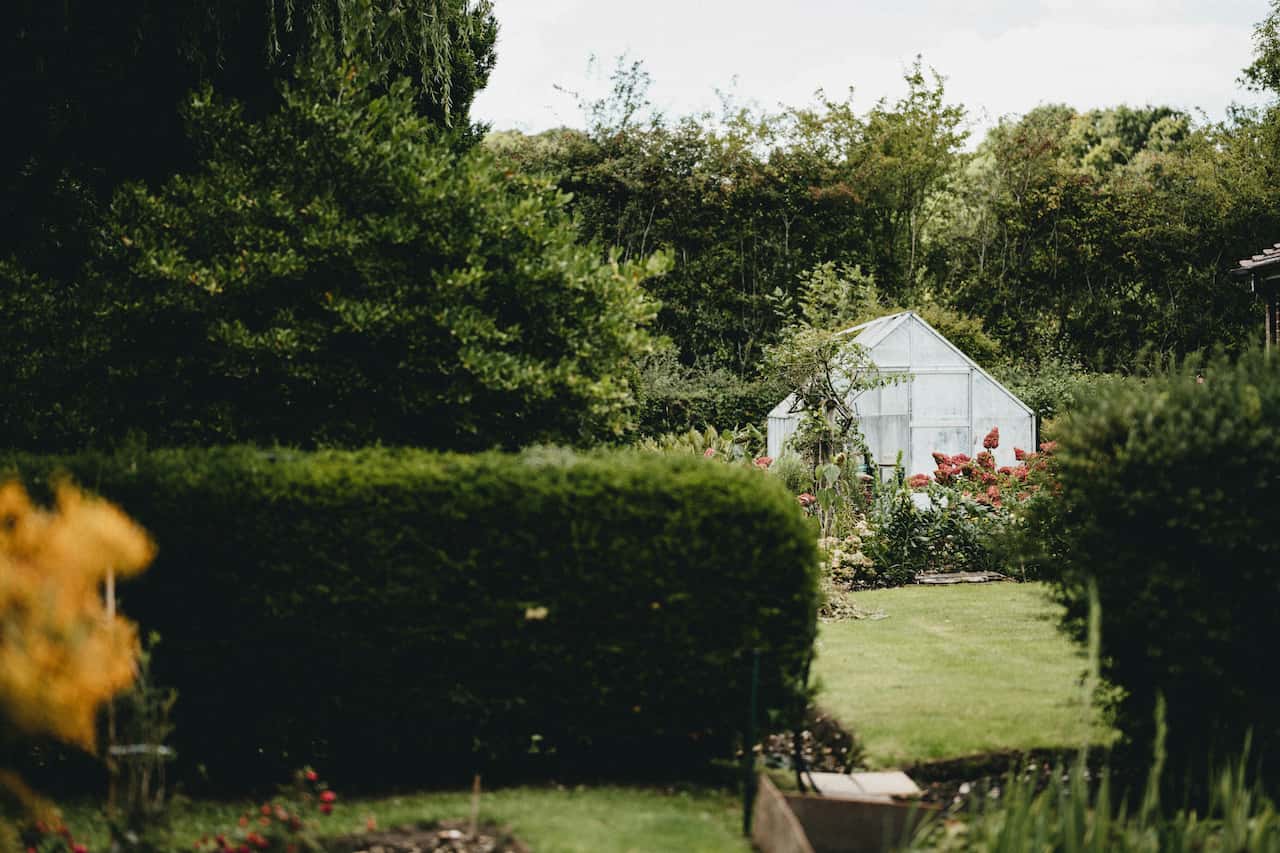
A greenhouse transforms what is possible in a UK garden. It extends the growing season by six to eight weeks at each end, protects crops from the frost, rain and slugs that limit outdoor growing, and opens up a wide range of crops – tomatoes, peppers, cucumbers, aubergines, melons – that are difficult or impossible to grow reliably outdoors in most UK locations. It is one of the most impactful single investments a UK gardener can make, and a structure that pays back in productivity every year it stands.
Building a greenhouse from a kit is well within the capability of two competent DIYers with a weekend free and the right preparation. Before thinking about how to plan the garden layout around the greenhouse, the foundation deserves the most attention – a greenhouse built on a poorly prepared, unlevel or unsquare base will be difficult to assemble and will not perform well long-term. Get the foundation right and the kit assembly follows the manufacturer instructions without major difficulty.
What you’ll need
Planning, siting and permissions
A greenhouse in a rear garden in England does not require planning permission under permitted development rules provided it does not exceed 50% of the garden area, is not forward of the principal elevation of the house, and is under 2.5m high if within 2m of a boundary. Always confirm with your local planning authority if in doubt – particularly in Conservation Areas, on listed buildings, or in Scotland and Wales where permitted development rules differ.
Siting is critical. The greenhouse needs maximum sun exposure – orient it with the ridge running east to west to maximise the south-facing glazing area. Avoid positions shaded by buildings, fences or large trees, even partially. Even partial shading significantly reduces growing temperatures and light levels inside. A sheltered position away from the prevailing wind is preferable – strong winds dramatically increase heat loss and can stress glazing in older or lighter structures.
Greenhouse types and materials
Aluminium-framed greenhouses are the most widely sold type in the UK, and with good reason – they are lightweight, maintenance-free, long-lasting and available in a huge range of sizes. Toughened safety glass is the recommended glazing for all new builds: it is far safer than old-style horticultural glass, shattering into small granules rather than sharp shards, and it provides better insulation. Polycarbonate glazing is an alternative that offers better heat retention than glass, is significantly lighter and is virtually unbreakable – its disadvantages are lower light transmission and gradual yellowing over years of UV exposure that can noticeably reduce light levels inside the structure.
Always buy toughened safety glass rather than horticultural glass. Standard horticultural glass is thin and shatters into sharp, dangerous shards when broken. Toughened safety glass costs more but is far safer and more resistant to breakage from falling branches, footballs and other impacts. Most quality greenhouse kits now include toughened glass as standard – if it is an option, always choose it.
Building the foundation
Mark out and check for square
Mark the outer corners of the foundation with pegs and string lines. Check for square by measuring both diagonals – they must be exactly equal. A greenhouse built on an out-of-square foundation will have persistent alignment problems throughout assembly that cannot be corrected once the frame is up. Take the time to get this right before touching a spade.
Excavate and lay the base
Excavate to 100mm depth across the full base area. For a concrete slab, pour a 100mm slab on a compacted hardcore base (1:2:4 mix). For a paving slab base, lay slabs on a full mortar bed ensuring the entire perimeter is solid – not just the corners. Both methods work well. The critical requirement is that the finished surface is level across both axes and matches the greenhouse base dimensions exactly.
Allow full cure before assembling
Allow concrete to cure for a minimum of 48 hours before applying any load. In cold or damp weather, allow longer – concrete cures slowly below 5°C and should not be loaded within a week in winter conditions. Assembling on partially cured concrete can disturb the base and knock it out of level. Mortar-bedded slabs should also be allowed to set fully before frame assembly begins.
Assembly and glazing
Most greenhouse kits include detailed manufacturer instructions and assembly is straightforward provided the foundation is level and square. The key principles are to work methodically through the manufacturer’s sequence, to leave all fixings finger-tight until the full frame is erected and checked for squareness and plumb in all directions, and to have a second person available throughout – most greenhouse frames cannot be held in position single-handedly while fixings are tightened. Once the full frame is up and confirmed square and plumb, work around methodically tightening all fixings. Tightening progressively as you go creates cumulative stress that can pull the frame out of true by the time the last section goes on.
Glazing follows frame assembly. Toughened glass panels slot into the aluminium glazing bars and are secured with glazing clips – follow the kit instructions for the correct clip spacing. Work from the bottom of each side upward, overlapping each pane slightly over the one below to shed rain. Handle glass panels with gloves and do not flex or twist them. Polycarbonate panels are cut to size with a fine-tooth saw and sealed at the cut edges with tape to prevent moisture ingress into the twin-wall chambers. A potting bench inside the completed greenhouse gives a useful working surface from day one.
After the build – ventilation and staging
Adequate ventilation is the most commonly overlooked aspect of greenhouse design. A greenhouse without sufficient vents overheats rapidly in summer – daytime temperatures can reach 40-50°C without ventilation, which destroys seedlings and crops far faster than any pest or disease. Roof vents are more effective than side vents as hot air rises. Automatic vent openers triggered by temperature require no power, no timer and no intervention – they simply open when the greenhouse gets too warm and close as it cools. Fit them to every roof vent from the start rather than retrofitting them later.
Staging – the benching inside the greenhouse on which pots, seedlings and propagation trays stand – transforms the usability of the space. A staging shelf at waist height on one or both sides of the greenhouse makes working inside comfortable and maximises use of the available light in the upper portion of the structure. Many aluminium greenhouse kits offer matching staging as an accessory, and it is worth fitting from the outset rather than improvising with outdoor furniture. Combined with the extended growing season, good ventilation and organised staging, a greenhouse becomes one of the most productive and satisfying parts of the UK garden year-round – enabling early tomatoes, winter salads and year-round propagation that is simply not achievable outdoors in most parts of the UK.
Common problems and solutions
Share on socials: