At a glance
Oxalis is one of those weeds that gardeners tend to underestimate the first time they encounter it. It looks delicate – small clover-like leaves, tiny flowers, a modest presence in the border or lawn. Then you try to remove it and discover that every attempt at pulling seems to produce more plants rather than fewer. Within a season it can spread from a handful of plants to a dense mat covering a whole raised bed or pot. It is not the most dramatic weed in UK gardens, but it is arguably the most stubborn to control once established.
The frustration with oxalis is not a failure of effort – it is a failure of technique. The biology of this plant is specifically designed to defeat the standard approach to hand weeding, and understanding that biology is the prerequisite for controlling it effectively. This guide explains why oxalis behaves the way it does, the correct removal technique that gives the best results, and the combination of approaches that gradually brings an infestation under control over one to three seasons.
Identifying oxalis in your garden
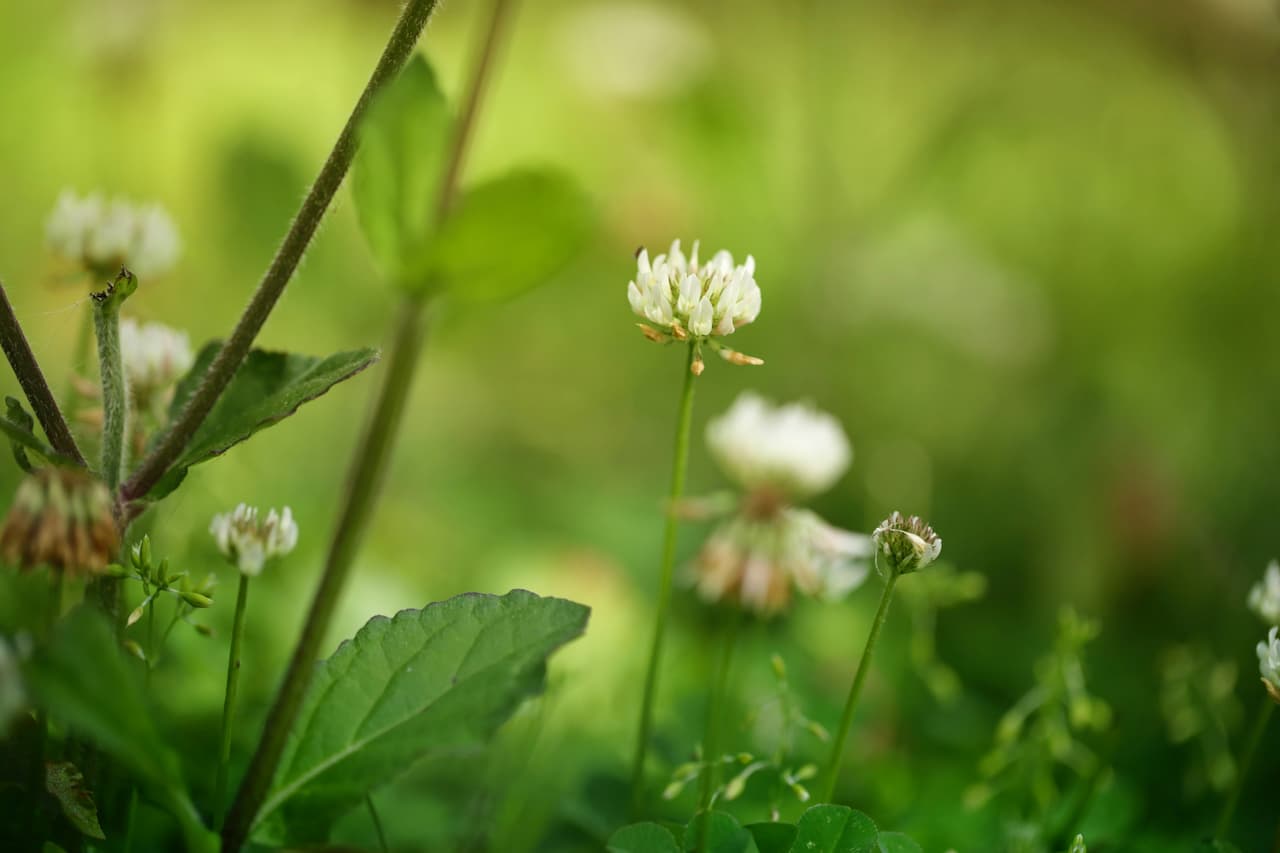
Oxalis is identifiable by its distinctive trifoliate leaves – three heart-shaped leaflets joined at a central point, similar in outline to clover but with each leaflet more distinctly notched at the tip. The leaves fold downward at night and in cold or overcast conditions, which makes the plant appear to close up and is a reliable identification feature. Flowers are small, five-petalled and appear from late spring through autumn depending on species.
O. corniculata is by far the most common garden pest species – a low-growing, mat-forming plant that roots at the nodes as it spreads across the soil surface. O. debilis (pink sorrel) is particularly troublesome in pots, containers and raised beds where it establishes rapidly from bulbils and is extremely difficult to eradicate without emptying the container entirely. O. acetosella is the native British wood sorrel found naturally in woodland settings and is rarely a problem in managed gardens.
Why oxalis is so hard to remove
The single feature of oxalis biology that makes it so extraordinarily persistent is the bulbil. Bulbils are tiny, white, pearl-like structures attached loosely to the root system of the plant. They are smaller than a match head, numerous on every established plant, and they detach almost instantly when the plant is disturbed. When a gardener pulls an oxalis plant, the roots tear and the bulbils remain in the soil. Each one is capable of growing into a full new plant. Digging does not help – it distributes bulbils further and deeper into the soil profile, often making the problem worse in the following season.
Seed dispersal compounds the problem. Oxalis produces seed pods that dry and explode when ripe, ejecting seeds up to a metre from the parent plant. A single plant left to set seed can produce hundreds of viable seeds in one season. Seeds also arrive in bought compost, nursery plants and on garden tools, meaning complete prevention of reintroduction is genuinely difficult. This is why the realistic aim with oxalis is control and suppression rather than total eradication, particularly in open garden beds where seeds and bulbils can arrive from neighbouring gardens or wild areas.
Never compost oxalis. The bulbils survive the temperatures of most domestic compost heaps and will reintroduce the weed wherever the finished compost is spread. Bag all removed oxalis – including as much root material as possible – in sealed bags and dispose of in general waste. Alternatively, spread pulled plants on hard standing in direct sun and allow them to desiccate completely over several weeks before disposing.
Manual removal – the right technique
The standard hand-weeding approach of gripping the plant and pulling upward is the wrong technique for oxalis. It tears the roots, leaves virtually all the bulbils in the soil, and achieves very little beyond temporarily removing the visible growth. The correct approach requires loosening the entire root zone first, then lifting the complete root mass as intact as possible, and working methodically to extract as many bulbils as the soil conditions allow.
Work when the soil is moist but not waterlogged
Moist soil releases roots and bulbils far more completely than dry, compacted soil. The day after rainfall or after thorough watering is the ideal moment. Waterlogged soil collapses around the roots as you work and is equally unhelpful.
Use a narrow trowel or old kitchen fork – not your fingers
Insert the tool 5-7cm around the perimeter of the plant and loosen the soil thoroughly before touching the plant itself. Work in a circle around the base, breaking the soil to depth on all sides. This frees the roots before you attempt to lift them.
Lift the whole clump as a single mass
Slide the trowel underneath the root zone and lever the entire clump upward in one movement. The aim is to bring the root mass and surrounding soil up together, trapping as many bulbils within the clump as possible rather than leaving them dispersed in the surrounding soil.
Bag immediately – never shake or tap the root ball
Transfer the lifted clump directly into a bag without shaking or tapping it. Shaking dislodges bulbils and deposits them back in the garden. Work over a plastic sheet if that makes collection easier. All material – leaves, roots, soil clinging to the roots – goes into the bag.
Mulch the cleared area immediately
Apply a 5-8cm layer of bark mulch or compost over the cleared area immediately after removing the plants. Bulbils require light to germinate. A consistent thick mulch layer suppresses the germination of any bulbils remaining in the soil and significantly slows regrowth between removal sessions.
In pots and containers where oxalis has fully established, the most reliably effective approach is to empty the pot entirely, wash the roots of any desirable plants thoroughly under running water to dislodge bulbils, and replace all the compost. This is time-consuming but achieves a genuine reset in a contained space where repeated partial removal would otherwise continue indefinitely.
Remove oxalis before it flowers – every time. A plant that reaches the flowering stage and sets seed increases the problem exponentially. Each seed pod can disperse dozens of seeds. Removing plants at the seedling or young rosette stage, before any flowers appear, is dramatically more effective than removing mature plants with seed heads. Check beds every two to three weeks during the growing season and remove any new growth immediately.
Chemical control options
Chemical control is possible but requires realistic expectations. Glyphosate-based total weedkillers will kill the foliage and weaken the plant significantly, but a single application rarely eliminates the bulbil bank in the soil. As the treated plants die, surviving bulbils germinate to fill the gap. Multiple applications over a full growing season – treating every flush of new growth as it appears from the bulbils – is the approach that achieves meaningful results. Apply on a still dry day with no rain forecast for at least six hours, ensuring thorough coverage of all foliage.
Oxalis in lawns
Oxalis in a lawn presents a different set of challenges to border infestations. Mowing does not control it – the low-growing habit of O. corniculata means it spreads happily below the cut height, rooting at nodes as it goes. Chemical treatment is the primary tool in lawn situations, but it works best when combined with improving the overall density of the lawn grass to close the gaps that allow oxalis to establish in the first place.
A thin, poorly fed, compacted lawn with bare patches is the ideal environment for oxalis. Vigorous dense grass crowds out most low-growing weeds. Feeding the lawn in spring and autumn, overseeding bare patches, aerating compacted areas and scarifying to remove thatch all directly reduce the niche oxalis exploits. A lawn treated with selective weedkiller in spring but left otherwise unimproved will see the oxalis return as the treatment wears off and bare patches reopen. The weedkiller addresses the immediate problem; the lawn improvement programme addresses the underlying cause.
Preventing it coming back
Once oxalis is suppressed to a manageable level, maintaining that suppression requires two things above all: eliminating bare soil in borders and preventing reintroduction from outside the garden. Bare soil is an open invitation. Any gap in planting is a germination site for bulbils that persist in the soil and seeds arriving from elsewhere. Dense planting combined with a maintained mulch layer is more effective than any chemical programme for long-term prevention.
Check bought-in plants and compost carefully before introducing them to the garden. Oxalis bulbils are tiny and easily missed in the root balls of nursery stock or in bags of compost. Washing bare roots before planting and inspecting compost visually for small white spheres reduces reintroduction risk significantly. The aim across three seasons of consistent effort is not necessarily total elimination but a population so reduced and so regularly interrupted that it becomes a minor maintenance task rather than an overwhelming problem.
Share on socials: