At a glance
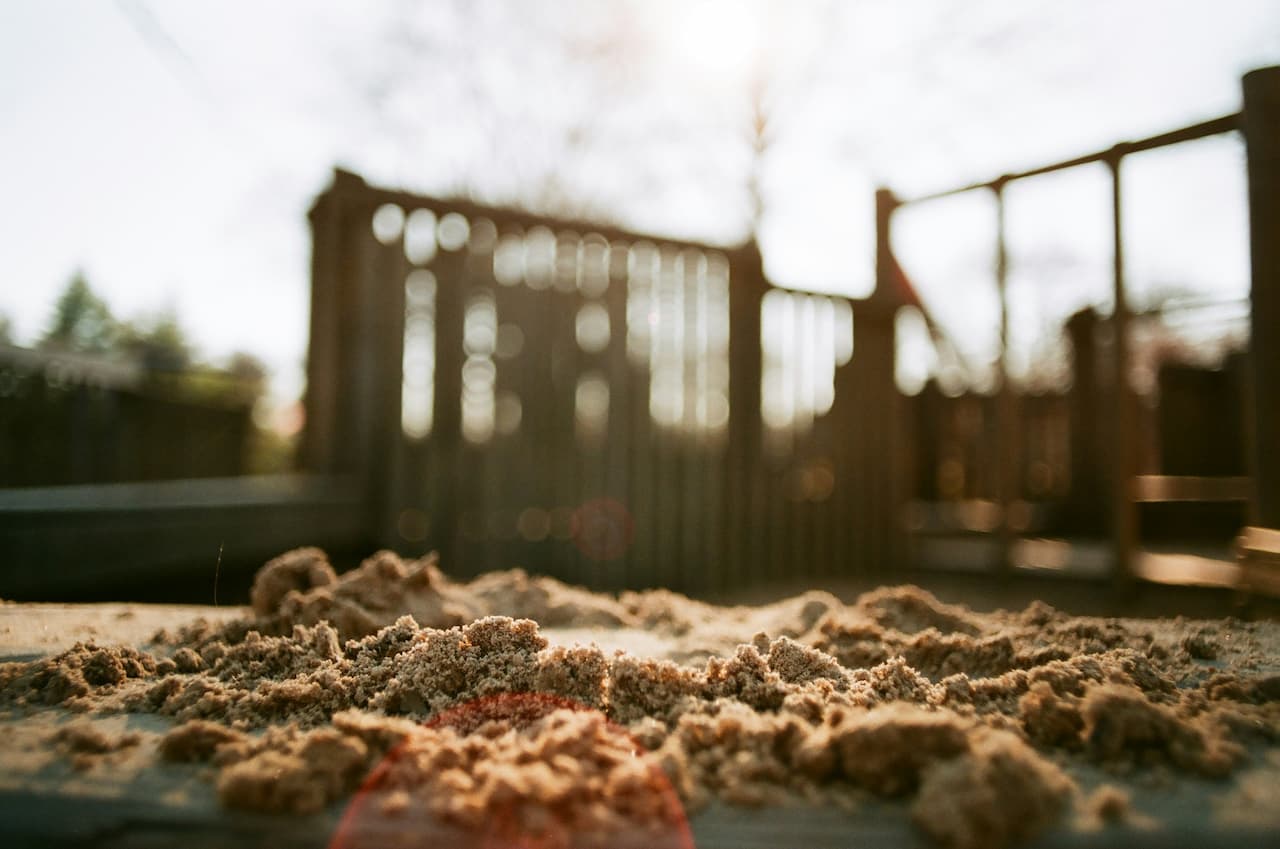
A garden sandpit is one of the highest-value outdoor play investments you can make for young children. Sand is one of the most naturally engaging play materials available – it supports imaginative play, develops fine motor skills, encourages cooperative play between multiple children and keeps children genuinely occupied for extended periods in a way that most other garden play equipment simply does not. A well-built sandpit with a fitted cover, good drainage and the right sand will serve a family through multiple children across several years and can be repurposed as a raised planting bed once the children have grown out of it.
The two most common sandpit failures are poor drainage and no cover. A sandpit that sits in a pool of water after rain becomes a soggy, compacted mess that is unpleasant to play in and takes days to dry out. A sandpit without a cover becomes a toilet for every neighbourhood cat within a week and the sand must be replaced entirely before it is safe to use again. Both problems are straightforward to solve at the build stage and both are essentially impossible to fix retrospectively without rebuilding from scratch. Getting drainage and the cover right at the outset costs very little extra time and money and makes the difference between a sandpit that gets used daily and one that gathers leaves in the corner of the garden.
What you’ll need
Planning, size and siting
The depth of sand matters as much as the footprint. A minimum of 20cm of sand allows children to dig properly without immediately hitting the base – 25-30cm is better if budget allows. Too shallow and the sand compacts quickly and loses its play appeal. The sandpit frame itself only needs to be 30-35cm deep to accommodate this depth of sand with a small gap at the top. Keep the top of the frame at a height that young children can easily step over and climb into – for a typical two-year-old that means no more than 25-30cm above ground level.
Siting the sandpit in partial shade is the right balance for UK conditions. Full sun bakes the sand and makes it uncomfortably hot for bare feet in summer, and it dries the sand too quickly so it loses its packing quality. Full shade keeps the area damp and encourages moss growth in the sand over time. A position that receives morning sun and afternoon shade, or dappled shade from a tree canopy, gives comfortable playing conditions through the summer months. Avoid siting under a deciduous tree directly – leaf fall contaminates the sand in autumn and is difficult to remove completely.
Step by step build
Safety, sand and maintenance
The fitted cover is non-negotiable for a garden sandpit used by young children. Cats are strongly attracted to loose sand as a toilet area and a single contamination event – which will happen within days of leaving a sandpit uncovered overnight – requires complete sand replacement to make the pit safe again. The cost of replacing 200-400kg of play sand plus the inconvenience makes this a very poor economy. A simple plywood cover cut to the interior dimensions, sanded smooth and treated with exterior wood stain costs under ten pounds to make and takes five minutes to fit at the end of each play session.
Sand maintenance is straightforward but requires a routine. Rake the sand after each session to check for debris, sharp objects and anything that should not be there. Replace the sand entirely every two to three years as it gradually accumulates dust, organic material and fine debris that cannot be raked out. Between full replacements, topping up with fresh bags of play sand when the depth drops below 15cm keeps the pit playable. In wet weather, leave the cover off briefly after rain to allow the sand to dry out – compacted wet sand quickly loses its play quality and takes several dry days to recover.
Always use certified play sand – never building sand or sharp sand. Building sand and sharp sand contain angular particles that can cause eye irritation and skin abrasion with repeated contact. They also frequently contain additives used in construction that are not safe for extended skin contact in children. Certified play sand to BS EN 1177 is specifically processed and tested for children’s play use. The price difference between play sand and building sand is small – never compromise on this.
Share on socials: