At a glance
A trellis is one of the most versatile structures you can add to a garden. It provides a climbing frame for plants, a degree of privacy without the solid weight of a fence, a windbreak that filters rather than blocks air flow, and a visual divider between different garden areas. A well-built timber trellis is far stronger and longer-lasting than anything sold flat-packed, and building your own means you can size it exactly for the space, choose the pattern of the grid, and use timber substantial enough to carry a heavy climber without flexing under the load.
This guide covers building a standard square-grid panel trellis from scratch – the most practical and widely used design. The same principles apply to diamond-grid trellis, fan trellis and more decorative patterns. Once you understand how the structure goes together, adapting the design is straightforward. The same weekend build can produce a fence topper, a freestanding screen, a pergola side panel or a wall-mounted plant support – the construction method is essentially identical across all of them.
What you’ll need
Trellis types and uses
Trellis serves several distinct purposes in the UK garden and the right design depends entirely on what you need it to do. A fence-topper trellis adds height to an existing fence for privacy or plant support without requiring planning permission in most cases – though the combined height of fence plus trellis must stay within permitted development limits (see the warn-box in the fixing section). A freestanding trellis panel on posts creates a screen or room divider within the garden. It also makes a natural pairing with a garden archway. A wall-mounted trellis fixes to a house or garden wall to support climbers while holding them away from the masonry to allow air circulation and prevent damp. An obelisk or frame trellis provides a freestanding focal point in a border for roses, sweet peas or beans.
The most common trellis builds in UK gardens are fence toppers and wall-mounted panels. Fence toppers give extra privacy on a boundary without the visual solidity of a taller fence – and because trellis lets light and air through, neighbours are generally more receptive to it than to a solid extension. Wall-mounted trellis is often the first structure a gardener puts up when they want to grow a climber – it provides both support and the essential gap behind the plant that keeps the wall dry and the stems healthy.
Materials and timber choice
The standard material for a UK garden trellis is pressure-treated softwood batten. Pressure treatment forces preservative chemicals deep into the timber fibres under vacuum pressure, producing genuinely rot-resistant wood – not just a surface coating. The result is timber that typically lasts 10 to 15 years outdoors in the UK without any further treatment, compared to untreated softwood which begins to crack and rot within two to three seasons. For the outer frame of the panel, use 50x25mm batten. For the lattice work that forms the grid, 38x19mm is the standard lightweight option, while 50x25mm throughout gives a heavier, more substantial panel suited to supporting vigorous climbers or acting as a freestanding wind filter.
For a standard 1.8m x 0.9m panel with a 15cm square grid, you need approximately 7 metres of horizontal batten and 13 metres of vertical batten – around 20 metres in total. This makes trellis one of the most material-efficient builds in the garden. A single 3.6m length of batten costs less than most plants you would train on it, and the panel will outlast most of them.
Offset the battens for a stronger panel. The strongest trellis is built with one layer of horizontal battens nailed to a frame, then a second layer of vertical battens nailed across the top of the first. This produces a panel with genuine structural depth – not a single flat lattice – and it holds its shape far better over years of weathering and wind load.
Step-by-step build
This build produces a 1.8m x 0.9m panel with a 15cm square grid – the most standard size for a garden trellis. The panel is built flat on the ground and fixed in position once complete. Adjust dimensions as needed: the same method produces any size panel from a 0.6m fence topper to a 2.4m freestanding screen. The only variable is how much timber you need.
Fixing to walls, fences and posts
How you fix the trellis determines its longevity and the health of any plants growing on it. The most important principle for wall-mounted trellis is to hold it away from the wall surface rather than fixing it flush against the masonry. A gap of 3-5cm between the trellis and the wall allows air to circulate behind the plant stems, reducing damp and fungal disease risk and making it easier for plants to twine around the structure. Use timber spacer blocks or proprietary trellis fixing blocks to achieve this gap. These are cheap, require no specialist skill to install and make a measurable difference to plant health over time.
For fence-topper trellis, screw timber brackets to the face of each fence post and bolt or screw the trellis panel to the brackets. Do not simply nail the trellis to the top of the fence boards – this relies on the fence boards for support and will fail as the boards age and warp. If the fence itself is already showing signs of movement, address that first – a broken fence repair before adding a trellis will save redoing the work twice. For freestanding panels, the trellis needs its own posts set in the ground. Use 75x75mm posts set at least 60cm into the ground with rapid-set concrete, spaced to match the panel width. Screw the trellis panel to the posts using coach screws or galvanised bracket fixings. The post depth is not optional – a post set less than 60cm deep will work loose within a year of a vigorous climber establishing on the panel and generating wind resistance.
Check permitted development rules before adding height. In England, a fence, gate or wall adjacent to a road used by vehicles is limited to 1 metre in height overall. All other boundary fences are limited to 2 metres overall. Adding a trellis topper to an existing fence counts toward the total height – adding even 30cm of trellis to a 2m fence takes you over the permitted limit. If in doubt, check with your local planning authority before building.
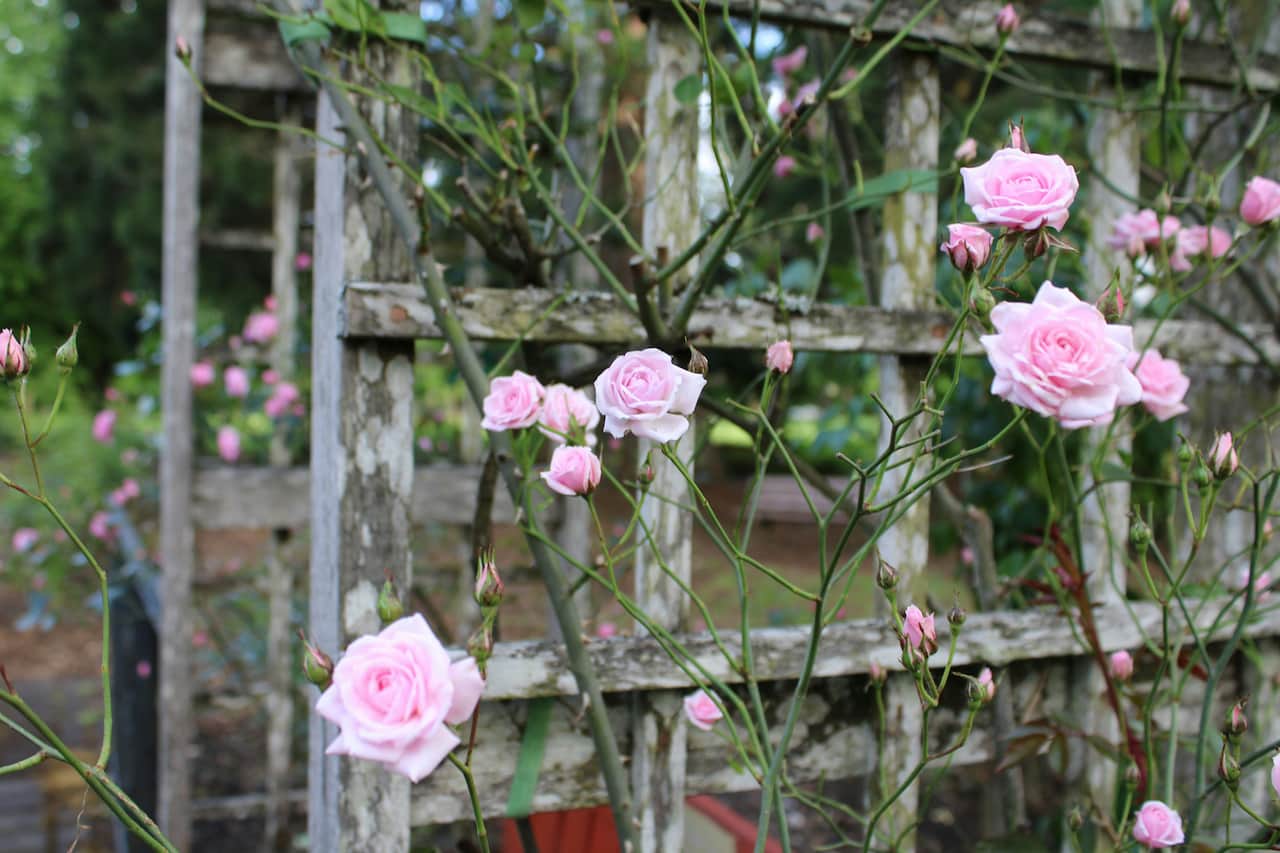
Best plants for trellis
A standard square-grid timber trellis supports almost any climbing plant that does not become excessively heavy or woody in full growth. Wisteria and large mature roses can generate significant weight and wind resistance and are better suited to wire support systems or heavier-framed structures rather than standard batten trellis. For most UK garden climbers the standard panel is entirely adequate.
For a privacy screen, faster-growing plants give quicker results. An established honeysuckle will cover a 1.8m x 0.9m panel within two seasons, providing dense foliage cover from spring to autumn. Clematis viticella varieties provide colour from July through to October on the same structure. A useful strategy is to combine a fast-growing annual climber such as black-eyed Susan (Thunbergia alata) in the first season with a perennial climber planted at the same time – the annual provides immediate colour while the permanent plant establishes. The annual then becomes redundant and dies back, leaving the perennial to take over. Runner beans on a vegetable garden trellis follow this same principle, giving something productive while a permanent climber gets going.
Common mistakes to avoid
Most trellis failures come down to one of three causes: wrong timber, wrong fixing, or wrong grid size. Each is entirely avoidable with a small amount of preparation.
One mistake worth adding to that list is setting freestanding posts too shallow. A post set 40cm into the ground feels solid when installed but will rock and eventually fail once a heavy climber establishes on the panel and adds significant wind resistance. The 60cm minimum depth given in the fixing section is not a suggestion – it is the practical minimum for a trellis that will last as long as the timber itself. Use rapid-set concrete around the base of each post, not just compacted soil.
Share on socials: