At a glance
A garden irrigation system takes 30-60 minutes per day of manual watering and replaces it with a set-and-forget automated system that delivers water more efficiently, more consistently and more accurately than a hose ever can. The water saving is real – drip irrigation delivers water directly to the root zone of each plant rather than spraying it across the surface where much is lost to evaporation – with typical reductions of 30-50% in water use compared to hand watering. For a vegetable plot or a garden with a significant number of containers and pots, the difference between an irrigated system and hand watering is the difference between a low-maintenance productive garden and one that becomes a daily obligation during dry weather.
Modern drip irrigation kits for domestic gardens are genuinely DIY-friendly. No plumbing knowledge is required, the components push together without specialist tools and the system can be adapted, extended or completely reconfigured as the garden changes. The main decisions are which type of system suits your garden, how to plan the layout, and whether to add a timer – which transforms a manually operated system into a genuinely automated one that waters at the optimal time of day whether you are at home or not.
Types of irrigation system
Four main types of garden irrigation system are available to UK homeowners. They differ significantly in how they deliver water, which garden areas they suit best and how efficiently they use water. Choosing the wrong type for a given application wastes water, delivers it inconsistently and creates more maintenance than a well-matched system would. A drip system on a lawn is impractical; a soaker hose in a container-heavy garden is equally unsuitable. The comparison below covers the practical differences that matter when planning a domestic UK garden irrigation setup.
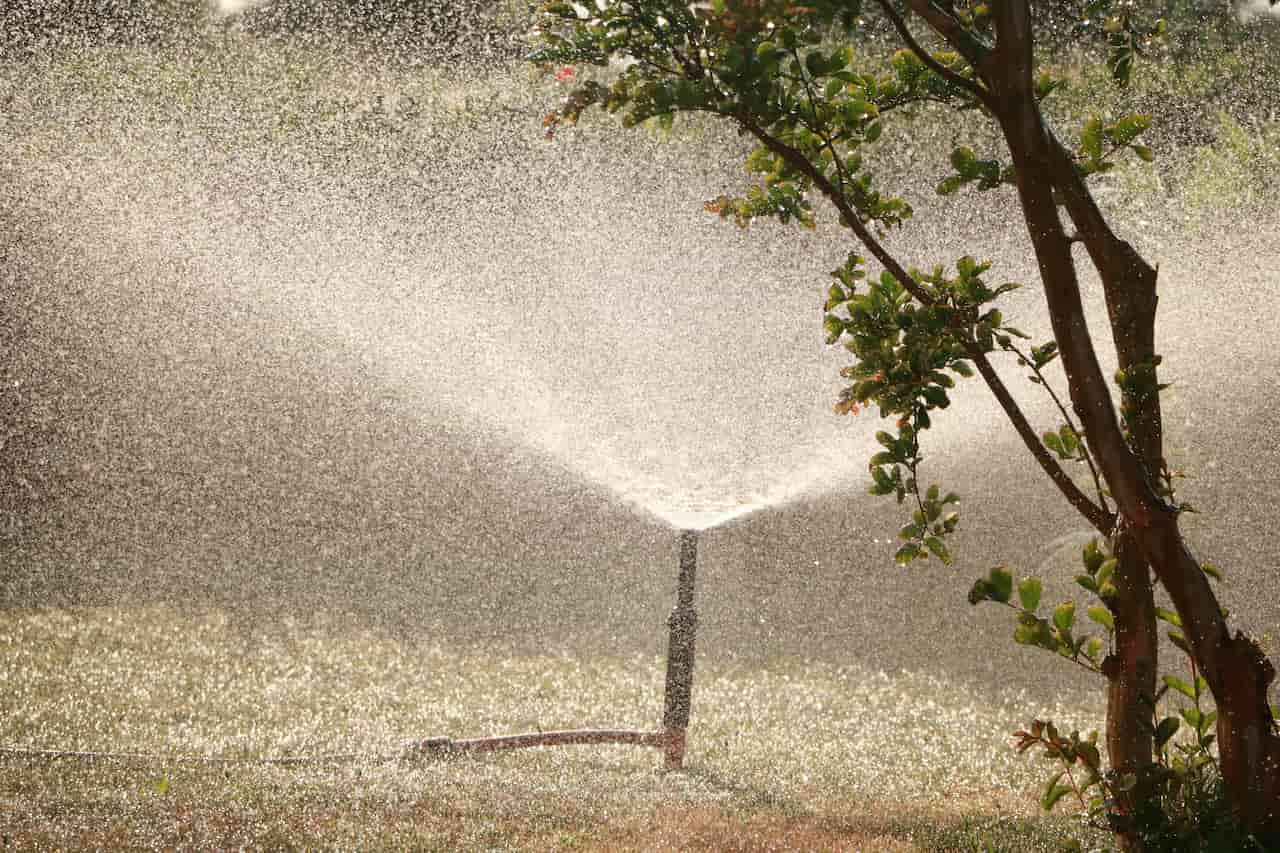
For most UK domestic gardens, a drip irrigation system is the best choice. It delivers water directly to each plant at root level, eliminates evaporation loss and can be expanded with additional emitters and branch lines as the garden grows. Soaker hose is a simpler, cheaper alternative for vegetable beds laid out in rows, where running the hose along each row delivers water consistently without the need to position individual emitters at each plant. For large lawn areas, an oscillating sprinkler or pop-up underground system remains the practical choice – drip irrigation is not suited to watering turf.
Planning your system
Sketch the garden to approximate scale and mark all the areas you want to water. Group them by water requirement – hungry, thirsty plants like courgettes and tomatoes need considerably more water than established shrubs, and mixing these on the same zone with the same emitter flow rate will either under-water the thirsty plants or over-water the drought-tolerant ones. A drip system can accommodate different emitter flow rates on the same supply pipe, but it is cleaner to plan similar plants on the same zone where possible.
The supply comes from an outdoor tap via a hose connector. The main supply pipe – typically 13mm diameter – runs from the tap to the main planting area, with 4mm micro-tube branch lines running off it to individual emitters at each plant. For a typical border of 20-30 plants, a single 13mm supply line with individual emitters handles the whole border from one connection point. Longer runs or more zones may require a multi-outlet tap connector. As a rough guide, a 13mm supply hose loses pressure over runs of more than 30-40 metres, so anything longer than this benefits from a second supply point or a larger-diameter main line.
The total flow rate of all emitters on a zone must not exceed the flow capacity of the tap – a standard UK outdoor tap typically delivers 10-15 litres per minute. Multiplying the number of emitters by their maximum flow rate gives you the peak demand; if this exceeds the tap capacity, split the planting into two separate zones run sequentially by the timer rather than simultaneously.
Install a filter and pressure regulator at the tap connection. UK mains water pressure is typically 3-4 bar, which is too high for drip irrigation emitters designed to operate at 1-2 bar. A pressure regulator at the tap connection protects the emitters and gives consistent flow regardless of mains pressure variation. A filter prevents grit from blocking the small emitter orifices, which is the most common cause of uneven watering and emitter failure in drip systems.
What you’ll need
A complete drip irrigation kit for a standard garden border includes a tap connector with filter and pressure regulator, main supply hose (13mm), T-connectors and end caps for the main line, sufficient 4mm micro-tube to reach all plants and individual drip emitters for each plant. Adjustable 0-8 litre/hour emitters allow fine-tuning per plant and are worth choosing over fixed-rate emitters for the flexibility they offer. Ground stakes hold the micro-tube in position and prevent it being disturbed by birds or general garden activity. Most starter kits include all of these for a modest garden area – check the stated plant count before buying.
For containers and pots, specific container drip kits with weighted drip stakes designed to sit inside pots are available separately. These work particularly well during holiday absences – containers dry out within 24-48 hours in warm weather without watering, and the automated drip system keeps them alive through a two or three week absence without any intervention. A standalone battery-powered timer connected directly to a tap with no mains requirement is the most reliable option for holiday irrigation where the main garden system is not already installed.
Installation step by step
Once you have confirmed all emitters are dripping and connections are tight, set the timer for early morning watering – watering in the morning rather than the evening reduces fungal disease risk by allowing foliage to dry fully before nightfall, which is particularly important for tomatoes, courgettes and other disease-susceptible vegetables. A well-designed system connected to a smart outdoor tap, as explored in our guide to smart home devices, can be integrated into a broader home automation setup for remote control and scheduling from a phone app.
Adding a timer
A timer transforms an irrigation system from something you remember to turn on into something that genuinely automates garden watering throughout the growing season. A basic digital hose timer costs around £20-30, fits between the tap and the filter fitting and allows one or more daily watering cycles with a set duration and start time. Program it once at the start of the season and adjust as conditions change – a shorter run in May, a longer one in July, shorter again in September.
More sophisticated Bluetooth or WiFi timers allow scheduling from a phone app and some can connect to local weather data to skip scheduled watering on rainy days – a genuinely useful feature for a UK garden where summer rainfall is frequent but unpredictable. These cost £40-80 but reduce water use further by avoiding unnecessary watering after rainfall. For a greenhouse or cold frame, a separate timer on an internal irrigation circuit allows independent scheduling from the main garden system, which is particularly useful during the hottest weeks when greenhouse plants may need watering twice daily while the garden needs only one cycle.
Maintenance and winterising
Reconnecting in spring takes around 30 minutes and the system is ready for another season. An irrigation system serving a vegetable plot pairs particularly well with crop rotation planning – knowing where thirsty crops will be planted each year allows you to position emitters optimally during spring setup rather than moving them mid-season when the ground is already planted up. A properly maintained system in good working order lasts 5-10 years before any major components need replacing, making it one of the best long-term investments for a productive UK garden. Emitters are the most commonly replaced part – a pack of spare adjustable emitters costs around £5 and takes only seconds to swap out when one eventually fails.
Share on socials: