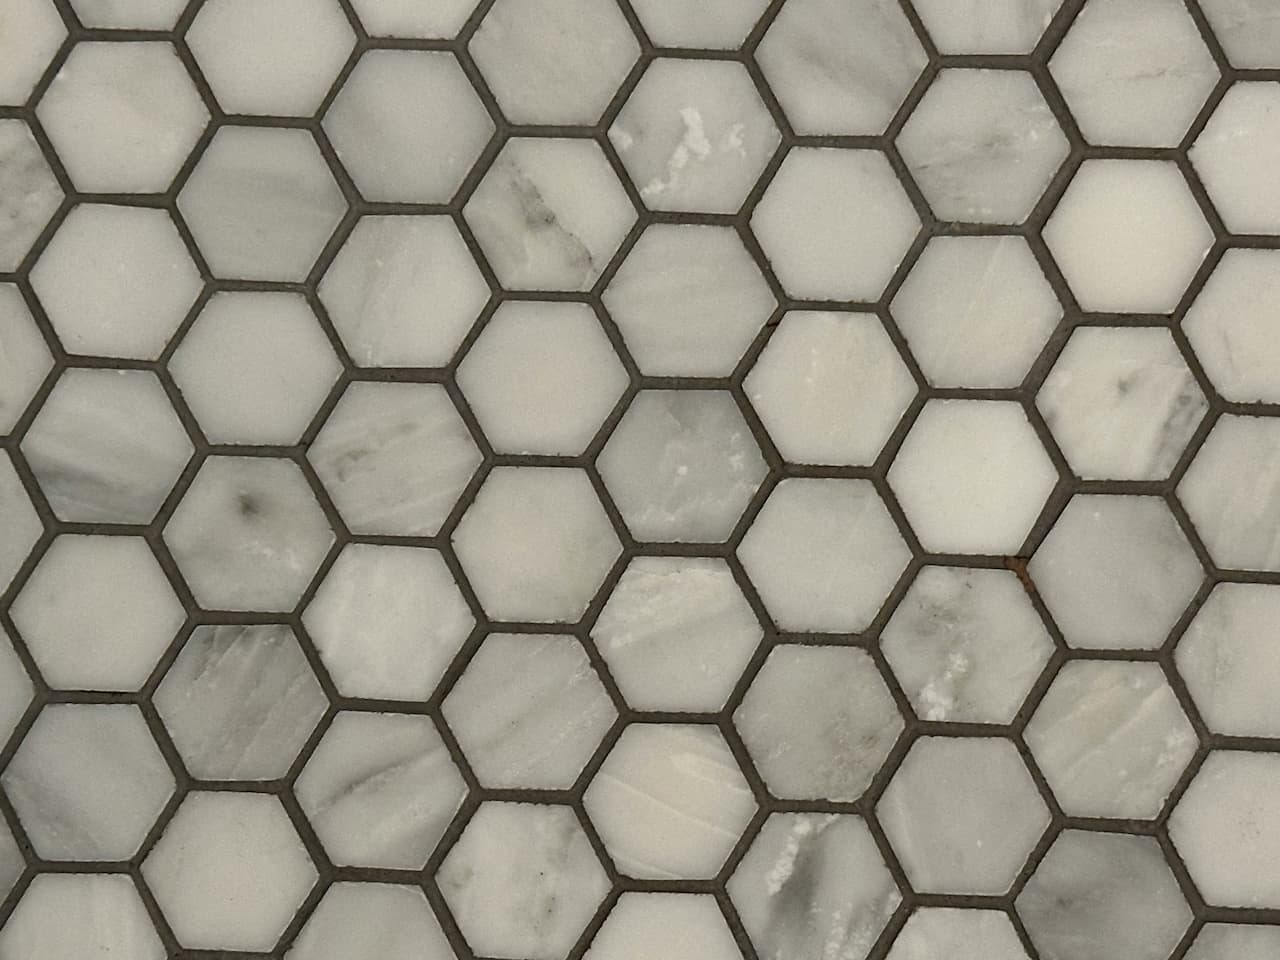
Grout deteriorates over time in every tiled room – it cracks, stains, and in wet areas like showers and bath surrounds, it eventually fails entirely and allows water to penetrate the wall behind the tiles. Re-grouting is one of the most cost-effective tile repairs a homeowner can carry out, transforming the look of tired tiling without the disruption and cost of full retiling. A bathroom that looks dated and grubby can look significantly cleaner and fresher with nothing changed except the grout.
The process is more demanding than it looks. The removal stage is the most important and most time-consuming part – old grout must come out fully before new grout goes in. Applying fresh grout directly over old is the most common mistake in DIY tiling work and the results always fail within weeks. Done properly, a re-grout on wall tiles takes a full day for an average bathroom, but the result is a finish that can last another decade if the right grout type and sealant are used.
For narrow joints and working around edge tiles where a power tool cannot reach
Grout float
For pressing new grout into joints and wiping diagonally across the tile surface
Grout, grout sealer, sponge and bucket
Unsanded grout for joints under 3mm – sanded grout for wider floor joints. Match colour to existing or go lighter
Safety glasses, dust mask and knee pads
Grout dust is fine and irritating. Eye and respiratory protection are essential during removal
Removing the old grout
This is the stage that determines the quality of the finished result. Every trace of old grout must be removed from the joint before new grout is applied – if old grout remains in the base of the joint, the new grout will bond to it rather than to the tile edges, and the repair will fail quickly. Work systematically from one corner across the area, completing full joint runs before moving to adjacent ones.
Grout removal – process stages
Scoring the joints first: Run a Stanley knife or a pointed tool along the joint centre before using the rake. This gives the blade a channel to follow and reduces the risk of slipping and scratching adjacent tiles, which is particularly important on glazed ceramic where scratches are permanent.
Depth of removal: Grout needs to be removed to a minimum depth of 6mm for new grout to bond correctly and have enough material to withstand movement. Anything shallower and the repair is liable to crack at the surface within months. Check depth with a matchstick – if it drops 6mm into the joint the depth is sufficient.
Corners and edges: A manual grout rake gives more control around edge tiles and in corners where a power tool blade cannot sit flush. Take extra care approaching tile edges – the tool can chip ceramic if it slips off the joint. Work at a low angle and use short strokes.
⚠️
Never apply new grout over old. This is the single most common DIY tiling mistake. New grout applied over intact old grout will not bond to the tile edges – it sits on top of the old surface and fails within weeks. Old grout must be removed completely before any new material goes in. There is no shortcut here.
Preparing the joints
Once all the old grout is removed, the joints need to be cleaned before new grout is applied. Grout dust, fragments and any residue left in the joints will prevent proper adhesion. Use a stiff brush to sweep the joints clear, then vacuum the area to remove fine dust. In wet areas, check for any mould or mildew on the tile edges inside the joint – treat with dilute bleach solution and allow to dry fully before proceeding.
Floor tiles, exterior tiles, most porcelain. Sand prevents shrinkage cracking
Epoxy grout
Any width
Commercial kitchens, pool surrounds, areas with chemical exposure. Stain-proof and waterproof
Flexible grout
Any width
Underfloor heating, timber subfloors, areas with movement. Absorbs flex without cracking
💡
Always use flexible silicone sealant – not grout – in internal corners and movement joints. The joint where wall meets floor, and all internal corners in wet areas, must be silicone rather than grout. These areas move with the building and with temperature changes. Rigid grout in these positions always cracks eventually. Match the silicone colour to your chosen grout as closely as possible.
Applying the new grout
Mix the grout according to the packet instructions – it should reach a smooth, lump-free consistency similar to thick peanut butter. Too wet and it will slump from vertical joints; too dry and it will not press into the full joint depth. Mix small batches – a typical powder grout has a working time of around 30 minutes before it begins to stiffen. For an average bathroom it is better to work in sections and mix fresh batches as needed.
1
Dampen the joints lightly before applying
A slightly damp joint surface helps the grout bond without drawing water out of the mix too rapidly. Use a damp sponge along the joints immediately before applying. Do not soak – damp is enough.
2
Load the grout float and work diagonally
Apply grout to the tile surface with the float held at a 45-degree angle. Work diagonally across the tiles rather than along the joint lines – this forces grout into the full depth of the joint rather than just smearing it across the surface.
3
Press firmly to fill the full joint depth
Apply sufficient pressure to push grout to the base of the joint. Lightly applied grout sits only at the surface and will crack when dry. The joint should appear fully packed with no voids visible when viewed at an angle.
4
Remove excess from tile face within 20 minutes
Use a clean, damp sponge to wipe excess grout from the tile surface in sweeping diagonal strokes. Rinse the sponge frequently in clean water. Do not delay this step – grout that dries on a tile surface is very difficult to remove without scratching.
5
Polish the haze off after 2 to 3 hours
Once the grout has begun to firm up, a grout haze will appear on the tile surface. Remove this with a clean dry cloth, working in circular motions. If it resists, a proprietary grout haze remover is available from most tile shops. Do not use acid-based cleaners on natural stone.
As an Amazon Associate I earn from qualifying purchases. Prices correct at time of publishing.
Finishing and sealing
Allow the new grout to cure fully before sealing and before the area is exposed to water. Most standard cement-based grouts require 24 hours before light water exposure and 72 hours before full wet use such as showering. Epoxy grouts cure faster – typically 24 hours to full use. Check the specific curing times on the product packaging before allowing any water contact.
Curing and sealing – key rules
Rule
Why
Wait 24 hours before any water contact
Grout that is wetted before it has fully cured will be weakened permanently and may discolour unevenly
Wait 7 days before sealing
Grout must be completely dry before sealer is applied – sealing damp grout traps moisture inside and causes efflorescence and colour problems
Apply sealer to grout only – not tile face
Sealer on glazed tiles creates a visible film. Use a brush or pen applicator to keep sealer within the joint and wipe any excess from tile surfaces immediately
Re-seal annually in wet areas
Grout sealer is not permanent. In showers and bath surrounds, reapply once a year to maintain the waterproof barrier and prevent mould penetrating the joint
Common mistakes to avoid
Re-grouting produces consistently good results when the basic process is followed correctly. The failures that lead to callbacks and re-dos come from a small number of recurring mistakes – all of them avoidable with a little patience at each stage.
Common re-grouting mistakes – risk level
Applying new grout over old without removing it. Guaranteed failure within weeks regardless of grout brand or technique.
Critical
Using wall grout on floors. Floor grout is a different formulation with added aggregate for compressive strength. Wall grout on a floor will crumble rapidly under foot traffic.
Critical
Grouting corner joints in wet areas. Internal corners in showers and baths move constantly with temperature and building settlement. Grout in these positions always cracks – use flexible silicone instead.
High
Allowing grout haze to dry on tile surfaces. After about an hour the haze begins to set and becomes very difficult to remove. Keep cleaning with a damp sponge until the surface is clear.
High
Mixing grout too wet. Runny grout slumps from vertical joints, produces a weak set and dries with shrinkage cracks. Follow the manufacturer’s water ratio exactly and mix for a full two minutes.
High
Not sealing after re-grouting. Unprotected grout in wet areas will stain, mould and deteriorate significantly faster than sealed grout. Always seal once fully cured.
As an Amazon Associate I earn from qualifying purchases. Prices correct at time of publishing.
Share on socials:
J
James Fletcher
James Fletcher is a home and garden enthusiast based in the north-west of England. He's been growing vegetables in raised beds for over four years and writes practical, no-nonsense guides for UK gardeners and homeowners.