At a glance
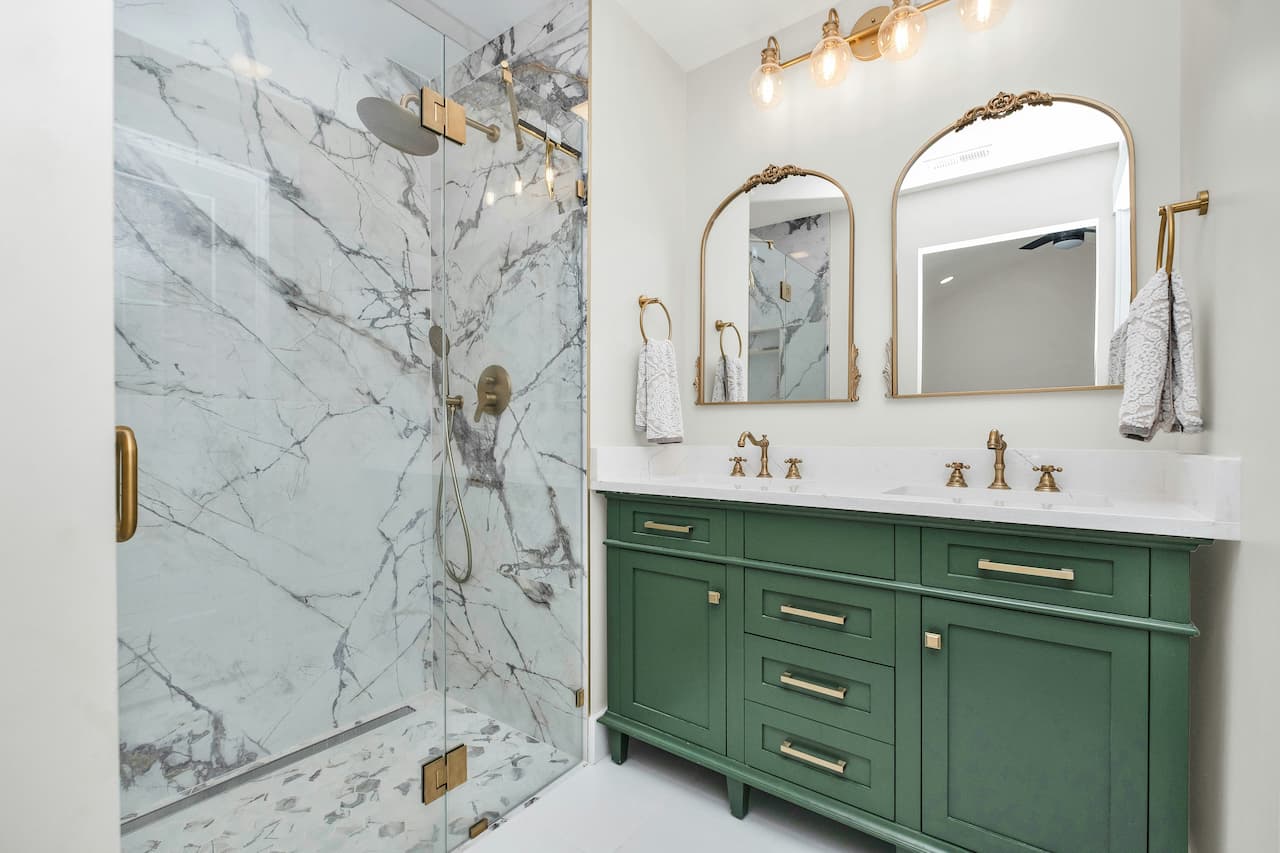
Tiling a bathroom is one of the most transformative DIY projects available to a UK homeowner – and one that rewards careful preparation more than almost any other task. A tired bathroom with cracked grout, dated tiles or bare plasterboard becomes an entirely different room with a full retile. The skill threshold is within reach of any competent DIY builder prepared to take their time, and the result adds immediate value and visual impact to the home.
The preparation is where most amateur tiling fails. Tiles applied to poorly prepared surfaces crack, move or lift within months. Tiles applied to a properly prepared, solid, level substrate last for decades. Budget at least half your total project time for preparation – it is never wasted.
Surface preparation
The substrate must be solid, flat and completely free of movement, grease or contamination before a single tile goes up. Different surfaces in a typical UK bathroom need different preparation approaches:
Use cement board (Hardiebacker) in any wet area – never standard plasterboard. Standard plasterboard absorbs moisture over time even with tiles applied, eventually causing mould behind tiles and substrate failure. Cement board is completely water-resistant and is the professional standard for shower enclosures and bath surrounds. The cost difference is minimal compared to ripping out failed tiling later.
Planning the layout
Always plan the tile layout before applying any adhesive. Measure the wall width and find the centre point. Hold a dry row of tiles along the floor against the wall to see how cuts fall at each end. The goal is balanced cuts at both ends rather than a full tile at one end and a tiny sliver at the other. Adjust the starting point by half a tile if this gives a more symmetrical result.
- 1Set a level datum line – fix a horizontal timber batten to the wall at the height of the first full tile row above the bath or floor. This gives a perfectly level starting line and supports tiles while adhesive sets.
- 2Start with the most visible wall – always begin tiling from the most visible wall. The eye naturally registers full tiles in prominent positions. Cut tiles should fall at less obvious edges: behind the door, in corners, near the floor.
- 3Mark cut lines before cutting – measure twice, cut once. Mark all cut tiles before touching the cutter. Score the glaze with one firm, continuous stroke – never go back over a score line.
Tiling walls
Choose the right adhesive for the area – standard ceramic wall tiles use ready-mixed or powder adhesive. In wet areas around the shower or bath use a flexible, waterproof adhesive. Large format tiles need a high-grab flexible adhesive regardless of location. Use a notched trowel matched to tile size – a 6mm notch for tiles up to 300x300mm, 10mm for larger formats. Back-butter large tiles (apply adhesive to the back of the tile as well as the wall) to ensure full coverage and eliminate hollow spots that cause cracking.
Keep a consistent grout joint with spacers – 2mm spacers produce a fine contemporary joint, 3mm suits larger tiles and traditional styles. Check level constantly by laying a spirit level across every 3-4 tiles. Catching a tile that is out of line early costs seconds to fix; catching it when the adhesive has cured costs an hour with an angle grinder.
Tiling floors
Floor tiling requires a solid, level, flex-free substrate. Timber suspended floors flex under foot traffic – this movement cracks grout and eventually loosens tiles. Fix 12mm exterior-grade plywood across the entire floor screwed at 15cm centres before laying any tiles. This stiffens the floor and gives a stable base. On a concrete floor, check for levelness with a long straightedge and use self-levelling compound on any dips greater than 3mm.
Use floor tile adhesive specifically – never wall tile adhesive on floors. Floor adhesive is formulated for the compressive loads footfall creates. Allow adhesive to fully cure – typically 24 hours – before walking on newly laid floor tiles. Any moisture coming up through a concrete subfloor must be addressed before tiling by applying a surface DPM (damp-proof membrane) – tiling over active damp will cause adhesive failure within months.
Grouting and finishing
- 1Remove spacers and allow adhesive to fully cure – wait a full 24 hours after the last tile before grouting. Remove spacers before the adhesive sets – check every hour in the first few hours.
- 2Apply grout diagonally with a rubber float – mix grout to a smooth, firm consistency. Apply with the float held at 45 degrees, working across joints diagonally to force grout in fully. Remove excess immediately.
- 3Clean and seal joints with silicone – after 20-30 minutes clean tile faces with a damp sponge. Apply silicone sealant – never grout – to the joint between tiles and bath edge, shower tray or floor. Movement in these joints cracks grout within weeks.
Typical tiling costs UK
Bathroom tiling is one of the most satisfying and worthwhile DIY projects in a UK home. Take time on preparation and setting out, keep everything level and the actual tiling is methodical and achievable. Once you have tiled a bathroom, a kitchen splashback feels straightforward by comparison.
Share on socials: