At a glance
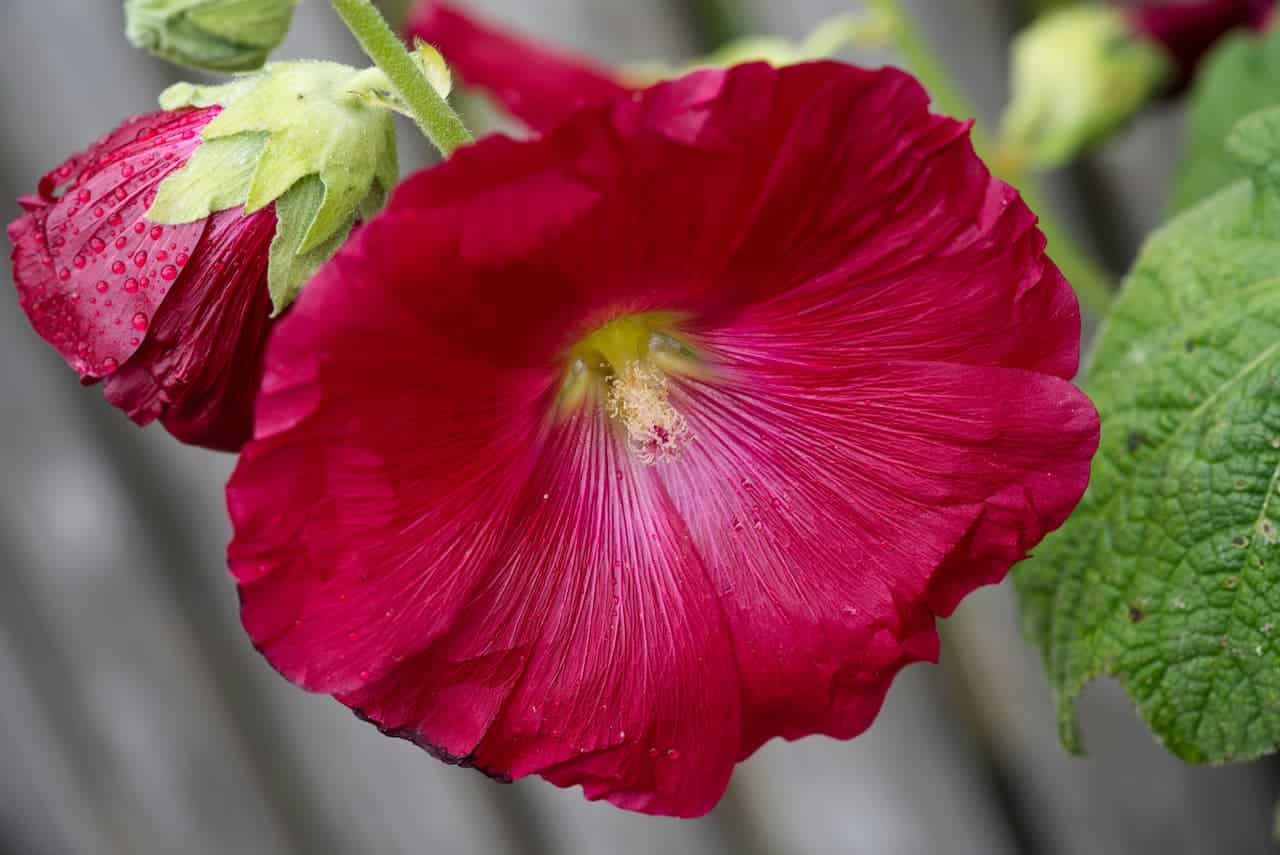
Hollyhocks are the most vertical of all the traditional cottage garden plants. Their stems rise to two and a half metres in a good position, carrying flowers in a continuous sequence up the spike from July through to September, and their habit of self-seeding freely means that a single planting can establish a recurring colony that regenerates each season with minimal intervention. Against a sunny wall or fence, in a gap between buildings, or at the back of a deep border, hollyhocks create a scale of planting that no other easily grown plant can match. They are biennials in their most common form, producing a rosette in year one and flowering in year two. The main practical challenge is not growing them but managing hollyhock rust, the fungal disease that affects the foliage of almost every UK planting from midsummer onwards.
Varieties
The table below covers the main hollyhock varieties and species available to UK gardeners. Single forms are more attractive to pollinators, more vigorous and self-seed more freely. Double forms produce spectacular flowers but are less wildlife-friendly and often shorter-lived as garden plants.
Sowing from seed
Hollyhock seed is large, flat and easy to handle. Sow from May to July for flowers the following year. Direct sowing into a prepared patch of border soil at six millimetres depth is the simplest approach: scatter seed thinly, rake lightly to cover and water. Germination typically takes two to three weeks in warm conditions. Thin seedlings to forty-five to sixty centimetres apart when large enough to handle. The heatmap below shows the full year calendar for sowing, flowering and rust risk.
For pot sowing, sow individually into small pots at six millimetres depth and grow on in a sheltered outdoor position through summer. Hollyhocks develop a substantial tap root even in the first year and do not transplant successfully once mature, so choose the final planting position carefully at this stage. Plant out by September. For first-year flowers, sow indoors in January or February at fifteen to twenty-one degrees Celsius. The Majorette Series is the most reliable variety for this approach and is specifically bred to flower in its first year.
Understanding the biennial cycle prevents the most common beginner disappointment. A plant sown in May produces a low rosette of large rounded leaves by autumn and sits at ground level through winter. In year two it sends up the tall flowering spike from late June, flowers through July and August, sets seed and typically dies after flowering. The crown can persist as a short-lived perennial in some conditions and may produce a third season of flowering, but most plants should be treated as biennials and replaced by self-sown seedlings or fresh plants. The self-seeding of established plants means that year one and year two plants run simultaneously in a managed colony, giving flowers every season rather than in alternate years.
Position and soil
Planting and care
Space plants forty-five to sixty centimetres apart. Autumn-planted hollyhocks almost always outperform those planted the following spring, as the plants establish their deep root system through winter. Mark the crown position clearly if planting in autumn, as the crown can be confused with a weed in spring before new growth emerges.
Plant in groups where possible. A row of three to five hollyhocks against a wall creates a far more dramatic effect than isolated single plants, and the crowded stems support each other in the lower portions, significantly reducing the need for individual staking. Against a wall or fence, staking is rarely needed at all.
In open border positions, staking is necessary for tall varieties once stems exceed about one metre. Insert a sturdy bamboo cane or metal stake beside each plant in late spring before the stem gets tall, pushing it deep enough to be secure. The cane needs to reach at least two thirds of the plant’s eventual height. Tie the stem to the cane loosely with soft twine at thirty to forty centimetre intervals as growth progresses, never tightly enough to cut into the stem. Do not attempt to stake a stem that has already bent or snapped: the hollow stem will not recover its upright habit. The correct approach is to stake early, before the problem occurs. Compact varieties such as the Halo Series and Majorette rarely need staking in any position.
Deadheading and aftercare
Cut spent spikes back to the base rosette after flowering to encourage side shoots and a smaller secondary flush of flowers. For self-seeding, leave seed heads on some plants to ripen and shatter naturally in late summer. Hollyhock seeds germinate freely in cultivated soil around the parent plant.
In autumn, cut all stems to the ground and remove them from the site entirely. This is one of the most important tasks in hollyhock growing. Old stems and leaves carry rust spores through to the following season. Removing and disposing of all old material in autumn significantly reduces the rust load on new growth the following spring. Do not compost old hollyhock material.
Managing hollyhock rust
Hollyhock rust is caused by the fungus Puccinia malvacearum. It appears as orange-brown pustules on the undersides of leaves with pale or yellow spots on the upper surface, spreading rapidly from midsummer. It is present on virtually every hollyhock planting in the UK. Complete elimination is essentially impossible once spores are established on a site. The table below sets out the practical management rules and the reason each one matters.
Self-seeding and long-term management
Hollyhocks self-seed generously in cultivated, relatively open soil. Within two or three seasons of the initial planting, an established colony maintains itself without further intervention beyond thinning. Thin self-sown seedlings in autumn or early spring, keeping well-positioned plants and transplanting others to gaps in the border or along the wall. Seedlings transplant easily at the first-year rosette stage when they are small. Once the tap root develops they become progressively more difficult to move.
Named colour forms do not reliably come true from self-sown seed, which tends to revert toward the wild pink or red single form over successive generations. For consistent colour, buy fresh seed or plants rather than relying on self-sown replacement for named varieties.
Other pests and problems
Beyond rust, hollyhocks face three recurring problems in UK gardens, each with a distinct pattern.
Hollyhock foliage causes skin irritation in some people. The leaves and stems are covered in fine hairs that can cause contact dermatitis, itching and redness. Wear gloves when handling the plants, particularly when cutting back or removing leaves. The reaction is usually mild and temporary but sensitive individuals should take care. The plant is not severely toxic if ingested but is not edible and should be kept away from children and pets as a precaution.
Hollyhocks against a wall are almost always better than hollyhocks in the open border. The reflected warmth from a sunny wall extends the flowering season, the structure provides natural support for the tall stems without visible staking, and the base of a wall is often the driest, most nutrient-poor spot in the garden. These are exactly the conditions where hollyhocks produce their most compact, floriferous growth. A south-facing wall lined with hollyhocks is one of the signature sights of a British cottage garden.
Share on socials: