At a glance
Heavy clay soil covers a large proportion of UK gardens – particularly across the Midlands, the north-west, the London basin and much of the south-east. It waterlogged in winter, bakes hard in summer, sticks to boots and tools, and can feel genuinely impossible to work productively in the months either side of those two extremes. Understanding exactly why clay behaves as it does is the first step toward improving it effectively, because most of the standard advice – buy grit, dig it in, problem solved – misses the point entirely about what is structurally wrong with clay in the first place.
The first thing to accept is that improving clay soil is a multi-year project. What is achievable within a single season is a meaningful improvement in surface workability. What is achievable within three to five years of consistent organic matter addition is a genuinely productive growing medium – one that retains clay’s real advantages in moisture and nutrient retention while losing most of the structural problems that make it difficult to cultivate. Clay is not a bad soil. It is a nutrient-rich, moisture-retentive soil with a structural problem. Fix the structure and you have something that will grow plants more productively than the thin, free-draining soils that gardeners in other parts of the country think they want.
Why clay behaves the way it does
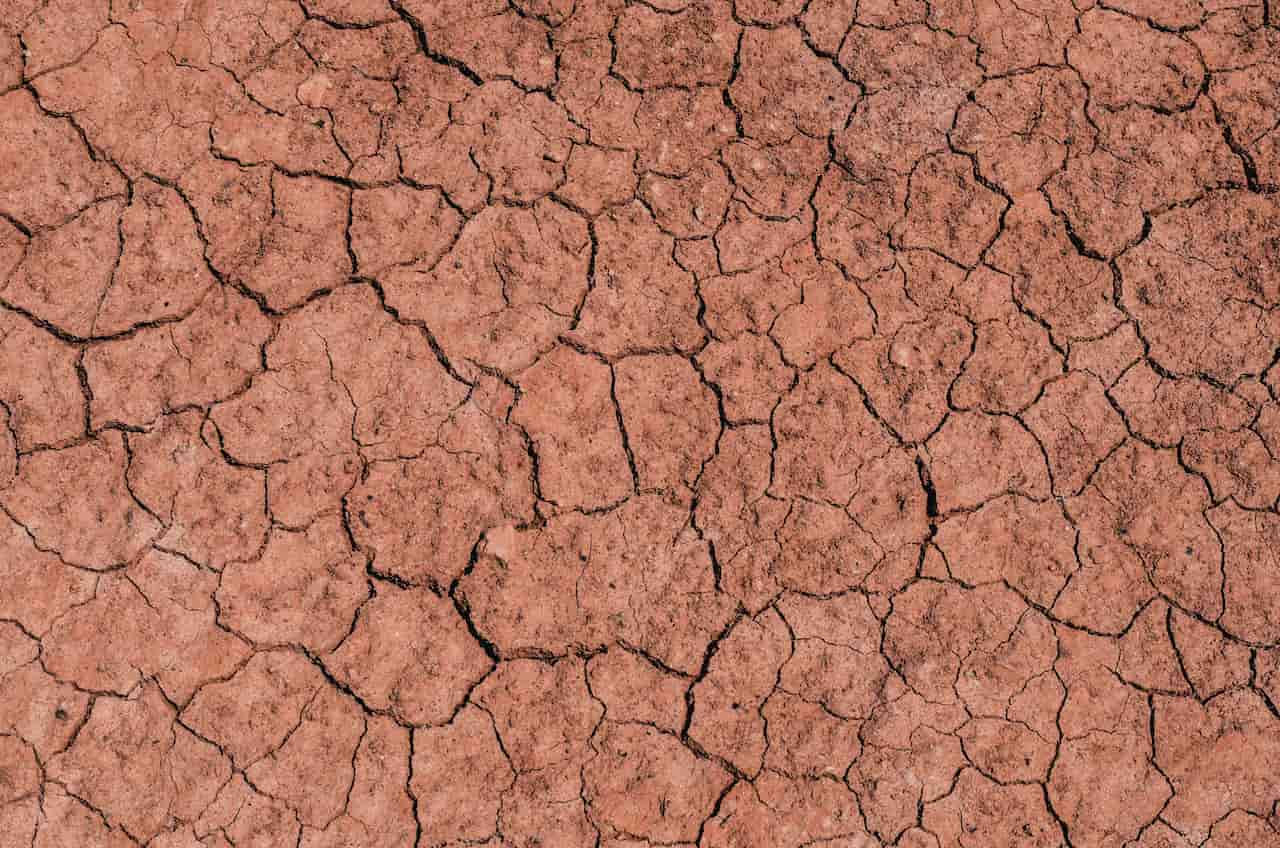
Clay particles are microscopically fine – many times smaller than sand or silt particles. This single fact drives every characteristic behaviour of clay soil. Fine particles pack tightly together, leaving minimal pore space for water and air to move through. Water enters slowly during rain and drains slowly afterwards. The particles expand when wet and contract when dry, causing the cracking that opens across a dry clay border in summer and the surface heaving that lifts paving in winter. And because clay particles carry surface electrical charges, they bind powerfully together when compressed – which is why walking on wet clay destroys its structure so completely and takes so long to recover from.
The goal of all clay improvement work is to increase pore space within the soil – creating air channels and drainage pathways that allow water to move freely and roots to penetrate without resistance. This is achieved not by adding inert materials like grit to physically open the clay (which requires quantities that are impractical at garden scale) but by feeding soil biology. Worms, bacteria and fungi do the structural work: their physical activity creates channels, and the sticky chemical byproducts of their decomposition work bind clay particles into larger aggregates called crumbs. Crumb structure is what good, workable clay looks and feels like. It takes time to build because you are building a living system within the soil, not simply adding a product to an inert medium.
The squeeze test tells you whether clay is workable at any given moment. Take a handful of soil and squeeze it firmly. If it forms a sticky, cohesive ball that smears when you push it – the clay is too wet to work. If it crumbles and falls apart when you open your hand – the moisture level is suitable for digging, planting or any cultivation. Working clay in its wet state compacts the particles irreversibly and destroys months of structural improvement in a single session. The squeeze test takes five seconds and should become habitual before picking up any tool.
Organic matter – the only real long-term fix
Adding organic matter is the single most effective long-term strategy for improving clay soil and there is no practical shortcut around it. Every other technique – grit, lime, drainage channels – either does a fraction of the work or requires organic matter alongside it to be effective. The mechanism is the same regardless of which organic material you use: the organic matter feeds soil biology, soil biology builds crumb structure, crumb structure opens up pore space. Apply a 10cm layer of well-rotted organic matter each autumn, dig it in roughly and leave the surface rough rather than raked flat. UK winters then do structural work for free – frost heaves and thaws the clods repeatedly over the season, breaking them down progressively. By spring the same bed that was difficult to dig in October will be noticeably more workable without further intervention.
Dig organic matter into clay in October and let the UK winter do the structural work for you. A 10cm layer dug in and the surface left rough and lumpy gives frost repeated opportunities through the winter months to break up clods. By March the same bed that was difficult to dig in autumn will be noticeably more workable without any further intervention. This traditional approach works because UK winters are reliably cold enough to do meaningful structural work on exposed clay.
The truth about adding grit
Adding horticultural grit or sharp sand to clay is one of the most consistently recommended and consistently misunderstood clay improvement strategies. The honest truth: to make a genuine structural difference to clay soil by adding grit, you need to achieve a ratio of roughly 50% grit by volume. At any lower ratio – the 10-15% that most guides suggest – the grit particles simply sit suspended in the clay matrix without touching enough other grit particles to create a drainage framework. The clay fills all the spaces between the grit. Nothing structurally changes.
Achieving a 50% grit ratio across a full vegetable bed requires more grit by volume than topsoil. At even modest prices per bag, the cost per square metre runs to tens of pounds, and the labour of incorporating it thoroughly is substantial. This is simply not a practical strategy at garden scale. Broadcast grit across a clay bed and dig it in at the rates most people apply it, and the result is effectively wasted money and effort – the clay behaves almost identically to untreated clay after one wet winter.
Where grit genuinely does help is in specific, small-volume situations where you control the total mix from scratch: individual planting holes for trees or shrubs in particularly waterlogged spots, mixing into a raised bed soil recipe at the outset, or improving drainage immediately around individual plants that need it. In these contexts you are creating a new growing medium rather than trying to modify the existing clay, and the ratio question is manageable. The same budget that would be wasted on broadcast grit across a border will buy three seasons of quality manure and produce incomparably better results.
Liming clay soil
Adding garden lime to clay causes a chemical reaction called flocculation. The calcium in the lime neutralises the electrical charges on clay particles, allowing them to bond into larger aggregates rather than remaining separated as individual fine particles. The result is improved drainage and workability and the effects can be visible within a season. Liming is particularly effective on acidic clay, which is common across large areas of the UK – many urban clay soils test at pH 5.5 to 6.5, which is below the optimum range for most vegetables and many ornamentals.
Test soil pH before applying lime – you need to know both whether your soil is acidic enough to benefit and how much lime is required to raise it to a target level. If the soil is already above pH 7.0, additional lime will cause nutrient lockout rather than improve growing conditions. Lime at the rate specified on the product label, applied in autumn. The most important rule with liming is one that must never be forgotten: never apply lime and manure at the same time or in the same season. The two react chemically and release nitrogen as ammonia gas, wasting the manure’s entire nutrient content. Apply lime in autumn and manure in spring, or strictly alternate between years with a full growing season separating the two applications.
Green manures for clay
Green manures – fast-growing cover crops sown specifically to be dug back into the soil – are one of the most underused tools for clay improvement in UK gardens. Their value is in their roots: the physical root channels they create persist after the plant material decomposes, and the organic matter they add feeds exactly the soil biology that builds crumb structure. For clay soil specifically, two species stand out above all others. Winter field beans (Vicia faba) have strong tap roots that punch through compacted clay layers, creating drainage channels that remain after the roots decompose. Grazing rye (Secale cereale) produces a dense fibrous root system that binds the clay topsoil and prevents it collapsing back into dense plates over winter. Used together in rotation, these two species improve clay structure faster than organic matter applications alone.
The practical approach is to sow a green manure immediately after clearing any summer crop, rather than leaving the ground bare over winter. Bare clay in winter has its surface structure destroyed progressively by rain impact – each heavy shower pounds the crumbs apart, causing the soil surface to cap. A green manure cover prevents this entirely while simultaneously working on the structure below ground. The material is cut down in late winter or early spring and either dug in to a depth of 15cm on clay soils, or left on the surface as a mulch for no-dig beds. Either way, allow at least four weeks between incorporating green manure and sowing or planting into the ground – decomposing green material temporarily locks up soil nitrogen and can inhibit germination if the gap is too short.
What makes clay worse
Every gardener working on clay eventually discovers that it is just as possible to make the soil worse as it is to make it better. The mistakes in the table below are common, often well-intentioned, and each one can set back months of improvement work in a single afternoon. The squeeze test before picking up any tool remains the single most important habit for anyone growing on clay.
Plants that genuinely thrive in clay
While clay improvement work proceeds, it is worth knowing that clay’s disadvantages are entirely one-sided. Clay’s real advantages – excellent moisture retention, high nutrient content, and thermal mass that keeps soil warmer in spring and cooler in summer – are precisely what a long list of garden plants prefer. Many of the most reliably productive flowering perennials and fruiting trees in UK gardens are genuinely happier in clay than in free-draining soil. Working with the soil you have while improving it incrementally often produces better results than fighting it.
The raised bed shortcut
For vegetable growing specifically, the most practical immediate response to heavy clay is to bypass it entirely with raised beds. A raised bed filled with a good topsoil and compost mix sits above the clay, drains freely down into it – clay is slow to drain but it does drain eventually – and provides an ideal growing environment from the first season without waiting years for structural improvement to take effect. Root vegetables, salad crops and anything needing free drainage grow perfectly in a raised bed over clay subsoil while the underlying ground is still unworkable.
The clay beneath improves gradually through worm activity and organic matter filtering down from the bed above. After five years of raised beds over clay, the soil immediately beneath them is measurably better structured than surrounding unimproved ground. The two approaches are not alternatives – raised beds provide immediate productive capacity while long-term clay improvement builds underneath them simultaneously. A French drain or soakaway is worth considering if the ground under a bed holds standing water for more than 48 hours after heavy rain – this level of waterlogging indicates a drainage problem that raised beds alone cannot fully overcome, and drainage work completed once will pay for itself over decades.
Never add fresh manure directly to clay in spring or summer. In poorly drained conditions, fresh or incompletely rotted manure decomposes anaerobically – without oxygen – and produces compounds that can damage plant roots and temporarily worsen drainage. Apply only well-rotted material that is dark, crumbly and earthy-smelling. When in doubt, add it to a compost bin first and wait another season.
Share on socials: