At a glance
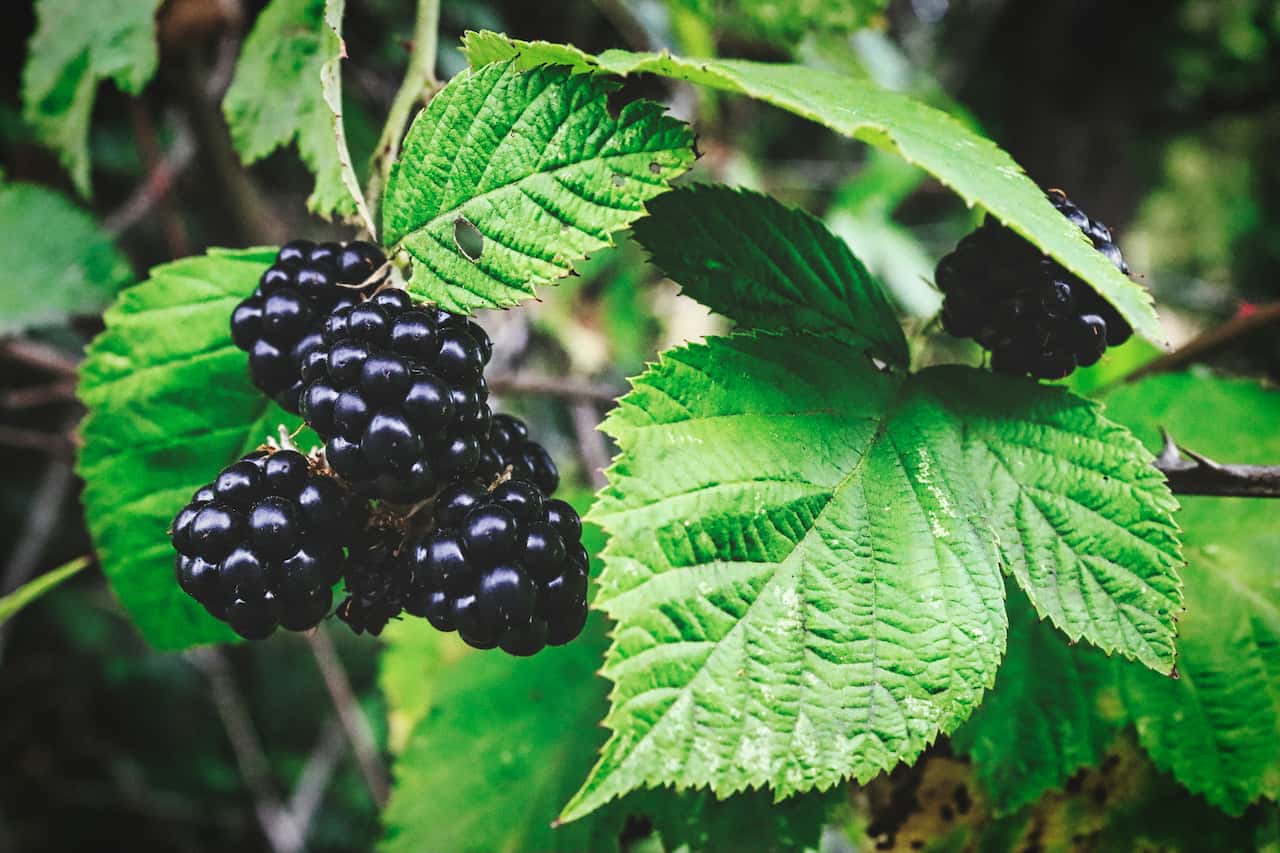
Brambles – wild blackberry and its relatives – are among the toughest weeds a UK gardener faces. A neglected corner overrun with established bramble can take the better part of a weekend to clear, and if the roots are not dealt with they will return before the summer is out. The top growth is only the visible portion of a problem that extends 30-45cm into the soil as a woody, vigorous root system that regenerates readily from even small fragments left behind. This is the fundamental challenge of bramble clearance: cutting back is relatively quick, but thorough root removal or herbicide treatment requires sustained follow-up work across multiple seasons before the patch can be considered truly clear.
The good news is that brambles are clearable. With the right tools, correct timing and consistent monthly monitoring through the first two growing seasons after clearance, even a well-established 15m2 thicket can be permanently removed without professional help. The method that works is a combination of thorough initial physical clearance followed by immediate chemical treatment of regrowth – or, for those preferring to avoid herbicide, sustained mechanical removal of every shoot that appears until the root system is exhausted.
Understanding the root system
Brambles spread by two mechanisms simultaneously. The root system produces new shoots in spring from the existing crown and from lateral roots radiating through the topsoil. At the same time, the long arching canes tip-root wherever they touch the ground – each rooted tip becomes an entirely new plant capable of establishing its own root system within a single growing season. This dual spread mechanism means that cutting back canes without dealing with the roots simply feeds next season’s regrowth, while pulling canes clear of the ground prevents tip-rooting from expanding the patch further.
Tools and protection
Bramble clearance is one of the most physically demanding gardening tasks and one of the most commonly underestimated. Attempting a large patch with inadequate tools or without proper protection is the single biggest reason people give up partway through. Standard gardening gloves are pierced by bramble thorns immediately. Regular loppers give insufficient reach, forcing hands into the thorn zone. A spade alone cannot lever out the woody root crowns efficiently. Getting the right tools together before starting is the difference between a manageable day’s work and an exhausting, injury-prone ordeal.
A grubbing mattock is the most important tool you can hire for this job. It combines a broad blade for chopping through root crowns with a pick end for levering them up. For clearances larger than a few square metres, it reduces the effort by more than half compared with a spade. Hire from a tool hire shop for around £8-12 per day, or buy for £25-35 if clearing brambles is likely to be an ongoing task.
Physical clearance – step by step
Physical clearance done correctly involves two distinct phases: removing the top growth to access the root zone, then systematically extracting root crowns and as much of the lateral root system as possible. Both phases are essential. Clearing the top growth without removing roots is simply cosmetic. Attempting to dig roots without first removing the tangled canes overhead is exhausting and largely impossible. The sequence matters.
Cut all top growth to 15cm above ground
Working from the outside of the patch inwards, cut every cane with loppers at shin height. Bag the cut material immediately and remove it from the site – never leave cut bramble on the ground as rooted tips can establish where they fall. This phase is slow and uncomfortable but it is essential before the root zone becomes accessible. Wear full protection throughout.
Locate and lever out root crowns
The root crown is the woody mass at the base of the cane stubs where multiple roots originate. This is the primary target. Drive the mattock blade around the perimeter of the crown, then lever it upward. Work methodically around all sides before attempting to lift – a large crown may be 20-30cm across and needs loosening from all angles before it will move. The roots attached to the crown will come with it if the surrounding soil is loosened first.
Follow lateral roots with a fork
Once the crown is out, trace the lateral roots radiating from it through the topsoil using a fork. Pull them out as far as they extend – they typically run 60-90cm from the crown. You will not get every fragment and that is acceptable: consistent follow-up treatment handles the regrowth from missed pieces. The goal at this stage is to remove as much bulk as possible to reduce the speed and vigour of regrowth.
Work in sections – 2m2 at a time
A 10m2 patch is a full day’s work for one person. Working in 2m2 sections – clearing completely before moving on – avoids the demoralising experience of spreading cut material across the whole area with nowhere to stand. Complete one section to soil level before starting the next. This also makes it easier to assess what has been done and what remains.
Remove regrowth monthly through the first two seasons
New shoots from missed root fragments will appear within 4-6 weeks. Hoe or pull these off immediately – each time you do, the root loses some of its stored energy. A root that is denied the ability to photosynthesise for two full growing seasons will exhaust itself and die. Consistent monthly removal across two seasons defeats even well-established bramble root systems that survived the initial clearance.
Chemical control – glyphosate timing
For large or heavily established patches, glyphosate-based herbicide used alongside physical clearance is far more effective than either method alone. Glyphosate is a systemic herbicide – it is absorbed through the leaves and transported through the plant to the roots, killing the root system rather than just the top growth. This makes it the only chemical approach capable of killing bramble roots without physical excavation. The critical factors are timing and application method.
Glyphosate kills all vegetation it contacts – apply with precision. On calm days, spray directly onto cut stem ends or foliage using a dedicated sprayer kept only for weedkiller. On any day with even light wind, apply with a paintbrush to cut stems rather than spraying – drift onto neighbouring plants or lawn grass will kill them. Keep children and pets off treated areas until fully dry. Check individual product labels for re-entry intervals.
Preventing regrowth and disposal
Once an area is cleared, preventing reinvasion requires action on two fronts: suppressing regrowth from any missed roots, and blocking reinvasion from neighbouring land. Brambles travel under fences and through hedges readily – a cleared area adjacent to untreated bramble on a neighbouring property or wasteland will be recolonised within a season without a physical barrier.
Disposal of cleared bramble material must be handled carefully. The stems do not compost well in domestic heaps – they take years to break down, the thorns remain dangerous in finished compost, and any rooted tip material in the heap will establish and grow. Correct disposal routes in the UK are the council green waste collection bin, a trip to the household waste recycling centre, or skip hire for very large clearances. Some councils offer a bulky garden waste collection on request – worth checking before hiring a skip. Never shred bramble stems for mulch – any root fragments in the shreddings can establish wherever the mulch is spread.
Share on socials: