At a glance
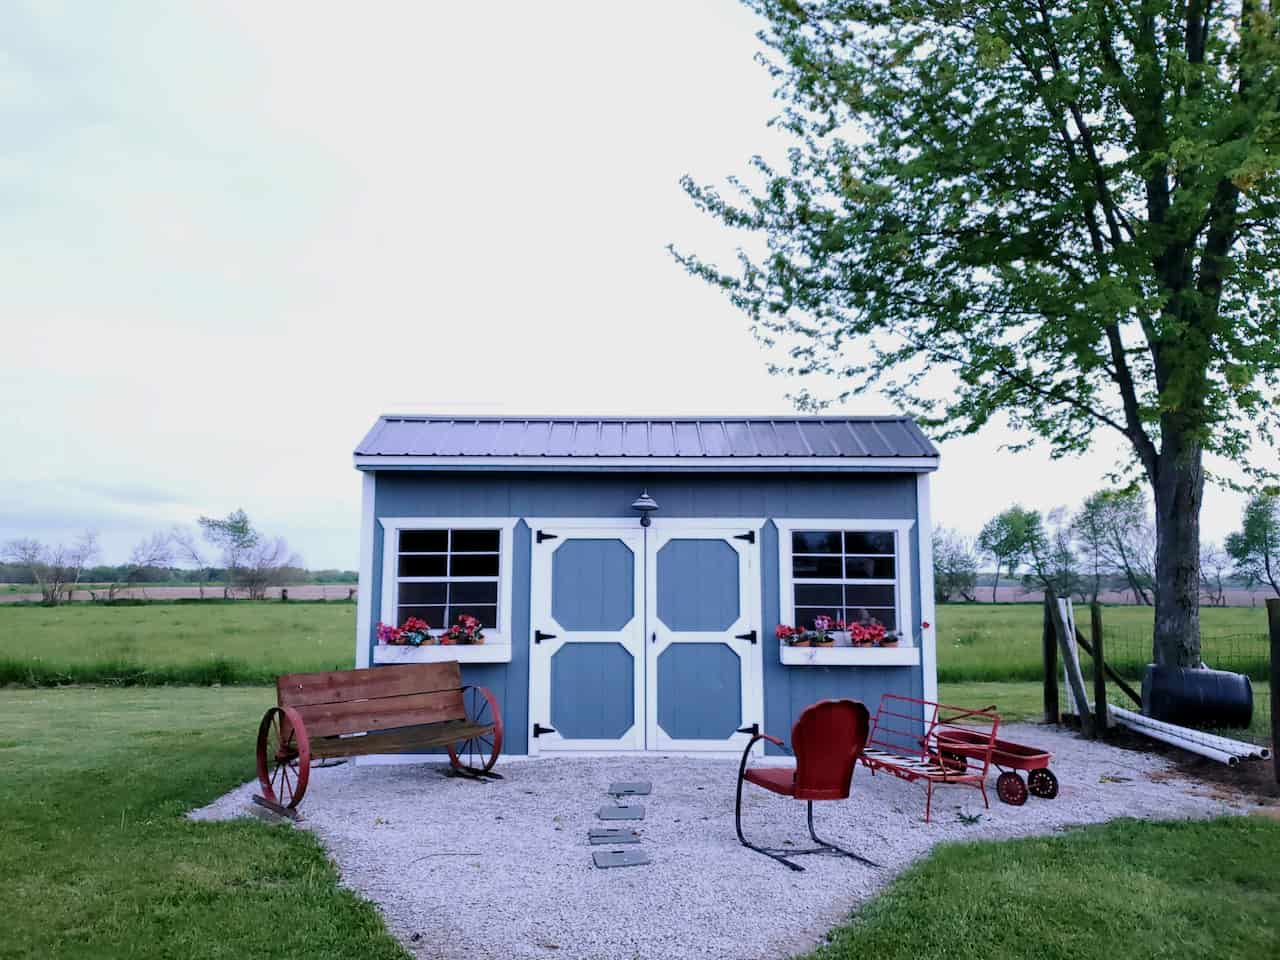
A garden shed is one of the most useful additions to any UK garden – storage for tools, bikes, garden furniture and all the other things that don’t have a good place anywhere else. Professional installation of a quality timber shed costs £800-3,000 depending on size and specification. Building one yourself from a quality flat-pack kit or from scratch costs £300-800 in materials and a weekend’s work, and produces a result you understand completely and can maintain and extend yourself.
This guide covers both assembling a flat-pack timber shed kit – by far the most common approach for DIY shed builders – and the key principles that apply to building from scratch.
Planning and permissions
In England, garden sheds are permitted development – no planning permission required – provided:
- The shed is no more than 2.5 metres high at the eaves (wall height before roof pitch begins)
- The total footprint doesn’t exceed 50% of the garden area
- It’s not in the front garden or side garden visible from the road
- The property is not listed and not in a conservation area
Rules differ slightly in Wales, Scotland and Northern Ireland. Always check with your local planning authority if in any doubt – the consequences of building without required permission are significant.
Position the shed carefully before building the base. Consider: sun direction (south or east-facing doors allow morning light to dry out the shed interior), drainage (don’t site on the lowest point of the garden where water pools), access (you will be carrying things in and out regularly), and proximity to boundary (most councils require 1 metre clearance from boundaries for sheds over 1m high even under permitted development).
Building the base and floor
The base is the most important part of a shed build and the one most commonly skimped on. A shed built on a poor base will rack, warp and leak within a few years. A shed on a proper base will last decades.
- 1Choose the right base typeConcrete slab is the most permanent and stable option. Paving slabs on a compacted sub-base are good for medium-sized sheds. Pressure-treated timber bearers on concrete blocks or adjustable feet are ideal for sheds on slightly uneven ground. Avoid direct contact between timber and soil.
- 2Level the site thoroughlyA shed base must be perfectly level – check in both directions and diagonally. Even a 10mm variation across a 1.8m base causes the door to bind and the walls to rack over time.
- 3For a concrete base – allow full cure timeA concrete slab needs at least 7 days to cure before loading. Build it 2-3 weeks before you plan to erect the shed. Make it 50mm larger than the shed footprint on all sides for a clean finish.
- 4Lay a DPC on the base before the floorA damp-proof course membrane between the concrete base and the timber floor frame prevents moisture rising from the concrete into the timber. This single step extends shed floor life by years.
As an Amazon Associate I earn from qualifying purchases. Prices correct at time of publishing.
Erecting the frame and walls
Most UK flat-pack shed kits arrive with pre-made wall panels that simply need to be stood upright, connected at the corners and fixed to the floor frame. Work with at least one other person – wall panels are awkward to handle alone and holding one panel while trying to connect another is a reliable way to damage both.
- 1Lay out all panels and identify them before startingFlat-pack instructions can be confusing. Lay all panels out and identify which is front, back, left and right before lifting anything. Check all components are present against the parts list.
- 2Fix the back wall panel firstStand the back wall panel upright and fix to the floor frame. Use galvanised screws throughout – standard steel screws rust rapidly outdoors even inside a shed.
- 3Add side panels and check for squareFix one side panel, then the other. Check diagonal measurements are equal before fixing permanently – an out-of-square shell means a binding door and a roof that doesn’t fit cleanly.
- 4Fix the front wall panel with door openingThe front panel with the door opening goes on last. Ensure the door opening is plumb before fixing permanently.
Fitting the roof
Most shed kits use OSB or plywood roof boards covered with roofing felt. The roof boards fix to the apex frame at the top of the walls. Start from the bottom edge of the roof and work upward, overlapping each felt course by at least 75mm. Fix felt with galvanised clout nails at 100mm intervals. Pay particular attention to the ridge (apex) and verge edges – these are the areas most likely to lift in wind and let water in.
Don’t use staples for roofing felt – use clout nails. Staples pull through roofing felt in wind far more readily than clout nails with their wide heads. A roof felt that lifts even partially in a storm can allow water ingress that rots roof boards and damages stored contents. Clout nails add ten minutes to the job and save years of problems.
Hanging the door and finishing
- Hang the door on the hinges provided, using shims to set a consistent 3-4mm gap all the way around before tightening the hinge fixings
- Check the door swings freely and closes fully before fitting the latch
- Fit a hasp and padlock for security – most shed kit locks are decorative only
- Seal all external joints with exterior-grade mastic sealant – particularly where wall panels meet and where the roof boards meet the walls
- Apply a preservative treatment to all external timber as soon as the shed is complete
Maintenance and treatment
An untreated shed starts to deteriorate within 2-3 UK winters. An annually treated shed will last 20-30 years. Apply a quality timber preservative or shed treatment every 12 months – ideally in late spring before summer UV exposure and again in autumn if the shed faces south or west. Clean all algae and dirt off with a stiff brush before each treatment to ensure the preservative penetrates clean timber.
Building a garden shed is one of the most rewarding weekend DIY projects in a UK garden – practical, lasting and significantly cheaper than having one installed. Get the base right, use galvanised fixings throughout and treat the timber annually and a well-built shed will serve you for 25-30 years. For more on creating useful outdoor structures read our guide on how to build garden decking in the UK.
As an Amazon Associate I earn from qualifying purchases. Prices correct at time of publishing.
Share on socials: