At a glance
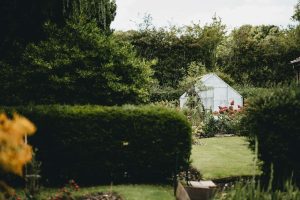
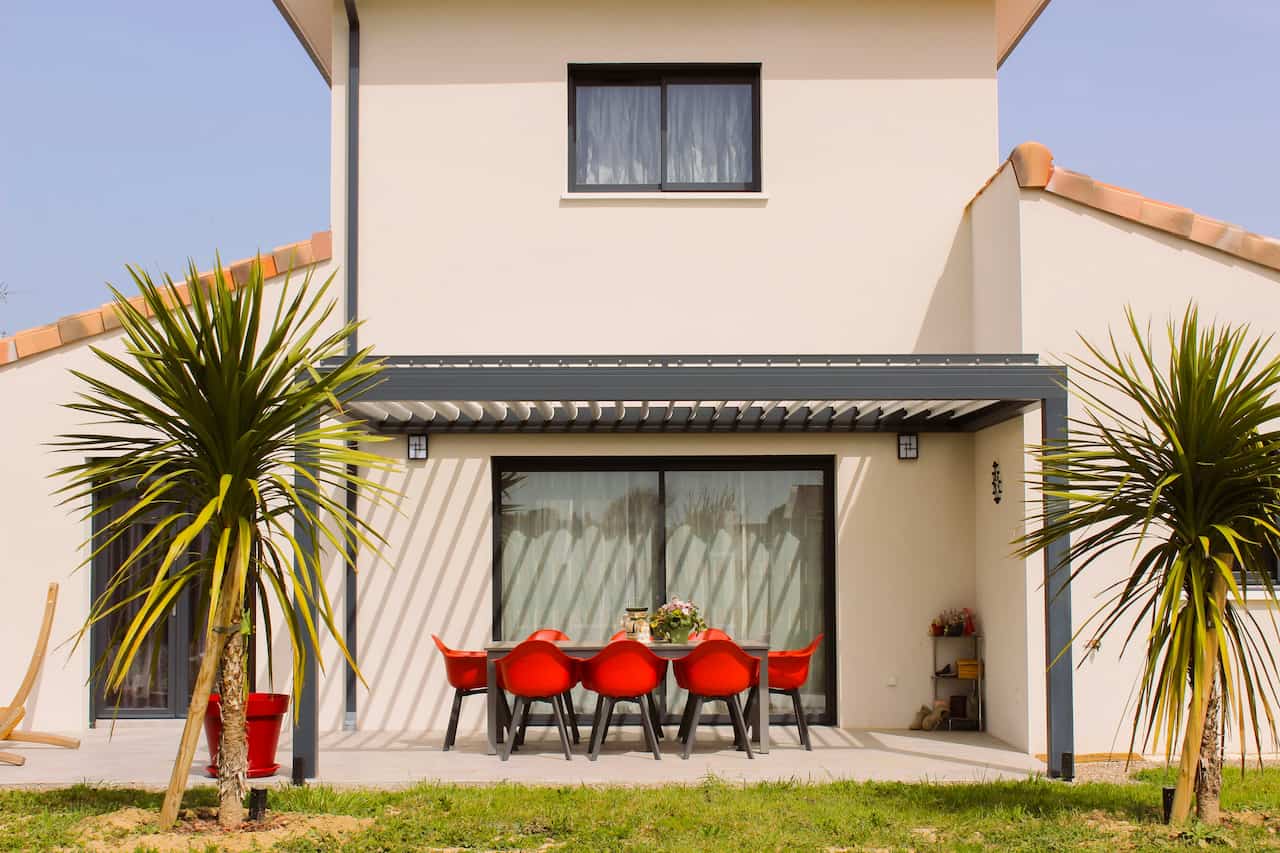
A pergola is one of the most transformative garden structures available for the effort involved in building it. Even unplanted it provides definition and vertical interest. Once climbing plants take hold – usually from the second or third season onward – it becomes a genuine garden centrepiece that improves every year as the plants mature and fill the structure. The build itself is achievable for any confident DIYer in one to two weekends, the materials are straightforward, and the skills required are basic carpentry rather than anything specialist.
The decisions that determine whether a pergola looks excellent and stands solidly for thirty years or begins to lean and deteriorate within five are almost entirely made before the first post goes in the ground: timber species, post fixing method and whether cut ends are treated before assembly. This guide works through each stage of the build in the order it happens, with the right information at each decision point rather than the abbreviated instructions that skip the details that actually matter.
Planning and planning permission
Most pergolas in UK domestic gardens do not require planning permission under permitted development rights. The standard conditions are that the structure must not be forward of the principal elevation of the house, must not exceed 2.5 metres in height within 2 metres of a boundary, and must not cover more than 50% of the total garden area when combined with any other outbuildings. The vast majority of domestic pergola builds fall comfortably within all three conditions. Listed buildings, Conservation Areas and properties with Article 4 directions restricting permitted development are exceptions – always check with your local planning authority before starting if your property falls into any of these categories.
Before finalising dimensions, mark out the full footprint with canes and string and walk around inside it. The most consistent planning mistake with pergolas is underestimating how the structure will look once standing. A 2.4 x 2.4 metre pergola looks generous on paper and modest in the garden. A 3 x 4 metre structure covering a seating area creates genuine outdoor room scale. Err on the larger side within the space available – a pergola that is slightly too big for the garden is a much rarer complaint than one that feels undersized once the furniture is in place and the plants have filled in.
Check for buried services before digging any post holes. Gas mains, electrical conduit, water supply pipes and drainage all run below UK gardens and the location is rarely where you expect. Use a cable and pipe detector before any digging, and contact your utility providers for service plans of the property if there is any doubt. Striking a gas pipe with a post hole digger is a serious safety event – the five minutes of checking beforehand is non-negotiable.
What you’ll need
Choosing the right timber
Timber choice is the single most important factor in how long a pergola lasts in the UK climate, and where most underperforming structures trace their problems back to. Two practical choices exist for a DIY build: pressure-treated softwood and naturally durable hardwood. Untreated softwood is not a third option – it is a guarantee of early failure at ground level and should never be specified for any part of an outdoor structure that will be in or near soil.
Pressure-treated softwood is the most common choice for UK pergola builds and performs well when the treatment specification is correct. Specify UC4 classification for any timber that will be in ground contact – this is the standard for fence posts and structural outdoor timber that contacts soil. UC3 is adequate for above-ground components such as beams and rafters. Oak is the premium choice: naturally durable, requiring no chemical treatment, and producing an appearance that improves as it weathers to silver-grey. Oak is heavier to handle and costs more, but for a permanent feature in a well-established garden the additional investment is consistently justified over the life of the structure.
Setting the posts
The posts are the most structurally critical element and the point where the long-term stability of the whole structure is determined. Two fixing methods are used for domestic pergola posts: setting in concrete in dug holes and bolt-down galvanised post bases. Each has specific conditions where it performs best, and the choice depends on the site, the intended permanence of the structure and whether a suitable hard surface already exists.
For posts set in concrete, check plumb in both directions with a spirit level before backfilling and brace each post temporarily with diagonal stakes driven into the ground and screwed to the post at mid-height. The concrete must cure for a minimum of 48 hours – and ideally 72 hours – before any load is applied or beam fixing begins. Rushing this stage is the most common cause of posts finishing out of plumb. Treat all cut ends of pressure-treated timber with liberal end-grain preservative before setting, regardless of treatment class – cut ends are the most vulnerable rot entry point in any outdoor timber structure.
Never use untreated softwood posts in or near the ground. Untreated pine will rot at ground level within two to three UK winters regardless of how it is painted or stained externally. Always specify UC4 pressure-treated timber for any component in ground contact, and treat all cut ends with end-grain preservative before installation. This single step is the most important factor in long-term structural durability.
Beams, rafters and sizing
Once the posts have cured fully in their bases – at least 48 hours for concrete, 24 hours for bolt-down bases to be torqued and settled – the horizontal beams can be fitted. Main beams span between post tops, typically fixed with M10 coach bolts driven through the post or structural screws driven at an angle. Notching the beam to sit over a stub tenon cut at the post top gives a cleaner appearance and a mechanically stronger joint than simple face-fixing alone.
Finishing and climbing plants
Pressure-treated softwood benefits from an additional coat of exterior preservative or stain applied after construction. This seals cut ends made during building and gives a consistent colour finish across all surfaces including any newly exposed timber. Allow at least 48 hours of good drying weather before applying any decorative stain on top of the base preservative. For oak and other naturally durable hardwoods no treatment is required – freshly sawn oak has a warm honey colour that weathers to silver-grey within 12-18 months, and that weathered finish requires no maintenance and suits most garden settings.
A pergola without climbing plants is a functional structure. A pergola with them is a garden centrepiece. The most important practical step before planting is to fix horizontal wires across the posts and beams to give plants something to attach to. Galvanised wire at 300-400mm spacing pulled taut between vine eyes is the standard approach – sagging wires allow heavy foliage to pull away from the structure and create gaps. Fix the wires before planting rather than afterwards, when working around established growth is fiddly.
Tie new growth in regularly during the first two or three growing seasons – this early training shapes the long-term structure of the plant on the pergola far more effectively than any amount of later pruning. A plant trained carefully across all faces of the structure in its first years fills in evenly and creates the full overhead canopy effect far sooner than one left to grow freely and then corrected later.
Share on socials: