At a glance
A raised bed with legs is one of the most practical builds a gardener can take on. By raising the growing surface to waist height, it eliminates bending entirely – making gardening accessible to anyone with a bad back, knee problems, or mobility limitations, and simply more comfortable for everyone else. It also drains perfectly, warms up faster in spring than ground-level beds, and keeps slugs, snails and ground-dwelling pests at a distance. A well-built legged bed will last ten years or more and costs a fraction of the ready-made versions sold in garden centres.
This guide covers everything needed to build a sturdy, practical legged raised bed from scratch using materials available from any UK timber merchant or builders merchant. No specialist skills are required beyond basic sawing and drilling, and the whole build can be completed in an afternoon.
Why build a raised bed with legs?
The standard ground-level raised bed is already an improvement on digging directly into the soil – it offers better drainage, warmer soil and a defined growing space. A legged bed takes those advantages further by removing the need to kneel or stoop at all. For gardeners over 50, for anyone recovering from injury, or for those gardening on hard surfaces such as patios, decking or concrete where a ground-level bed is not practical, a legged bed is often the single most transformative addition to the garden.
The practical advantages extend beyond comfort. A legged bed dries out faster after rain, which helps in wet UK summers with crops that dislike waterlogged roots. It is genuinely portable – a small legged bed can be moved to follow the sun across a patio, or brought under cover in autumn to extend the growing season for tender crops. Watering and harvesting are easier at standing height, and because the bed is fully enclosed on all sides including the underside, soil temperature stays more consistent through the day.
Materials and sizing
The most important material decision is timber choice. Pressure-treated softwood (also called tanalised timber) is the standard choice for UK outdoor builds – it is widely available, inexpensive, and the treatment gives it a 15-year or more outdoor lifespan without further maintenance. Untreated timber will rot within two to three years in UK conditions if it is in permanent contact with damp soil. Hardwood such as oak is an excellent but more expensive alternative, naturally rot-resistant and very long-lived, but the cost is roughly three to four times that of treated softwood for the same volume.
For sizing, the key dimension is the internal width – keep it to a maximum of 60cm so that the centre of the bed can be reached from either side without stretching. A width of 50-60cm is ideal. Length can be whatever suits the space, though 120cm is a practical standard that fits two scaffold boards end-to-end. Working height should be set to suit the primary user – 80cm suits most adults for comfortable standing work, though 70cm works better for wheelchair users. Leg section timber should be at least 70x70mm for stability; use 90x90mm for beds over 1.2 metres long.
Step-by-step build
The basic structure is a rectangular box of planks screwed to four corner legs. The legs extend downward from the base of the box to provide the height. For a standard 120cm x 60cm bed at 80cm working height, the cut list is: four leg sections at 70cm (the remaining 10cm is the box depth), two long side boards at 120cm, two short end boards at 60cm, and one base board or mesh at 60cm.
Pre-drill every hole. Treated softwood splits easily when screwed without a pilot hole, especially near the ends of boards. Use a drill bit slightly smaller than the screw shank and pre-drill every fixing point. This takes an extra two minutes per join and prevents split timber that cannot be unset.
Cut all timber to length
Cut four legs, two long sides, two short ends and one base panel (or cut hardware mesh to size for the base). Mark all pieces clearly before cutting. A chop saw gives the cleanest cuts but a hand saw and mitre box is perfectly adequate.
Attach the short ends to two legs
Stand two legs parallel and screw a short end board across them, flush with the top of where the box will sit. Pre-drill all holes. Use two screws per join minimum. This creates an H-shaped end frame. Repeat for the other end.
Join the two end frames with the long side boards
Stand both end frames upright and screw the long side boards across them to complete the rectangular box. Check the structure is square by measuring corner to corner diagonally – both measurements should be equal. Adjust before the screws are fully tightened if needed.
Fit the base
Screw a solid timber base to the underside of the box frame, or staple hardware mesh for better drainage. Hardware mesh (also sold as aviary wire) allows excess water to drain freely while retaining soil. If using a solid timber base, drill a row of 12mm drainage holes across it.
Add bracing if needed and check stability
For beds over 1.2 metres long, add a central cross-brace underneath the base to prevent the sides bowing outward under the weight of soil. Stand the bed on a level surface and check that all four legs touch the ground evenly. Trim any leg that is slightly long with a hand saw or add a furniture pad to any that are short.
Lining, filling and drainage
Before adding soil, line the interior of the box with weed membrane or heavy-duty polythene. This is not to prevent weeds – since the bed is off the ground there are none – but to slow the rate at which the timber walls dry out by reducing direct soil contact with the wood. Staple the membrane to the inside walls, leaving the base clear so water can drain freely through the mesh or drainage holes.
The soil mix for a legged bed needs to be lighter than standard garden soil, which is too heavy and compacts too readily in a closed container. A good mix is two parts multipurpose compost, one part perlite or horticultural grit, and one part topsoil. This retains moisture without becoming waterlogged and stays loose enough for roots to penetrate freely. For a 120cm x 60cm x 20cm deep bed, you will need approximately 100 litres of mix. Fill to within 3-4cm of the top to allow for watering without overflow.
Common mistakes to avoid
What to grow
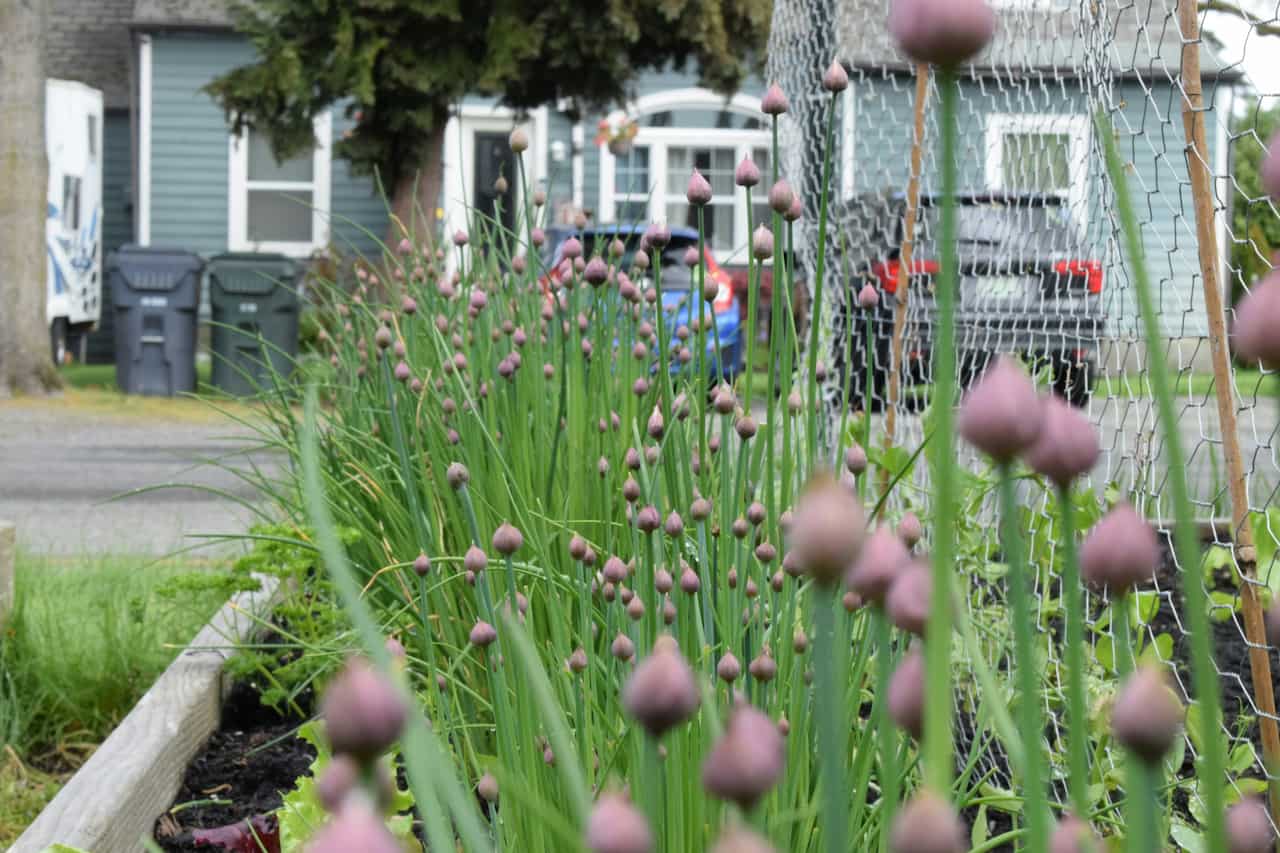
The depth of a legged bed – typically 20-25cm – suits a wide range of crops. Salad leaves, herbs, radishes, spring onions and dwarf French beans all perform exceptionally well at this depth. Tomatoes, peppers and courgettes work well in summer if the bed is positioned in full sun and watered consistently. Root vegetables such as carrots and parsnips need more depth than a standard legged bed provides – stick to short-rooted varieties such as Chantenay carrots or grow them in a deeper ground-level bed instead.
The real advantage of a legged bed for growing is the ease of regular maintenance. Harvesting salad leaves, pinching out tomato sideshoots, removing spent flowers and checking for pests are all done at eye level without kneeling. This encourages more frequent tending, which consistently produces better crops. A legged bed on a sunny patio can produce a continuous supply of salad and herbs from April through October with very little effort once established.
Share on socials: