At a glance
I got into worm composting because we were producing more kitchen waste than the standard compost heap could handle, and because putting cooked vegetable scraps on the heap was attracting things I would rather not have in the garden. The wormery solved both problems. What I did not expect was how quickly the colony established and started producing something useful, or how little the whole thing needs from me once it is running.
This guide covers what a wormery does and how it differs from a compost heap, which worms to use and where to get them, how to set it up, how to feed it, and what to do when something goes wrong. There is also a section on the two outputs, worm compost and the liquid, which are different things with different uses.
What a wormery does, and why it is not the same as a compost heap
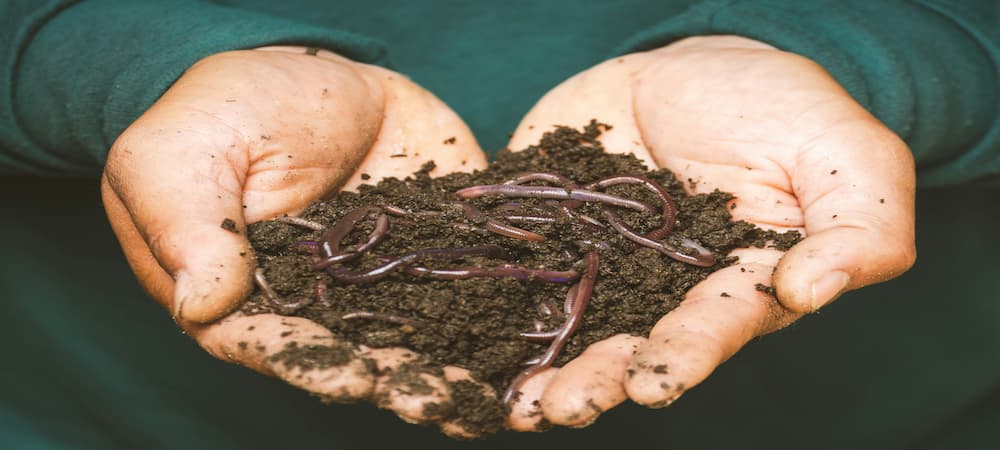
A wormery converts kitchen waste into two things: worm castings, which is a dark, crumbly, nutrient-rich compost produced by the worms passing organic matter through their digestive systems, and a liquid that drains out through the bottom of the unit and can be used diluted as a plant fertiliser. The castings are considerably richer than ordinary garden compost. The liquid is a concentrated feed that most plants respond to noticeably.
What a wormery cannot do is what a conventional compost heap does: process large volumes of garden waste, woody prunings, or tough leaves. The worms in a wormery are surface-dwelling species that feed on soft, decaying organic matter. They are not suited to breaking down branches, hedge clippings, or anything that requires the sustained heat of a hot compost heap to decompose. The two systems are complementary rather than interchangeable. If you have a garden producing significant amounts of garden waste, you need a compost heap as well. If you have a small garden, balcony, or patio, or if your main waste is kitchen scraps rather than plant material, a wormery is often the better starting point.
The other thing to know upfront is that a wormery handles kitchen waste that standard composting struggles with. Cooked vegetable scraps, tea bags, coffee grounds, eggshells: all of these go into a wormery without attracting the pests that the same things would bring to a conventional heap. That is the part I find most useful about having both systems. The garden waste goes to the heap; the kitchen waste goes to the worms.
Which worms to use, where to get them, and how they behave
The worms used for composting are not the common earthworms that tunnel through the soil in your garden. Common earthworms (Lumbricus terrestris) live in mineral soil and create deep burrows; they will not thrive in a wormery and will not do the job. Composting worms are a different type: smaller, darker red, and adapted to living in decaying organic matter near the surface rather than in soil.
The worms can be bought from wormery suppliers by mail order, from fishing bait shops (where tiger and brandling worms are sold as fishing bait), or taken from an established compost heap or wormery. A handful from a friend’s running wormery is enough to start a colony. The population is self-regulating: it adjusts to the food supply rather than expanding indefinitely.
Setting up a wormery: bought versus DIY, and the first week
A commercial wormery typically consists of three or four stacking trays on a base unit with a tap in the bottom. The base collects the liquid. Composting happens in the trays above, where the worms work through the material and migrate upward through holes in the tray bases as each tray fills. When the bottom tray is processed, you lift it off, harvest the compost, and place it at the top of the stack. The main advantage is that you never have to manually separate worms from finished compost.
Whatever type you use, the conditions are the same. Worms are most active between 18 and 25 degrees. Below 10 degrees activity drops noticeably; below 5 degrees they can die. Above 30 degrees they will also suffer. A shed, garage, sheltered corner of the garden, or utility room all work. In winter, the wormery needs to come into a frost-free space.
For setup: add 8 centimetres of moist bedding to the base of the first composting tray. Old compost works; coir (the compressed block that comes with most commercial wormeries, soaked in warm water and broken up) also works well. Add the worms. Cover with a first layer of kitchen waste no more than 8 to 10 centimetres deep. Lay a sheet of damp newspaper or cardboard over the surface. This keeps the worms calm, prevents escaping while they settle in, and holds moisture in. Leave for about a week before feeding regularly.
What to feed a wormery, and the wastes that cause problems
Worms eat any decaying organic matter and are fairly indiscriminate about what that is, within limits. Most raw vegetables, all cooked vegetables, most fruit, tea bags, coffee grounds, eggshells, small amounts of bread, shredded newspaper and cardboard: all of these are fine. The shredded paper and cardboard matter more than people often realise. Worm waste has a naturally high moisture content, and a wormery that gets too wet goes wrong quickly. Adding dry, absorbent material regularly, rather than waiting until there is a problem, keeps the moisture balance right.
The single most common mistake is adding too much at once. Adding small amounts often, and chopping the waste into smaller pieces before it goes in, makes the worms’ work considerably easier. If waste is sitting on top uneaten after a few days, stop adding and wait for the worms to work through what is already there before feeding again. Burying new waste under the surface layer, or covering it with damp newspaper, deters the fruit flies that can appear around uncovered food. The flies are harmless to the worms but are a nuisance.
The outputs: what to do with the compost and the liquid
A wormery produces two distinct things, and they are used differently.
Before using the liquid on plants, dilute it at a ratio of about one part liquid to ten parts water. Undiluted worm tea is too concentrated and can damage plant roots if applied directly. Do not hoard it: use it when it collects and let more accumulate in the bottle. It does not improve with storage.
Keep the sump tap permanently open. Fitting a bottle beneath the tap and leaving it open means you always know how much liquid is accumulating and the worms are never at risk of waterlogging. Checking and emptying the bottle every few days takes about ten seconds.
Problems, winter management, and emptying
Most wormery problems come down to one of three causes: too much food, too wet, or too cold. All three produce the same warning sign: worms trying to escape the top of the wormery. Worms that are trying to leave are worms telling you something is wrong. Stop feeding, check the drainage, check the temperature, and correct the issue before resuming.
Winter management is straightforward: bring the wormery somewhere frost-free when overnight temperatures start to drop consistently. Worm activity slows noticeably below 10 degrees, so reduce the feeding rate in winter to match the slower processing speed. The colony will recover quickly when temperatures rise in spring.
Emptying the wormery takes somewhere between 8 and 12 months in normal use. With a stacking tray system, the bottom tray is lifted off when processed, the compost harvested, and the empty tray placed at the top. The worms will have migrated up through the holes above, so there is nothing to separate. With a single-compartment system, remove the top 20 centimetres of material (worms congregate just below the surface) and use this layer to restart. Spread the remaining compost thinly on a plastic sheet, cover the centre with wet newspaper, and as the outer layers dry the worms will move to the damp centre where they can be collected and returned to the freshly bedded bin.