At a glance
Celery has an undeserved reputation as one of the most difficult vegetables to grow in the UK. It is demanding – it needs consistent moisture, a long growing season, careful sowing and protection from cold – but it is not beyond any reasonably attentive gardener. The reward is a crop that bears almost no resemblance to the supermarket alternative in flavour. Home-grown celery, blanched properly and eaten fresh, has an intensity and crunch that makes the shop version feel like a pale imitation.
The key to success with celery in the UK is understanding that it is essentially a bog plant – it evolved in marshy ground and wants more water than almost any other vegetable in the garden. Get the moisture right and most of the other challenges become manageable. Pair it in the rotation with leeks, which share similar sowing timings and long-season requirements, and the two crops complement each other well in the growing calendar.
Best varieties for UK gardens
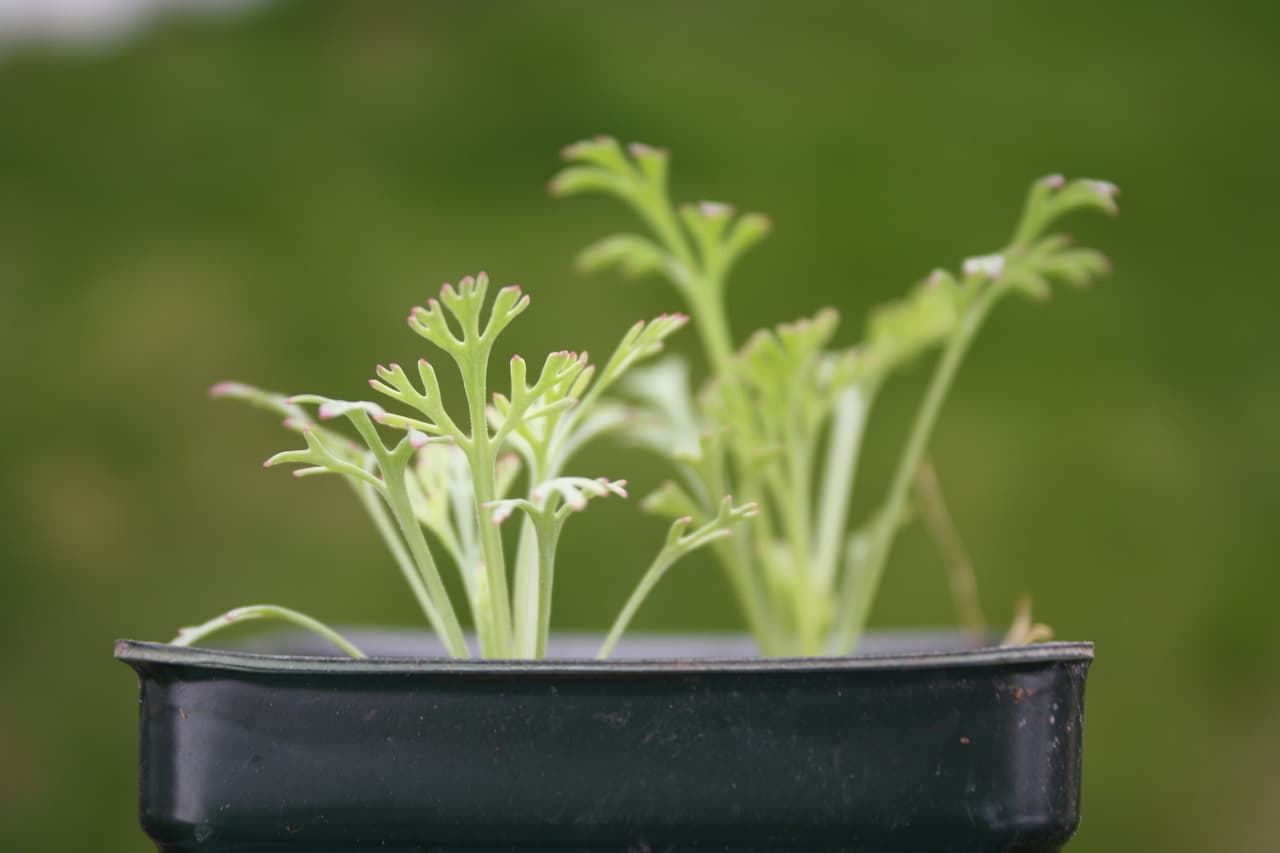
For a first attempt, self-blanching varieties like Victoria F1 are strongly recommended. Traditional trench celery requires earthing up the stems in stages over several weeks to blanch them white and tender – a labour-intensive process that puts many gardeners off entirely. Self-blanching varieties planted in a block shade each other’s stems naturally and need no earthing up. The flavour is slightly less intense than fully blanched trench celery, but the process is dramatically simpler. Leaf celery (Par-Cel) is the easiest option of all – it is treated like a cut-and-come-again herb, producing celery-flavoured leaves throughout the season with none of the stem management required by heading varieties.
Start with self-blanching varieties rather than trench celery. The flavour of a well-grown self-blanching celery is excellent and the process is far more forgiving for first-time growers. Once you understand celery’s moisture requirements and planting out timing, trench varieties are worth trying for their superior flavour – but they are a second-season challenge, not a starting point.
Sowing indoors
Celery needs a long growing season and must be started indoors from February to April. The seed is very small and needs light to germinate – the most common sowing mistake is burying it in compost. Sow onto the surface of moist seed compost and press the seeds lightly to make contact, but do not cover them. Cover the tray with a clear propagator lid to retain moisture and place in a consistently warm position at 15-18°C. A heated propagator is helpful, particularly for February sowings when ambient temperatures in an unheated greenhouse or conservatory are often too variable.
Sow on the surface – do not cover
Press seeds lightly onto the surface of moist seed compost. Mist gently to settle without burying. Cover with a clear propagator lid. Celery seed needs light to germinate – covering with compost is the single most common reason for total germination failure.
Keep at 15-18°C for 2-3 weeks
Germination takes 14-21 days at the right temperature. Do not let the compost dry out at any point during this period. Once seedlings emerge, remove the lid gradually over several days to acclimatise them to lower humidity.
Prick out and grow on – never let roots dry
Once seedlings have two true leaves, prick out carefully into individual 7cm pots using fresh multipurpose compost. Handle by the leaves rather than the delicate stem. Grow on in a bright, frost-free position, keeping the compost consistently moist. Begin hardening off in late April or early May before planting out once all frost risk has passed.
Never expose celery seedlings to temperatures below 10°C for extended periods. Celery responds to a cold period by running to seed once conditions warm up – a response known as bolting. This is the most common cause of celery failure in UK gardens. Plants hardened off too aggressively in early spring, or planted out before conditions are reliably warm, bolt rather than producing usable stems. Wait until late May at the absolute earliest before planting out, and do not rush it.
Planting out and soil preparation
Plant celery out in late May or June once all frost risk has passed and night temperatures are consistently above 10°C. The soil preparation before planting is as important as the planting itself. Dig in a very generous amount of well-rotted compost or manure – more than you would use for any other vegetable. A good raised bed soil mix that retains moisture well suits celery better than most crops, and a raised bed with a moisture-retentive base compost layer is an excellent choice. Celery planted in poor, thin or dry soil will be disappointing regardless of subsequent care.
Plant self-blanching varieties in a block rather than in rows – 23cm spacing in each direction. The mutual shading created by a close-planted block naturally blanches the inner stems. Edge plants will always be greener and more bitter than the well-shaded central plants; this is normal and unavoidable with self-blanching types. Firm in each plant well and water thoroughly immediately after planting. Apply a mulch of compost around all plants to retain soil moisture and reduce watering frequency from the outset.
Seasonal care calendar
Blanching and harvesting
Blanching removes the bitterness from celery stems by excluding light from them and causing them to become pale, tender and milder in flavour. Self-blanching varieties planted in a block blanch each other’s inner stems through mutual shading, but the outer ring of plants always receives light on their outer-facing sides and will be noticeably more bitter than the inner plants. To improve blanching across the whole block for the final two to three weeks before harvest, wrap loosely around the outer edge of the block with black polythene or cardboard secured with garden twine. This shades the outer stems without impeding airflow.
Harvest self-blanching celery by cutting individual plants at the base with a sharp, clean knife. The whole plant is taken at once rather than harvesting individual outer stems over a period – the plant does not regenerate usefully after cutting. Work from the edges of the block inward, as outer plants are ready first and inner plants continue to develop. Celery is frost-tender and the full harvest must be completed before the first autumn frost, which in most UK gardens arrives in October. Freshly cut celery can be kept for up to a week in the refrigerator – its flavour is best within 48 hours of cutting. For garlic and other autumn-harvested crops with better storage properties, the gap left by cleared celery in October provides a useful opportunity to plant overwintering bulbs.
Common problems and solutions
Share on socials: