At a glance
Growing mushrooms at home is one of the most satisfying food projects you can take on, partly because the results are fast and the yields can be genuinely impressive, but mostly because it requires almost no space – a spare shelf in a kitchen, garage or spare room is all you need for a productive indoor mushroom setup. Unlike most food growing, mushrooms do not need soil, sunlight or a garden. They grow on agricultural waste materials, need only indirect light and high humidity to fruit, and will produce multiple harvests from a single block of inoculated substrate. For anyone in a flat, a house without a garden, or simply looking to add year-round indoor food production, mushrooms offer something unique.
The edible mushroom world is vast, but a manageable handful of species are well suited to home growing in the UK, each with different growing requirements, flavour profiles and difficulty levels. Starting with the right species makes the difference between a frustrating experience and a reliable supply of high-quality gourmet mushrooms at a fraction of supermarket prices. This guide covers the full process from species selection through to harvesting multiple flushes from the same block, with the troubleshooting information that most beginner guides leave out.
Choosing your species
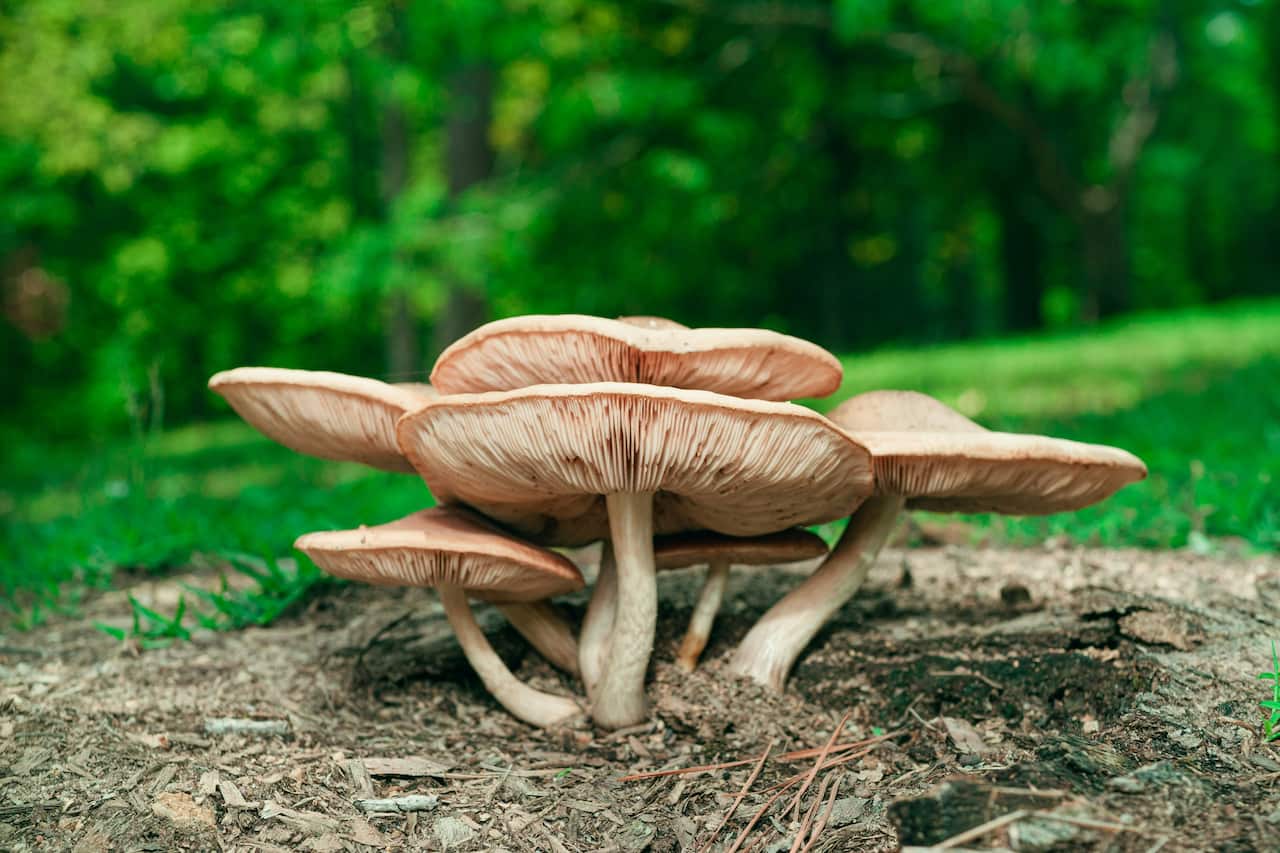
Most home growers start with oyster mushrooms and for good reason. They are the most forgiving species, colonise their substrate quickly, fruit reliably in a wide range of conditions, and produce the heaviest yields of any commonly grown gourmet species. Grey oyster (Pleurotus ostreatus) is the easiest variety, followed by pink and yellow oysters which require slightly warmer fruiting temperatures and suit UK summers better than winters. Shiitake is slower and more demanding but produces a more intensely flavoured mushroom with better shelf life and a higher supermarket value equivalent. Lion’s mane is the most visually dramatic and increasingly popular for its culinary and reported nootropic properties, but requires more careful humidity management than the oysters.
Substrates and growing media
Mushrooms do not grow in soil. They grow on and through organic matter that contains the carbon compounds their mycelium can break down for energy. The right substrate is species-specific – oyster mushrooms thrive on straw and hardwood sawdust, shiitake requires supplemented hardwood, lion’s mane prefers hardwood sawdust with added wheat bran, and king oyster grows well on a mix of straw and coffee grounds. For beginners, the simplest approach is to buy a ready-prepared inoculated block or kit, which arrives already colonised with mycelium and ready to fruit. Moving to making your own substrate from scratch is a rewarding next step but requires sterilisation equipment and more careful contamination management.
When making your own substrate, sterilisation or pasteurisation is essential. Unsterilised organic material contains competing moulds and bacteria that will colonise the substrate before your mushroom mycelium can establish. Straw can be pasteurised by submerging in 75-degree water for an hour – less equipment-intensive than full sterilisation. Sawdust-based substrates require pressure cooking at 15 PSI for 2-3 hours to achieve true sterilisation. Contamination is the most common cause of failure in home mushroom growing, and it is almost always the result of cutting corners at the substrate preparation stage.
Ready-made kits are the best way to start. A quality oyster mushroom kit from a UK supplier costs around £10-15 and arrives already colonised, often producing the first pins within 7-10 days of opening. Growing from scratch is rewarding but the jump from kit to substrate preparation involves sterilisation equipment and contamination management that beginners should tackle after at least one successful kit. Master the fruiting stage first, then work backwards.
From inoculation to harvest – the full timeline
The mushroom growing cycle has two distinct phases. The colonisation phase is when the mycelium grows through the substrate, converting it into a network of white fungal threads. This phase requires warmth (18-25 degrees Celsius for most species), darkness, and no disturbance. The block should look progressively whiter throughout this phase. If you see green, black or pink patches developing alongside the white, that is contamination – competing moulds have taken hold and the block should be discarded outdoors rather than opened inside the growing space.
The fruiting phase begins when the fully colonised block is triggered by a change in conditions – lower temperature, higher humidity, fresh air exchange and indirect light. This environmental shift mimics the arrival of cooler, wetter autumn conditions in the wild, which signals to the mycelium that it is time to produce fruiting bodies. Pins appear within days of the trigger and develop into full-sized mushrooms within a week. The speed is one of the most satisfying aspects of mushroom growing – once fruiting begins, you can watch the mushrooms visibly grow hour by hour.
Fruiting conditions – temperature, humidity and light
Getting the fruiting conditions right is the most critical skill in home mushroom growing. Most beginners underestimate the importance of humidity – mushrooms are around 90% water by weight, and fruiting bodies cannot develop properly unless the relative humidity around the block is consistently above 80%, ideally 85-95%. In a typical UK home with central heating running, ambient humidity is often 40-60%, which is far too low. The solution for most home growers is a humidity tent – a clear plastic bag or purpose-built grow tent placed loosely over the block, with the bottom open or with vents to allow fresh air exchange while retaining moisture.
Fresh air exchange is the second critical factor that beginner guides often undersell. Mushrooms produce CO2 as they grow, and without regular air movement the CO2 concentration builds up and suppresses pinning or causes long, spindly pins instead of healthy clusters. Fanning the block twice a day with a piece of card, or using a small fan on a timer pointed away from the block, maintains the fresh air exchange oyster mushrooms particularly need. Lion’s mane and shiitake are somewhat more tolerant of CO2 build-up but still benefit from regular fresh air.
UK seasons play a bigger role in home mushroom growing than most beginners anticipate. Grey oyster mushrooms fruit most naturally in autumn and winter conditions – the cooler temperatures of an unheated spare room or garage between October and March are often ideal without any intervention. In summer, when indoor temperatures regularly exceed 22 degrees Celsius, grey oysters struggle and pink or yellow oyster varieties become much better choices as they tolerate and even prefer the warmth. Shiitake performs well year-round in a temperature-stable room. Keeping a thermometer near your growing area and matching your species choice to the season makes the whole process far more reliable than fighting the ambient conditions with heating or cooling equipment.
Harvesting and getting multiple flushes
The timing of harvest matters significantly for oyster mushrooms. Pick too early and you waste yield; pick too late and the mushrooms begin to drop spores – a dramatic white or grey dusting that covers every surface near the block. The ideal harvest point is just before the caps begin to curl upward and the edges flatten out. At this stage the mushrooms are at peak flavour and the spore release has not yet begun. Twist and pull the entire cluster off cleanly at the base, or cut with a sharp knife. Do not leave stubs attached as these will rot and can seed contamination.
After the first flush, the block needs a rest and rehydration period before it will produce again. For oyster mushrooms, this means leaving the block for 5-7 days in cooler, slightly drier conditions, then soaking it in cold water for 4-8 hours (for larger blocks) or misting heavily and returning to fruiting conditions. Most oyster mushroom blocks will produce 2-3 flushes of good quality before the yields begin to drop noticeably, with each successive flush typically producing about 30-40% less than the previous one. After the final flush, the spent substrate makes an excellent addition to compost.
Fresh home-grown mushrooms deteriorate quickly and are best used within 3-5 days of harvest. Store them in a paper bag in the fridge rather than in plastic, which traps moisture and accelerates decay. Oyster mushrooms are best cooked simply – fried in butter with garlic and a little salt, they showcase the delicate flavour that makes home-grown mushrooms so much better than shop-bought equivalents. Lion’s mane has a texture reminiscent of crab or lobster when cooked in chunks over high heat, and is particularly good in creamy pasta or rice dishes. Shiitake has a richer, more intensely savoury character than oyster and holds up well to longer cooking, making it excellent in soups, stir-fries and braises. If you have a large flush that exceeds immediate use, mushrooms dry well on a rack in a low oven (50-60 degrees Celsius) or in a dehydrator, and dried mushrooms reconstituted in hot water for 20 minutes are indistinguishable from fresh in cooked dishes.
Troubleshooting – common problems and fixes
Most problems in home mushroom growing have clear causes and straightforward solutions. Contamination is the most serious – green, black or pink patches on the substrate indicate competing moulds, almost always the result of insufficient sterilisation, working in unclean conditions, or damage to the bag that allowed contaminants to enter. A contaminated block should be sealed in a bag and disposed of outdoors. Pins forming but then aborting before developing into full mushrooms almost always indicates CO2 build-up or insufficient humidity. Long, thin pins stretching toward the light suggest CO2 is too high. No pins forming despite full colonisation usually means the block needs a cold shock to trigger fruiting – 24 hours at 10 degrees Celsius is often enough.
Never eat any mushroom you cannot identify with absolute certainty. This guide covers cultivated species grown from verified spawn – these are safe because the species is known. Wild mushroom foraging is an entirely separate skill that requires proper training and a reliable field guide. Do not attempt to identify and eat wild mushrooms based solely on appearance comparisons with cultivated varieties.
Share on socials: