At a glance
Alocasia are among the most architecturally striking houseplants available – large, glossy, arrow or heart-shaped leaves on upright stems that can reach impressive sizes in good conditions. The genus includes dozens of species varying from the compact Alocasia ‘Polly’ with its dark green ribbed leaves to the enormous Alocasia macrorrhiza that can reach ceiling height indoors. All share the same core care requirements, and all are uncompromising about one in particular: humidity. Get humidity right and most other Alocasia problems either do not arise or are easier to resolve. Get it wrong consistently and nothing else you do will adequately compensate for the deficit.
In the UK, the combination of central heating in winter and naturally lower outdoor humidity means most homes run at 40-50% relative humidity – below the 60%+ that Alocasia need to prevent their large leaf surfaces from desiccating at the edges. This is the primary reason Alocasia develop crispy brown leaf tips in British homes, and it is the first problem to solve before any other care question. An Alocasia in inadequate humidity will drop leaves, produce stunted new growth and decline regardless of how well everything else is managed. Understanding and correctly acting on this single fact separates successful Alocasia growers from those who cycle through plants every few months wondering what went wrong.
Popular varieties
The Alocasia genus is large and the varieties available in UK garden centres and specialist houseplant shops vary considerably in size, leaf shape and cold tolerance. All follow the same fundamental care rules around humidity, light and watering, but knowing which variety you have helps set realistic expectations about final size, typical growth rate and how much floor or shelf space it will eventually need once established.
Light requirements
Alocasia need bright, indirect light – similar to their natural rainforest understory habitat where bright diffused light filters through a canopy above. In UK homes, a position 1-2 metres from a south or west-facing window, or directly at an east-facing window, gives the right light level. Direct strong sunlight bleaches and scorches the large leaf surfaces, producing pale patches that are permanent; deep shade causes pale colour, very slow growth and increased susceptibility to root rot because the compost stays wet far longer when evaporation through the leaves is minimal.
In winter, UK light levels drop significantly and Alocasia may lose a leaf or two as they adjust to shorter days and lower light intensity. Moving the plant closer to the window through winter months – while being careful of cold draughts from the glass, which can cause sudden leaf drop – helps maintain adequate light through the shorter days. Some growers use a dedicated grow light on a timer from November to February to supplement the low natural light levels, which also contributes to keeping the ambient temperature near the plant slightly more stable.
Humidity – the critical factor
Providing adequate humidity is the single most important care task for Alocasia in UK homes. The target is 60% relative humidity or above – at this level the large leaf surfaces can transpire normally without the margins drying and browning faster than new growth can replace them. A digital hygrometer placed near the plant gives an accurate reading of the actual humidity at the plant’s location, not just the room average. Most UK living rooms run at 40-55% in summer and 30-45% during the winter heating season, significantly below what Alocasia need to prevent leaf edge desiccation and spider mite infestations. Knowing the actual figure is the starting point for solving the most common Alocasia problem.
Central heating is the enemy in winter. UK central heating reduces indoor relative humidity dramatically from October to April – the period when Alocasia are most vulnerable to desiccation stress and spider mite attack. Running a humidifier specifically during the heating season makes the greatest practical difference to Alocasia health in a typical UK home. Turning it off to save electricity during this period will show in the plant within weeks.
Watering
Alocasia need consistently moist but never waterlogged compost. Allow the top 2-3cm of compost to dry between waterings, then water thoroughly until it runs freely from the drainage holes. Use room-temperature water – cold tap water can shock the roots of tropical plants and cause sudden leaf drop that appears to have no other explanation. If your tap water is very hard with high calcium content, allowing it to stand overnight in an open container reduces both the temperature shock and the chlorine content, both of which benefit sensitive tropical aroids like Alocasia. Some growers use collected rainwater for their Alocasia, particularly in hard water areas of the UK where limescale deposits on the leaves and in the compost are a visible problem over time.
Soil, potting and feeding
Alocasia need a well-aerated, free-draining compost mix. A standard aroid mix – combining multipurpose compost, perlite and orchid bark in roughly equal proportions – provides the drainage and aeration these plants need while retaining enough moisture to stay consistently moist between waterings. The orchid bark creates air pockets in the root zone that prevent the anaerobic, oxygen-depleted conditions that trigger root rot even when the compost remains consistently damp between waterings. Avoid standard multipurpose compost used alone as it compacts over time and holds moisture far too long for Alocasia roots.
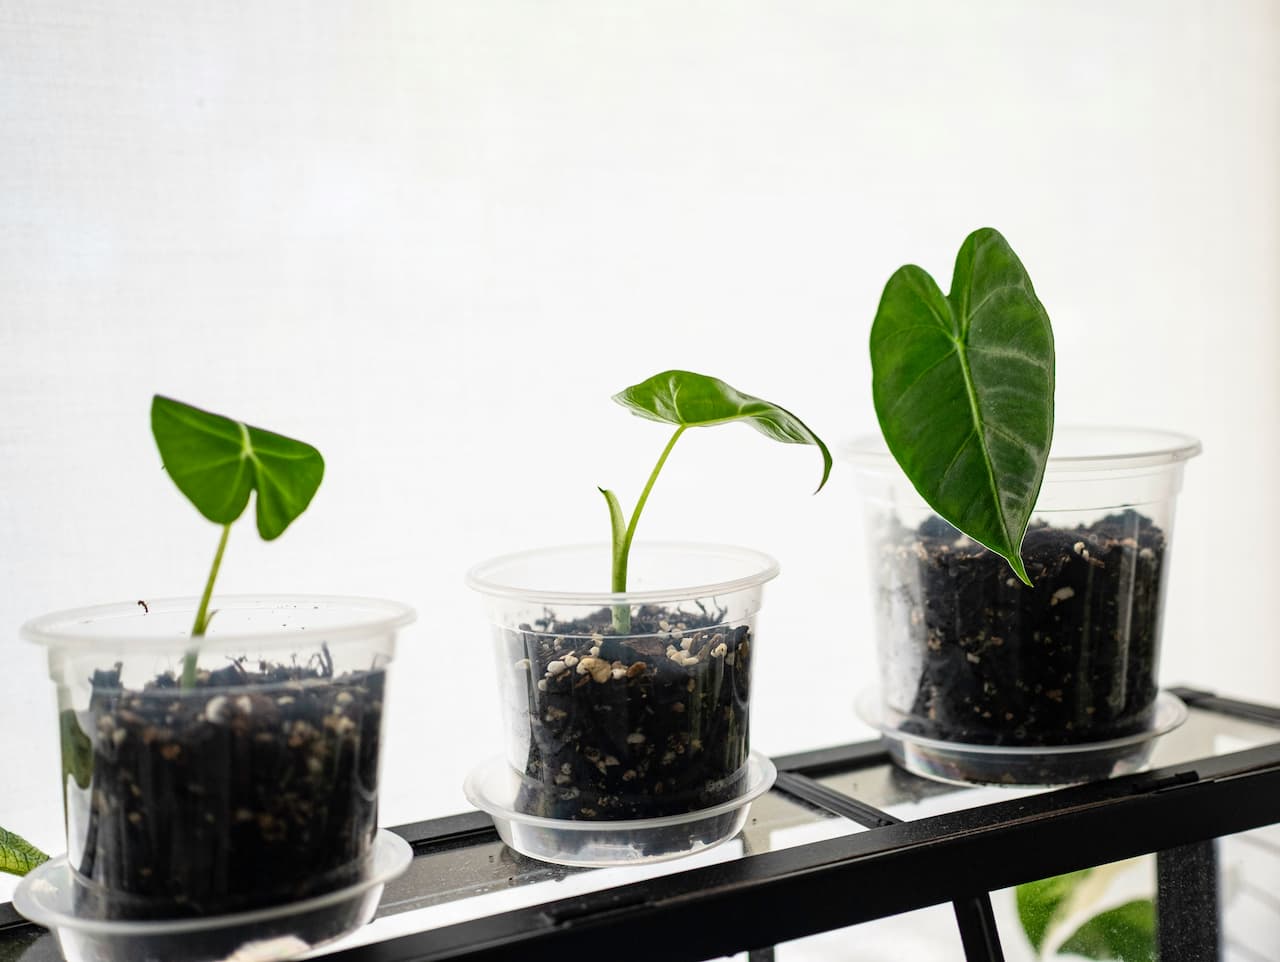
Repot every 1-2 years or when roots are clearly circling the base of the pot and emerging from drainage holes. Move up by one pot size only when repotting – oversized pots hold too much moisture relative to the root ball and increase root rot risk substantially, particularly through the winter months when the plant is not actively growing and consuming water. Alocasia are rhizomatous and can be divided at repotting if multiple crowns have formed, with each division needing its own pot and a few weeks in warm, humid conditions to re-establish before being treated as a mature plant. Feed monthly through the growing season with a balanced liquid houseplant fertiliser at the recommended strength. Alocasia are heavier feeders than many houseplants and benefit from consistent monthly applications during active growth – yellowing of older leaves despite good humidity and adequate light can indicate nutrient deficiency rather than a watering or pest problem, and increasing feeding frequency to fortnightly through the peak growing months often resolves it.
Common problems
Spider mites are the most common pest on Alocasia and almost always indicate low humidity – they thrive in the dry conditions that simultaneously stress the plant and make it more vulnerable. If you see fine webbing on the undersides of leaves or a stippled, dusty appearance to the upper leaf surface, act quickly: spider mites reproduce rapidly and can defoliate a large Alocasia within a few weeks if left unchecked. Raise humidity immediately to disrupt their preferred conditions, wipe all leaf surfaces – top and bottom – with a damp cloth to physically remove mites and eggs, then treat the whole plant with a neem oil spray every 5-7 days for 3-4 weeks to eliminate all life cycle stages. The nerve plant is another humidity-loving houseplant that benefits from the same humidifier treatment if grouped nearby, creating a shared humid microclimate that benefits both plants simultaneously and makes spider mite infestations less likely across the whole collection.
Winter dormancy is normal and widely misunderstood behaviour for Alocasia in UK homes. The plant may drop all its leaves through winter and appear to have died completely. It has not died. The corm – the underground storage structure at the base of the stem – remains alive and viable through complete defoliation. Keep the compost barely moist throughout winter rather than stopping watering entirely, maintain the humidifier running, keep the minimum ambient temperature above 16C and keep the pot in a bright position in anticipation of the new spring growth that will follow. New leaves will emerge in spring as light levels and temperatures rise, often producing larger and more impressive leaves than those that were lost over winter.
Share on socials: