At a glance
Loft insulation is the single most cost-effective energy saving measure available to the majority of UK homeowners. Around 25% of a home’s heat is lost through an uninsulated roof, and installing insulation to the current recommended depth of 270mm can reduce that loss to less than 5%. The annual saving on heating bills varies by house size and current fuel costs, but figures of £150-300 per year are typical for a semi-detached house – giving a payback period of two to five years for a DIY installation and five to eight years for a professionally installed system. For a measure that requires no maintenance once installed and lasts indefinitely, this represents an exceptional return on investment by any measure.
The accessibility of loft insulation as a DIY project depends almost entirely on the loft itself. A clear, accessible loft with a flat boarding area and adequate headroom is one of the most straightforward energy improvement projects a homeowner can undertake – a weekend’s work with materials costing approximately £300-500 for a typical semi-detached house. A loft that is inaccessible, has existing insulation below the recommended depth, contains asbestos or has a complex roof structure is a different proposition that may warrant professional installation or specialist assessment. Understanding which situation applies before buying materials saves wasted effort. This is one of several home fabric improvements covered in the guide to reducing home energy bills, and one of the most impactful starting points.
Insulation materials compared
Mineral wool – sold under brand names including Knauf, Rockwool and Isover – is the standard choice for accessible loft insulation and the material used in the vast majority of UK installations. It is available in rolls sized to fit between standard joist spacings (400mm or 600mm centres), is non-combustible, does not degrade over time, and provides excellent thermal performance at a competitive price. The irritant fibres require protective clothing during installation but present no health risk once installed and undisturbed. Loose fill cellulose or mineral wool – blown in using hired equipment – is useful for topping up existing partial insulation or filling irregular spaces between joists that rolls cannot easily reach. Rigid PIR (polyisocyanurate) board is thinner than mineral wool for equivalent thermal performance – useful where height is limited – but significantly more expensive and requires more careful cutting and fitting. Sheep’s wool is a natural, breathable alternative that is particularly effective at managing moisture and is favoured by those seeking to avoid synthetic materials.
Preparation and safety
Before starting any loft insulation work, inspect the loft thoroughly for several potential issues. Check for any signs of damp, water ingress or rot in the roof timbers – installing insulation over existing damp creates conditions for further deterioration that can be hidden for years. Ensure the loft hatch opening is large enough to pass rolls of insulation through – standard rolls in packaging are typically 400mm wide. Check whether any existing insulation contains asbestos: loose grey or brownish fibre insulation installed before the mid-1980s may contain asbestos and must not be disturbed – seek specialist advice before proceeding if in doubt.
Safety equipment for loft insulation work is non-negotiable. Wear a dust mask rated P2 or FFP2 at minimum – the fine fibres from mineral wool are an irritant and should not be inhaled. Wear long sleeves, gloves and safety glasses to prevent skin and eye irritation from fibres. Use a proper loft ladder rather than a stepladder through the hatch. Never stand on the ceiling between joists – the plasterboard will not support your weight. Lay boards across joists as a working platform and move them as you progress. Ensure the loft is adequately lit before starting – a proper work light rather than a head torch makes the job significantly easier and safer.
Installation – step by step
Clear the loft and inspect joists
Remove any stored items from the area to be insulated. Check all joists for damage, rot or evidence of damp. Measure the joist spacing to confirm whether the loft is 400mm or 600mm centres – this determines which roll width to buy. Check current insulation depth if any exists – existing insulation below 100mm can be topped up rather than replaced.
Insulate the loft hatch and water tank
Fit a draught seal and insulation board to the top face of the loft hatch before laying the floor insulation – this prevents the hatch becoming the weakest point in the thermal envelope. Lag any water pipes and the cold water tank with foam lagging and a tank jacket respectively. The tank must remain above the insulation layer so it receives some warmth from the house below – do not insulate under the tank.
Lay the first layer between joists
Starting at the eaves and working toward the centre, unroll mineral wool between the joists to fill the joist depth – typically 100mm for older houses or the full joist depth in newer ones. Push the roll snugly against the eaves but leave a 25mm ventilation gap between the insulation and the underside of the roof covering. Use a bread knife or serrated blade to cut rolls to length. Do not compress the insulation – its thermal performance depends on its full thickness and the air it traps.
Lay the second layer at right angles
Lay a second layer of 170mm mineral wool on top of and at right angles to the first layer, crossing over the joists. This cross-layer eliminates the thermal bridging that would otherwise occur at every joist – the joists themselves conduct heat and represent weak points in a single-layer installation. The total depth of both layers combined should reach at least 270mm, the current UK Building Regulations recommendation for new loft insulation.
Seal gaps around services and reinstate access
Use off-cuts to fill any awkward gaps around chimney stacks, pipes and cables. Maintain the ventilation gap at the eaves throughout – blocking eaves ventilation causes condensation problems in the roof structure. If the loft is used for storage, raise any boarding onto battens fixed to the joists so it sits above the insulation level rather than compressing it. Insulate around and above the loft hatch opening to complete the thermal barrier.
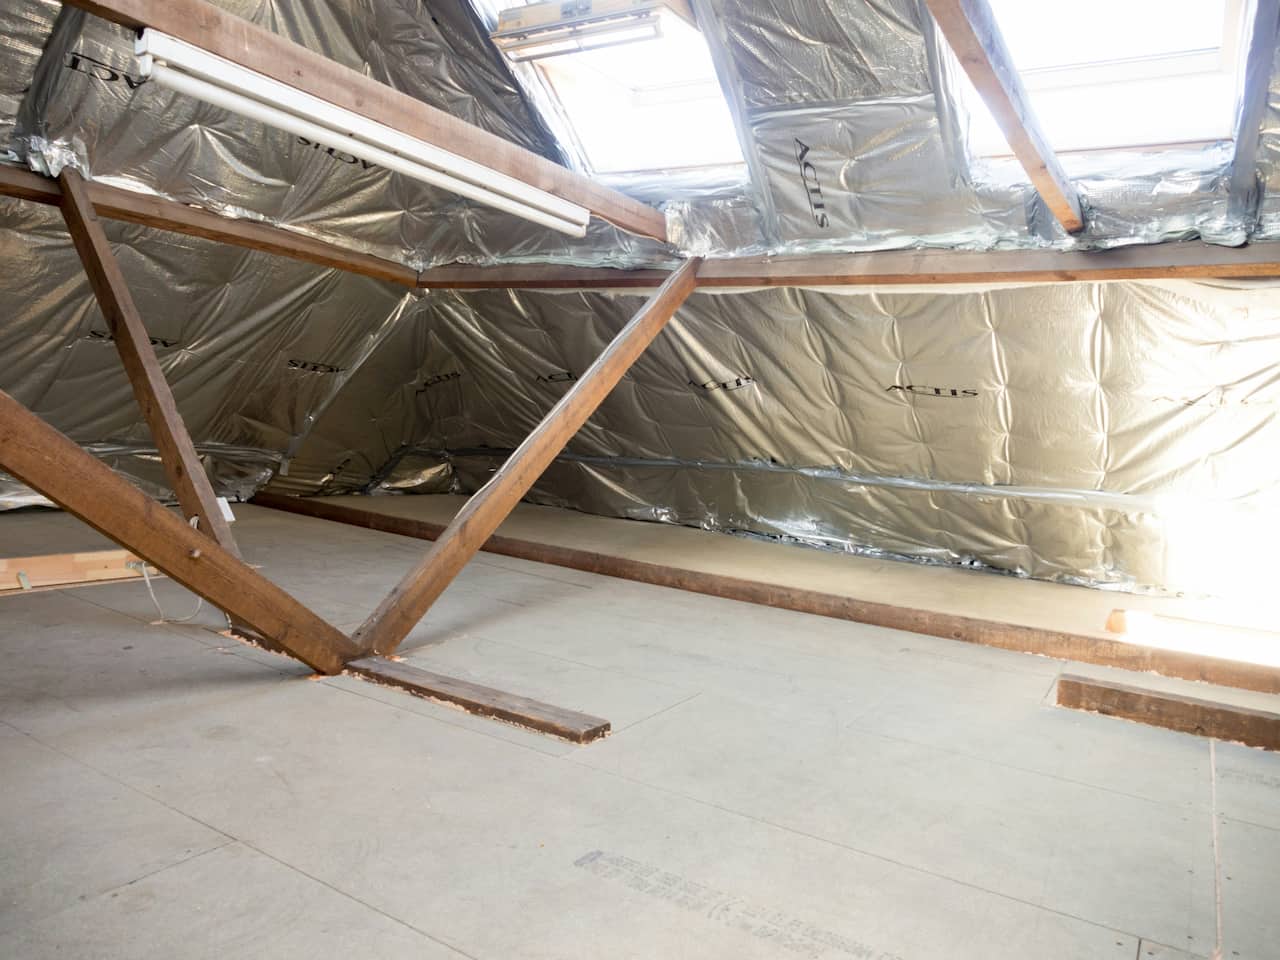
Sloped ceilings and room-in-roof
The standard between-joist-and-cross-layer approach described above applies only to lofts with a flat, accessible floor and a pitched roof above. Properties with sloped ceilings – rooms in the roof, dormer conversions, properties with vaulted ceilings – require a different approach using rigid PIR insulation boards fitted between and below the rafters, leaving a ventilation gap above the insulation between the insulation and the roof deck.
Room-in-roof insulation is significantly more complex than standard loft insulation, requires more precise measurement and cutting, and typically involves some degree of interior disruption. The work is often best carried out by an insulation contractor, particularly where the existing internal lining must be removed and replaced. The thermal performance gains are equally significant as standard loft insulation – a converted loft or room-in-roof with no insulation loses heat at a rate that makes it uncomfortable and expensive to heat year-round. This type of work should be assessed alongside draught proofing and internal wall insulation as part of a whole-house fabric improvement programme.
Grants and funding
The ECO4 scheme (Energy Company Obligation) is the primary UK government grant programme for loft insulation and is available to households meeting certain eligibility criteria – primarily those in receipt of qualifying benefits, or properties with a low energy efficiency rating (EPC D or below). Under ECO4, eligible households can receive fully funded loft insulation installation at no cost. Check eligibility through the government’s Simple Energy Advice website or by contacting an energy company directly – the scheme is administered through energy suppliers who are legally obligated to fund a proportion of energy efficiency improvements each year.
Even for households not eligible for ECO4 funding, the payback period for self-funded loft insulation is short enough that it represents one of the best financial returns available in home improvement. A DIY installation for a typical semi-detached house costs approximately £400-600 in materials and the annual heating bill reduction of £150-300 means the investment is recovered within two to four years – after which the saving continues indefinitely. The improvement also adds value to the EPC rating of the property, which increasingly affects sale value and mortgage availability.
Do not insulate under a cold water tank. The cold water tank in the loft must not be insulated beneath it – it relies on warmth rising from the house below to prevent the water freezing in cold weather. Insulate around and above the tank, and lag all exposed pipes and the tank itself with a tank jacket, but leave the floor directly beneath the tank uninsulated. Getting this wrong risks burst pipes in the first cold snap after installation.
Common problems and solutions
Share on socials: