At a glance
The instinct when you look at a weedy patch of ground is to clear it first. Dig it over, pull everything out, start with bare soil. That instinct is wrong, and the no-dig approach works specifically by overriding it. You do not need to remove the weeds, dig out the grass, or break up the ground. You smother everything in cardboard and compost, and within weeks the vegetation below is dying, the worms are working, and you have a bed that is ready to plant. The less you interfere with the soil, the better the soil performs.
The catch, and there is one, is compost. You need more of it than most people expect in the first year, and sourcing it at volume is the part that takes planning. Get the compost sorted first. Everything else in this method is genuinely straightforward.
Why no-dig works
The conventional case for digging is that it breaks up compaction, incorporates organic matter, and kills weeds. All three of those outcomes can be achieved without disturbing the soil at all, and the disturbance itself turns out to cause problems. Every time you turn the soil, you expose dormant weed seeds to light and trigger germination, fragment the worm channels and fungal networks that give healthy soil its structure, and disrupt the microbial life that makes nutrients available to plants. A no-dig bed avoids all of that by working with soil biology rather than against it.
The compost layer on the surface feeds the soil from the top down, exactly as leaf litter feeds a woodland floor. Worms do the incorporating work. Over three or four seasons of no-dig management, the soil structure underneath improves dramatically. Digging a no-dig bed that has been running for a few years and comparing it to an equivalent dug bed is one of those moments that converts people permanently. The no-dig bed has structure and life. The dug bed is loose and relatively inert.
No-dig works especially well on clay and compacted ground, precisely because the method never makes the compaction worse. The bed grows in the compost layer above the clay, and worms gradually colonise downward, improving clay structure season by season. On very heavy, waterlogged clay, building the compost layer higher with board-sided edges gives the plants more rooting depth above the clay and better drainage.
What you need
Cardboard is the foundation layer. Plain, unprinted corrugated cardboard is what you want: delivery boxes, appliance packaging, supermarket boxes. Remove all tape, staples, and plastic strips before laying. Shiny printed cardboard breaks down too slowly and may contain inks best kept out of the soil. For a new bed of any meaningful size, accumulating enough cardboard is the first practical challenge. Large supermarkets, electrical and furniture retailers, and online delivery consolidation points will generally give it away. Give yourself two or three weeks to build up a supply before you plan to build.
Newspaper can substitute for cardboard in a thin layer but breaks down much faster, sometimes within a few weeks of heavy rain. If using newspaper, lay it at least six sheets thick, overlap generously, and plan to supplement with cardboard at the edges where it will fail first. For most purposes, cardboard is simpler and more reliable.
Making the bed: step by step
Choose the location before anything else. Vegetables need at least four to five hours of direct sun. A bed in full shade will grow very little regardless of method. Maximum width is 1.2 metres so you can reach the centre from either side without standing in the bed. Standing in the bed compacts the soil. Make it longer rather than wider.
For beds on concrete or hard standing, contain the compost in a frame at least 30 centimetres deep with no solid base, giving roots access to as much depth as possible. Without bare soil contact below, there is no worm colonisation from underneath, so these beds need more consistent watering and feeding than in-ground beds. They work as a compromise in a paved courtyard but bare soil is always better.
Cut down any tall vegetation
Brambles, tall docks, and other woody plants should be cut to ground level before laying cardboard. Low grass, annual weeds, and nettles can go straight under without any preparation. You do not need to remove roots. Cutting removes the bulk so the cardboard lays flat.
Water the ground if dry
Thoroughly wet the ground before laying cardboard in dry conditions. The cardboard needs moisture to start breaking down and to press flat against the soil. A dry layer of cardboard on dry soil is slow to decompose and less effective.
Lay cardboard in a double layer with generous overlaps
Overlap each sheet by at least 15 to 20 centimetres at every join. Gaps are where weeds push through. This is the most common cause of failure in a first no-dig bed. Butt the cardboard right up to path edges and slightly overlap them to prevent weeds growing around the perimeter. Wet the cardboard again after laying.
Apply compost to the required depth and firm gently
Spread compost evenly across the bed. 15 centimetres for grass and light annual weeds. 20 centimetres where perennial weeds are established. Firm it down gently, not hard packed but settled. The bed can be planted or sown into on the same day as long as the compost is properly rotted.
Slugs and no-dig beds. The damp underside of cardboard is ideal slug habitat, and a newly made no-dig bed in its first season can harbour more slugs than bare dug soil would. This is a known trade-off, not a reason to avoid the method, but worth knowing before your first seedlings disappear overnight. Remove the cardboard collar around plants when planting, keep compost surface loose so it dries between rains, and use slug controls proactively in the first year. By year two, as the cardboard fully decomposes and ground beetles and other predators colonise the bed, slug pressure normalises.
Never use fresh or hot compost. Compost that is still generating heat, or manure that has not properly rotted, will damage plant roots and make the bed unusable for months. The compost must be dark, earthy-smelling, and crumbly. If it is hot to the touch or smells of ammonia, leave it to mature further before use.
Timing
A no-dig bed can be made at any time of year. The two best windows are autumn and late winter. Made in October or November, the cardboard has the whole winter to press down on the vegetation below, the compost settles and develops, and by spring the bed already has structure. Made in February or March, it can be planted within weeks. Summer works too, though any perennial weeds below will take longer to die in warm growing conditions.
The counterintuitive thing about timing is that you can often plant straight into a newly made bed, even with weeds still alive underneath. The first season’s vegetables grow well ahead of any perennial regrowth from below. Plant as soon as the season allows and do not wait for the weeds to die before you start.
Dealing with perennial weeds
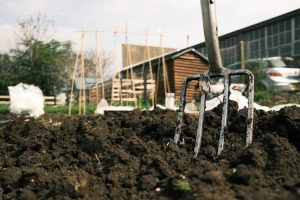
This is the part most people underestimate, and the specifics matter because different weeds respond very differently to suppression. The key principle is always the same: do not dig to try to clear perennial weeds before making a no-dig bed. Digging couch grass fragments the rhizomes and creates more couch grass. Digging bindweed does the same. Smothering is always more effective than digging for these weeds.
Bindweed roots run deep and extend far beyond the bed boundaries. Light exclusion works, but it takes 12 to 18 months of consistent suppression, and shoots will emerge through the compost during the first year. Remove them promptly each time you see them, down to a few centimetres of pale white root. The parent root weakens with every removal, and by year two or three, bindweed in a well-managed no-dig bed is containable rather than relentless. The mistake is giving up or leaving shoots to photosynthesise.
Horsetail (marestail) is in a different category. Its spores can remain viable in the soil for decades and it regrows from tiny fragments. A deep compost layer slows it but does not reliably eliminate it. For a plot with severe horsetail, covering the entire area with black polythene for a full growing season before making beds gives a much better foundation. No-dig manages horsetail better than digging, which fragments and spreads the roots, but it requires realistic expectations.
Japanese knotweed is a different situation entirely. It is listed under Schedule 9 of the Wildlife and Countryside Act 1981 and the Environmental Protection Act 1990. Having knotweed on your land is not illegal, but causing or allowing it to spread to neighbouring land or into the wild is, and knotweed-contaminated soil is classified as controlled waste with specific disposal requirements. Do not compost it or spread affected soil. Any suspected knotweed needs specialist assessment before any cultivation begins.
Bed edges and structure
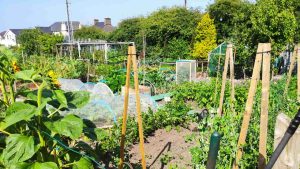
A no-dig bed does not need permanent edging. A compost layer 15 centimetres deep will stay largely in place on level ground once it has settled, and after the first season it compacts to roughly half its original depth and holds well without sides. Many productive no-dig beds run without any edging at all, and adding elaborate structure to a method designed to be simple rather defeats the point.
Edging is useful in the first few months to hold the compost in place while it settles, and permanently useful on slopes or where beds border paths that need a defined edge. Untreated softwood boards, logs, bricks, or old paving slabs all work. Treated wood containing preservatives is best avoided in vegetable beds. For paths, woodchip at 10 centimetres deep on a cardboard base suppresses weeds effectively, stays walkable, and breaks down slowly over several years to improve the path soil. Keep it topped up when it thins.
Maintaining a no-dig bed
The annual maintenance routine is one of the main reasons the method is worth the initial setup effort. Each autumn or late winter, after the growing season ends, spread 5 centimetres of compost across the entire bed surface. Do not dig it in. Leave it on top. Worms incorporate it over winter, and by spring the bed surface is dark, friable, and ready to plant. That annual 5-centimetre top-dress replaces whatever the growing season has consumed and keeps the soil biology fed.
Weeding on a no-dig bed involves only the top 2 to 3 centimetres of the surface. Annual weeds that establish in the compost pull out easily from the loose, friable top layer. Perennial regrowth from below should be removed promptly with a trowel. Never go deeper than the compost surface. Disturbing the soil below undoes the structure the method is building.
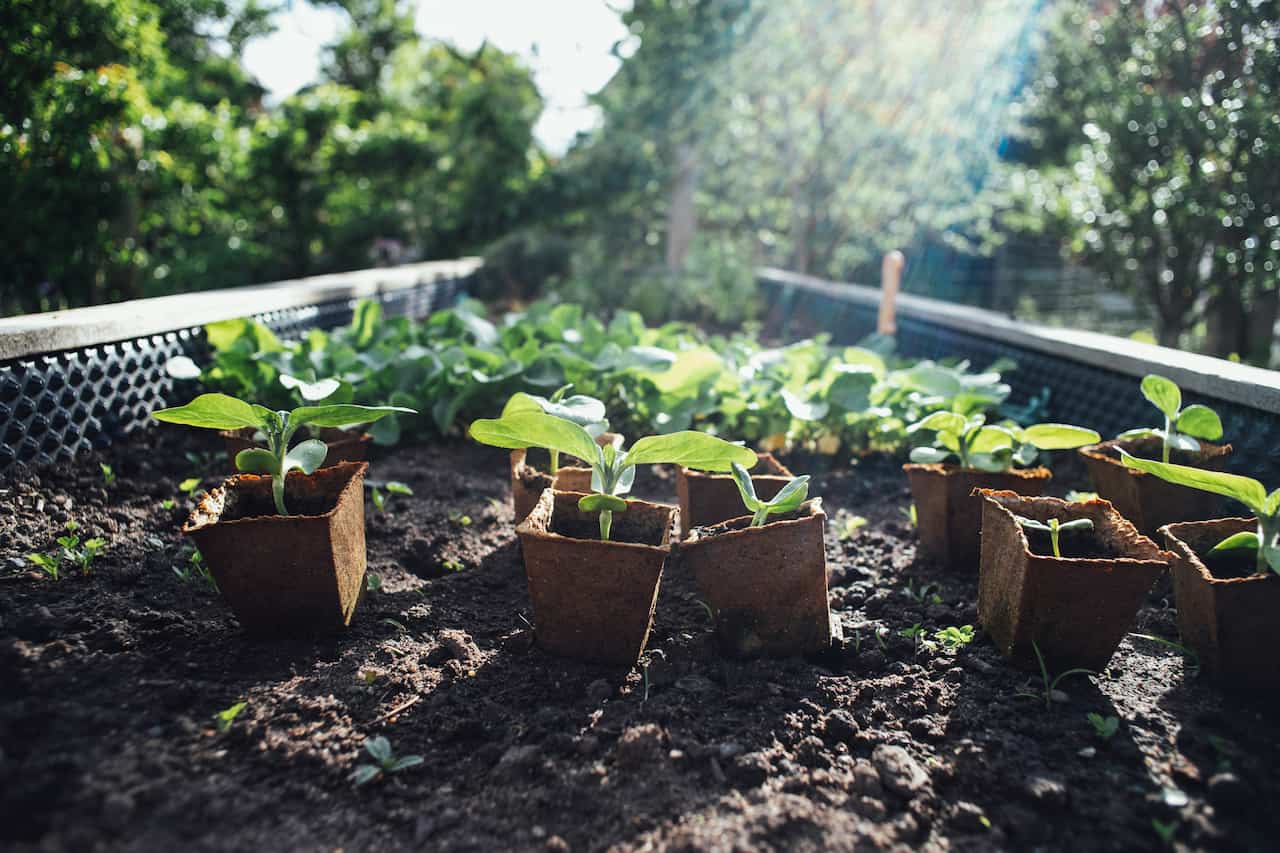
When planting, use a dibber rather than a trowel where possible. Dibbers make a clean hole without disturbing the surrounding compost structure. For transplants needing a larger hole, a trowel is fine, but fill it cleanly and firm the compost back around the rootball without digging sideways into the bed.
Compost at scale: the practical reality
Work out how much compost you need before you order: a cubic metre covers roughly six to seven square metres at 15 centimetres depth, which is about 20 standard 50-litre bags, and most new beds are larger than people initially plan for. For a half-plot of growing beds, the compost requirement runs into tonnes. I have seen people plan a full allotment conversion and then not account for this at all. The beds go down, the cardboard is perfect, and then the compost is 15 centimetres deep in one corner and 5 centimetres deep everywhere else because there simply was not enough. Weed suppression fails. Frustration follows. Do the maths before you start, add 20 percent for settling and uneven distribution, and source accordingly.
Bulk tonne bags ordered directly are the most cost-effective option for large areas. Green waste compost from council sites is cheap and usually good. Well-rotted horse manure collected from local stables costs nothing but effort. Bagged multipurpose compost from a garden centre works but is the most expensive option at scale and unnecessary. Making your own is the long-term answer, but in the first year of a new plot you will almost certainly need to buy or source compost before your own heaps are producing enough.
Share on socials: