At a glance
Water availability is the single most limiting factor on most UK allotment plots during the growing season. A shared standpipe at the end of the row, restricted to watering can use, is the reality for the majority of plot holders – particularly on busy council sites in summer when queuing for the tap is a daily frustration and supply can be restricted entirely during hosepipe bans or drought orders. The difference between a productive allotment through July and August and one that struggles comes down almost entirely to how well the water system has been thought through before the dry weather arrives.
Setting up an independent water system does not require significant expense or specialist knowledge. A network of water butts linked together and fed from shed or polytunnel roof run-off can store hundreds of litres of free rainwater. A gravity-fed drip line running from a raised butt delivers water directly to the root zone of thirsty crops without any manual effort. These systems pay for themselves in the first dry summer and remove dependency on shared standpipes entirely for most watering needs.
Water sources and what the rules say
Before planning any water system, read the tenancy agreement. Allotment site agreements vary considerably. Some council sites allow hosepipe connection to mains standpipes for a small annual fee. Others prohibit hosepipes entirely regardless of conditions – the restriction is about water cost and fair allocation rather than emergency conservation. Many sites are silent on stored rainwater, but collected rainwater used via any delivery method is entirely unaffected by hosepipe bans and mains restrictions. It is your own collected water and can be used freely. Understanding this distinction matters enormously in a dry summer: a plot holder with 1,000 litres of stored rainwater continues irrigating normally through any hosepipe ban, while plot holders dependent on the standpipe may face complete restriction for weeks at a time.
The hosepipe ban exemption for collected rainwater is not widely understood but it is consistent with how bans are applied in the UK. Water company restrictions apply to mains supply and the use of hosepipes connected to mains supply. They do not restrict the use of water already stored in butts, regardless of how that water is subsequently delivered to the garden. You can use a hosepipe, drip line, soaker hose or any other method to deliver your stored rainwater without penalty. The key is that the water must not flow from a mains connection – and stored rainwater definitively does not. This distinction allows a plot holder with adequate storage to operate a full irrigation system throughout any ban, while neighbours without storage are restricted to watering cans from the standpipe.
Greywater from domestic sources – washing up water, bath water, water from rinsing vegetables – is free and available in quantity, but its use on allotments needs care. Water containing soap or cleaning products should not be applied to edible crops due to the risk of residue accumulating in the soil or on produce. Plain rinse water with no detergent added, or bath water from products used in small quantities, is generally considered low risk on non-edible plants and soil around established trees or shrubs. It should never be applied to leafy salad crops, root vegetables with edible skin, or any crop close to harvest. Some allotment sites prohibit greywater use entirely in their tenancy agreements – check before using it.
How much storage you need
Understanding how much water your plot needs helps determine how much storage to build. A full 10-rod allotment plot (250 square metres) with intensive cropping needs roughly 15 to 20 litres per square metre of cropped area per week during peak summer. A typical productive allotment might have 100 to 150 square metres of actively cropped beds, requiring 1,500 to 3,000 litres per week in dry conditions. This is the theoretical maximum – in practice, foliage cover, mulching and drought-tolerant plants reduce actual consumption considerably.
The collection surface calculation tells you how quickly butts will refill. The area of a roof in square metres multiplied by rainfall in millimetres gives litres collected – a 10 square metre shed roof collects 10 litres for every millimetre of rain that falls. A 6x8ft shed roof has a surface area of around 4.5 square metres – each millimetre of rainfall yields approximately 4.5 litres of collectible water. In an average UK year with 600 to 800 millimetres of rainfall, even a modest shed roof feeding a linked butt system significantly supplements mains supply. A full 200-litre butt weighs 200 kilograms when full – the stand and ground it sits on must be genuinely stable and level.
Setting up water butts and linked systems
Placement should prioritise the largest available roof surface. A shed is the most common collection point, but polytunnels, greenhouses and lean-tos can all contribute. The downpipe from roof guttering feeds into the butt through a diverter fitting – a device that allows water to flow into the butt until it is full, then automatically redirects flow down the downpipe rather than flooding the butt. Diverter fittings prevent overflow from the butt top and keep the system clean by shedding the initial dirty flow from a roof at the start of a rain event before switching to collection mode.
Height matters for gravity-fed irrigation. Even a 40 to 50 centimetre raise provides enough head pressure to run a short drip line. For a longer run of 10 metres or more, raising to 80 to 100 centimetres produces better flow rate and more consistent delivery. Link multiple butts together using an overflow pipe connecting the overflow outlet of the first butt into the inlet at the top of the next. For the system to work as a communicating vessel where water levels equalise across all butts – allowing the tap on any butt to draw from the combined volume – link pipes should connect near the base of each butt rather than just at the overflow outlet only. Cover all butt inlets with fine mesh to exclude leaves, debris and insects. Clean butts annually by emptying and scrubbing out algal growth or sediment.
Installing a diverter fitting is straightforward but requires cutting into the existing downpipe. Most diverter kits include the fitting, a short length of flexible pipe to connect to the butt inlet, and instructions specific to standard UK downpipe sizes (usually 68mm or 110mm diameter). Cut the downpipe at the height that allows the flexible pipe to reach the butt inlet without sharp bends, insert the diverter fitting and connect the flexible pipe. The diverter works by having the flow intercepted and redirected into the butt until the float valve or overflow level is reached, at which point flow returns down the downpipe. Test the fitting the first time it rains by checking the butt is filling and the downpipe is not backing up.
For plots without an existing shed with guttering, a simple lean-to roof structure over a composting area or tool storage can be built specifically to serve as a collection surface and feed into butts at one end. Even a 4 to 5 square metre corrugated roof panel mounted at a slight angle collects useful volumes in a normal UK wet season. Some plot holders use the cover of a cold frame or polytunnel as a secondary collection point with a small gutter along one side draining into a dedicated butt. Every additional square metre of collection surface reduces dependence on the standpipe during dry spells.
Gravity-fed drip irrigation
A gravity-fed drip irrigation system requires no electricity, no pump and no ongoing attention once installed. It delivers water directly to the root zone with minimal surface evaporation – the most water-efficient irrigation method available on an allotment.
Run the main supply line from the butt tap
Use 13mm diameter polyethylene tubing – the standard size for garden drip irrigation. This carries water from the butt at low gravity pressure to distribution points at each bed. Keep the line on level ground or sloping gently downhill – gravity pressure cannot push water uphill over more than a few centimetres.
Branch off with 4mm micro-tubing to individual plants
Connect 4mm micro-tubing from the main line to each plant using T-piece or inline connectors punched into the 13mm line with a punch tool. Each 4mm line ends at a drip emitter – a small plastic fitting that restricts flow to a slow drip of typically one to four litres per hour. Position emitters at the base of each plant. For row crops, run a micro-drip line along the length of the row.
Add a tap timer for fully automated irrigation
A battery-powered tap timer fitted between the butt tap and the supply line runs the system automatically on a set schedule. Most tap timers work adequately at gravity pressure from a raised butt. Set to water early morning on scheduled days and the entire plot can be kept moist without any manual effort on non-visit days – essential for plot holders who can only visit once or twice a week.
Soaker hose as an alternative for whole beds
Porous soaker hose laid along the base of a bed or through a row of vegetables seeps water slowly along its entire length. It works at gravity pressure and can be left running for longer periods than spray irrigation without waste. Particularly effective under a mulch layer where surface evaporation is minimal.
Watering by hand – technique and efficiency
Water deeply and infrequently rather than lightly and frequently. Shallow watering – a light sprinkle that wets only the top centimetre or two of soil – encourages roots to stay near the surface, producing plants that wilt quickly the moment watering stops. Deep watering that penetrates 10 to 15 centimetres encourages roots to follow the moisture downward, creating plants that can access moisture long after the surface has dried. A 10-litre watering can applied slowly to the base of a tomato plant is far more effective than the same water scattered broadly over the surface.
As a practical guide to volumes: established tomatoes and courgettes need 3 to 5 litres each in hot conditions. Brassica transplants need 1 to 2 litres each when first planted and after that a thorough soaking every two to three days. Beans and peas at flowering need 3 to 4 litres per metre of row. These are rough guides – the soil should feel moist to 10 centimetres depth after watering, which is a more reliable indicator than a fixed volume. If you push a finger into the soil immediately after watering and it is dry below 5 centimetres, you have not applied enough water to be effective.
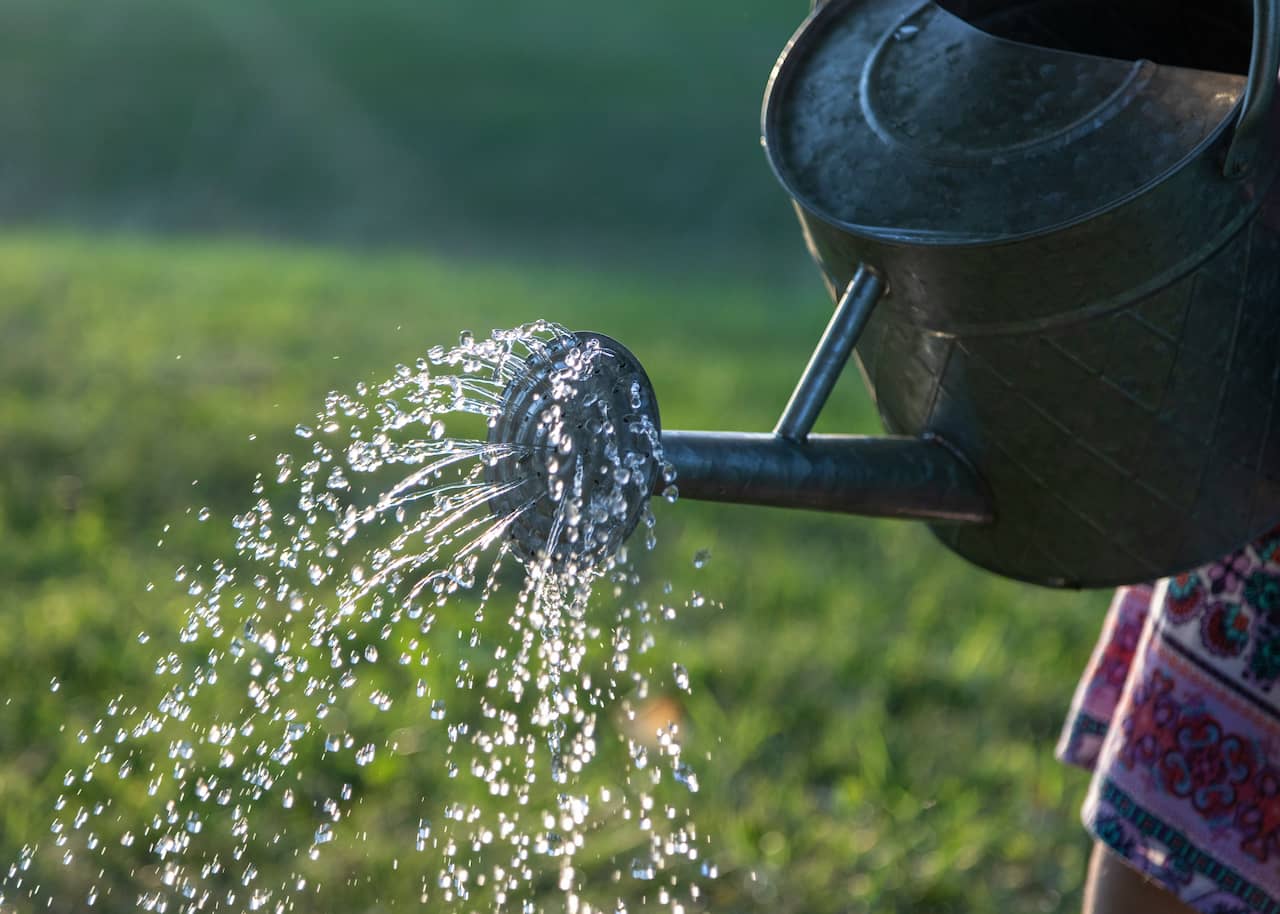
Time of day significantly affects efficiency. Watering between roughly 10am and 4pm in summer loses a significant proportion of the water to evaporation before it reaches the root zone. Evening watering after 5pm or early morning before 9am is far more efficient. Early morning is slightly preferable because the soil surface dries during the day, reducing the warm damp surface conditions that fungal disease prefers. Evening watering is fine for soil applications but should be avoided for overhead application to foliage – leaves that stay wet through the night are vulnerable to disease. Water at the base of plants wherever possible. Overhead watering wets foliage, which the plant cannot absorb, and keeps leaves wet unnecessarily. Remove the rose from the watering can and water directly at the base of each plant for established crops.
Which crops need water most
Not all allotment crops have the same water requirements. Understanding the differences allows limited water to be prioritised where it makes the most difference.
The highest water demand comes from fruiting crops that drop flowers or produce misshapen fruit if water is inconsistent during flowering and fruit development. Tomatoes in particular need consistent moisture to prevent blossom end rot – a physiological disorder caused by calcium deficiency from irregular water uptake that makes the base of fruits turn black and rot. This condition cannot be cured once it appears – consistent watering prevents it. Courgettes and squashes drop immature fruit when stressed and slow production dramatically in dry conditions. Cucumbers produce bitter fruit if water is inconsistent during development.
Beans and peas need consistent moisture specifically during flowering and pod filling but are otherwise relatively drought-tolerant. Runner beans are particularly vulnerable at flowering – a two-week dry spell at this point can halve the crop. Before flowering and after pods have set, a single deep watering per week is usually sufficient. Root vegetables need less frequent but deeper watering – shallow frequent watering encourages forking in carrots and parsnips because roots branch towards near-surface moisture rather than growing straight down. Water deeply every five to seven days and allow the surface to dry between applications.
Mulching, seasonal management and winter care
Mulching is the single most effective way to reduce water consumption. A 5 to 8 centimetre layer of well-rotted compost, wood chip or straw laid around plants immediately after watering or rainfall dramatically reduces surface evaporation. In hot summer conditions an unmulched soil surface can lose 5 to 8 millimetres of water per day to evaporation. A properly applied mulch reduces this to negligible levels. The practical effect: a mulched bed in a dry July needs watering roughly half as often as an unmulched one. Apply mulch to all beds in late spring before dry weather arrives and top up as it breaks down.
Materials available for free or at low cost on most allotments include well-rotted compost from the plot’s own bins, grass clippings from paths or neighbouring unmown areas, cardboard laid flat under other materials to add an extra moisture-retaining layer, spent growing media from last season’s container plants, and autumn leaves composted over winter into leaf mould. Proprietary wood chip and bark can be purchased in bulk bags for larger plots and last a full season before needing topping up. Each material has slight differences: compost is the most nutritious as it breaks down but needs the thickest application; wood chip lasts longest; straw provides the best insulation but can harbour slug habitat if applied too densely around low-growing crops. Fresh grass clippings should be applied in thin layers, not thick mats – they compact and form an impermeable barrier when wet. Mix with straw or allow each layer to dry before adding more. Keep mulch clear of plant stems to avoid collar rot, particularly on brassicas and tomatoes.
Bottle wicks are free and highly effective for individual thirsty plants. For tomatoes, courgettes and squashes, bury a 2-litre plastic bottle inverted beside the plant with the cap removed and a small hole in the base. Fill with water – it wicks slowly into the root zone over several days. Eliminates wilting between plot visits without any bought equipment.
Share on socials: