At a glance
Scarifying is the process of removing the layer of dead organic material – known as thatch – that accumulates between the grass blades and the soil surface. A thin layer of thatch is not a problem; in fact, a millimetre or two of organic material helps retain moisture and protects the soil. But when thatch exceeds around 1cm in depth it begins to prevent water, air and nutrients from reaching the grass roots, creates ideal conditions for moss and disease, and causes the lawn to look spongy, yellowed and worn despite regular mowing and feeding. Scarifying breaks up and removes this layer, allowing the grass to breathe and respond properly to watering and feeding again.
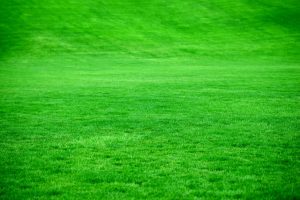
The lawn looks dramatically worse immediately after scarifying – the process pulls out large quantities of material and leaves the surface looking thin and rough. This is expected and normal. Within three to four weeks of a well-timed autumn scarify, combined with overseeding and feeding, the lawn recovers strongly and is substantially thicker and healthier than before. The temporary setback is the price of a significant long-term improvement, and once understood it removes the anxiety that puts many gardeners off scarifying when their lawn would genuinely benefit from it.
What scarifying does and why it matters
Thatch builds up naturally over time as grass produces more dead material than soil organisms can break down. The rate of accumulation depends on grass type, soil conditions, how often the lawn is fed and watered, and whether clippings are collected or left. Lawns that receive heavy nitrogen feeding and frequent watering produce thatch fastest. Compacted soils with low biological activity are slow to break it down. The result, over three to five years of normal garden lawn management, is typically enough thatch to begin causing the problems that scarifying addresses.
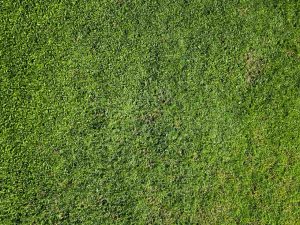
The key signs that a lawn needs scarifying are a spongy or bouncy feel underfoot, a matt of brown or beige material visible at the base of the grass blades when you part the turf, moss that keeps returning despite treatment, water pooling on the surface rather than soaking in, and a lawn that looks tired and yellowed despite adequate feeding. If the lawn has a significant moss problem, treat the moss with a mosskiller four to six weeks before scarifying – scarifying live moss spreads it rather than removing it. Dead, blackened moss can then be raked out during the scarifying process.
When and how often to scarify
Hand scarifier vs machine – which to use
For small lawns up to around 50 square metres, a hand lawn rake or spring-tine rake is a perfectly adequate scarifying tool. It is physical work, but it gives complete control over depth and direction, does not require electricity or fuel, and is the gentlest option for an older or thinner lawn. The technique is to drag the rake firmly across the surface in one direction, then repeat at 90 degrees, pulling out as much material as possible in two passes.
For larger lawns, a powered scarifier – electric, battery or petrol – makes the job manageable in a reasonable time. Most powered scarifiers have adjustable blade depth settings, typically from -8mm to +4mm relative to the soil surface. For a first-time scarify on a lawn with significant thatch, set the blades to just graze the soil surface (0mm) for the first pass, then do a second pass at -5mm if needed. Going too deep on the first pass risks tearing out healthy grass roots along with the thatch and setting recovery back significantly. Powered scarifiers can be hired from tool hire companies for around £40-60 per day if you do not want to buy one for occasional use.
How to scarify – step by step
Treat moss four to six weeks beforehand
If the lawn has a significant moss problem, apply a mosskiller containing ferrous sulphate in late August or early September and wait for the moss to die and blacken before scarifying. Scarifying live green moss spreads it via the raked-out fragments. Dead moss is far easier to remove cleanly and does not re-establish.
Mow the lawn short before scarifying
Cut the lawn to around 25-30mm – slightly shorter than normal maintenance height – the day before scarifying. This gives the scarifier blades direct access to the thatch layer without long grass clogging the machine or obscuring the surface. Do not mow on the day of scarifying as the lawn should be dry.
Scarify when the lawn is dry but soil is moist
The ideal conditions are dry grass blades (scarifying wet grass clogs the machine and tears rather than cuts the turf) but soil that is moist rather than bone dry – this protects the grass roots from excessive stress. Autumn morning dew should be allowed to dry before starting. Avoid scarifying after prolonged rain when the soil is saturated.
Make passes in two directions
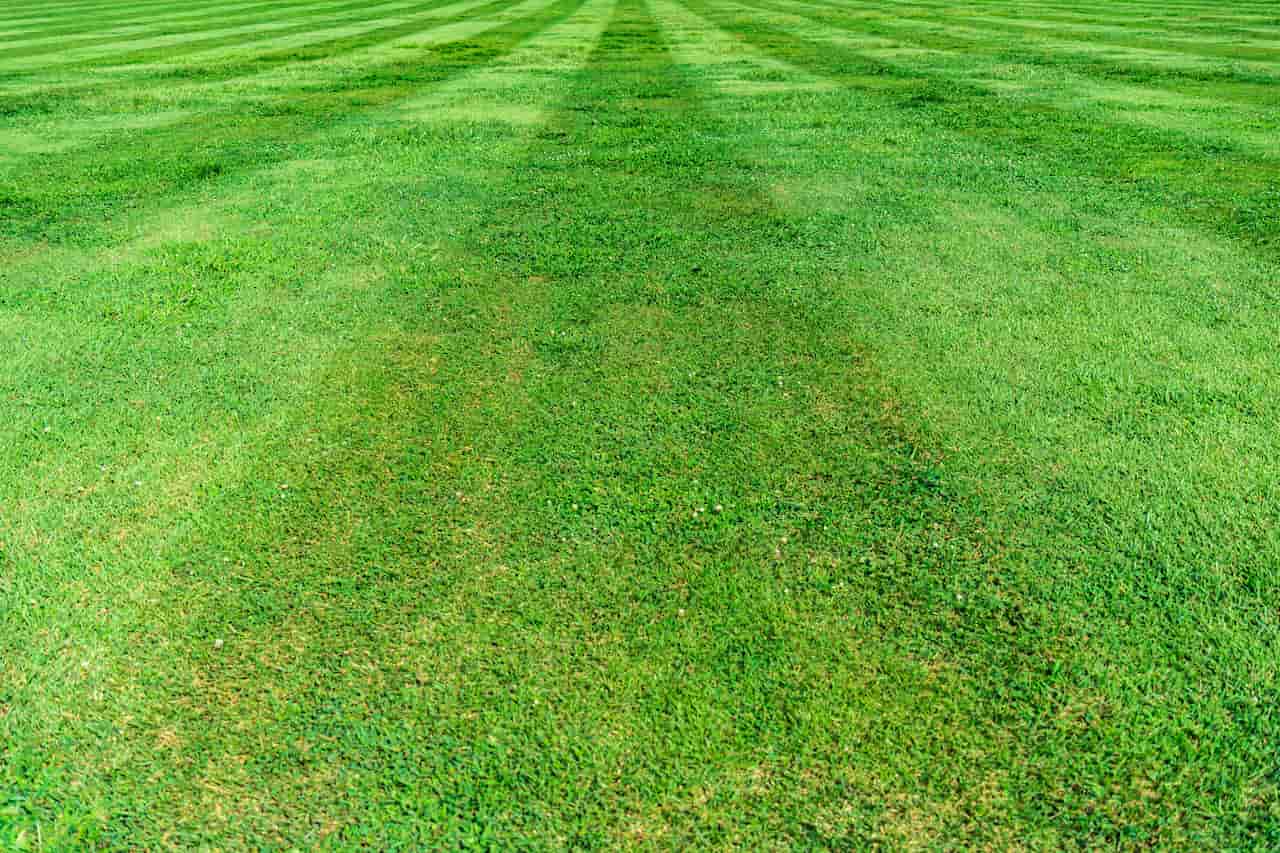
Work across the lawn in parallel strips in one direction, overlapping slightly with each pass. Then repeat at 90 degrees to the first direction. Two-direction scarifying removes significantly more thatch than a single-direction pass and produces a more thorough result. The lawn will look alarmingly thin after this – this is normal and expected.
Collect and remove all debris
Rake up all the pulled-out thatch, moss and dead material thoroughly and remove it from the lawn. Leaving debris on the surface prevents light and air reaching the grass below and can harbour disease. The volume of material collected from a well-thatched lawn is often surprising – several wheelbarrow loads from an average-sized garden. Compost the material if it is predominantly grass and dead thatch with minimal moss.
Avoid scarifying newly laid or recently seeded lawns. A lawn seeded or turfed within the last 12 months does not have an established root system strong enough to withstand scarifying. The process pulls out young grass plants along with the thatch and can seriously set back a new lawn. Wait until the lawn has had at least one full growing season before its first scarify.
What to do after scarifying
Scarifying is most effective when followed immediately by a sequence of complementary treatments that capitalise on the opened-up surface. The order matters – each step builds on the previous one and together they give the lawn the best possible recovery conditions before winter.
The first follow-up is aeration – spiking the lawn with a hollow-tine aerator or garden fork to relieve compaction and improve drainage. Do this immediately after scarifying while the surface is already disturbed and before any seeding. Follow aeration with top dressing – brushing a thin layer of sandy loam or purpose-made lawn top dressing into the aeration holes and across the surface. Then overseed any bare or thin patches with a suitable grass seed mix matched to the existing lawn type, raking the seed lightly into the surface. Finally, apply an autumn lawn fertiliser – a low-nitrogen, high-potassium formulation that strengthens roots rather than forcing leafy top growth before winter.
Keep off the lawn for two to three weeks after scarifying. The grass is stressed and the surface is disturbed immediately after scarifying – foot traffic at this stage compacts the loosened soil and damages recovering grass plants. If overseeding has been done, keeping the surface undisturbed while the seed germinates is important for an even result. Light watering in dry spells is beneficial but walking on the lawn should be avoided until the grass has visibly thickened and the surface feels firm again.
Common problems and solutions
Share on socials: