At a glance
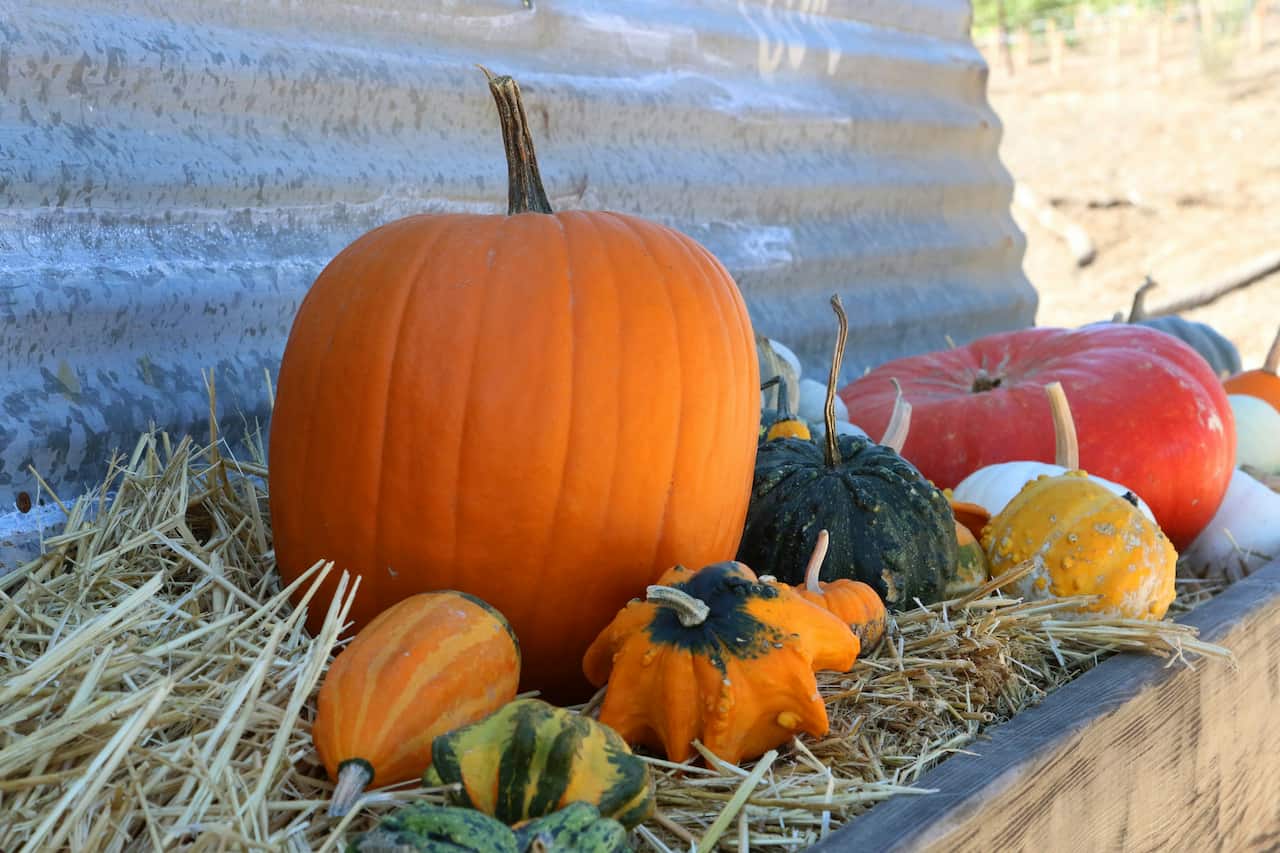
Gourds are one of the more rewarding crops to grow in a UK garden. They need warmth and a decent run of summer weather, but give them what they need and they will produce an extraordinary variety of shapes, colours and sizes that no other plant matches. The ornamental types make brilliant autumn decorations. The bottle gourds, once dried over winter, become crafting material that lasts for years. Even the novelty varieties are worth growing at least once just to watch what emerges.
The key to growing gourds successfully in the UK is starting them early under cover and getting them into their final position as soon as conditions allow. Everything else follows from that.
What gourds are
Gourds are members of the Cucurbitaceae family, closely related to courgettes, pumpkins and cucumbers. The term covers a broad range of plants grown primarily for their decorative or functional hard-shelled fruits rather than for eating, though some gourds are edible when harvested young. In UK gardens, gourds are grown as annual climbers or trailers, planted after the last frost and harvested in autumn before the first hard freeze. Their appeal is in the extraordinary variety of fruit shapes, sizes and colours they produce, from small warty ornamentals to large bottle-shaped specimens used for crafts and decoration.
The main types grown in UK gardens are ornamental gourds, which produce small decorative fruits in a range of shapes and colours; bottle gourds (Lagenaria siceraria), which produce large pale-green fruits on vigorous vines and are grown for drying and craft use; luffa gourds, which produce the fibrous interior used as a natural sponge; and snake gourds (Trichosanthes cucumerina), which produce extraordinarily long twisted fruits as a novelty crop.
When to sow
Gourds require a long growing season and the UK climate means starting seeds indoors is essential, not optional. Sow from mid-April to early May in individual 9cm pots on a warm windowsill or in a heated propagator. The ideal germination temperature is around 20 to 24 degrees Celsius. Below 15 degrees seeds will rot rather than germinate. Sow two seeds per pot and remove the weaker seedling once both have germinated. Sow seeds on their side or edge rather than flat, as this reduces the risk of rotting at the seed coat. Germination takes seven to twenty-one days at the correct temperature.
Hardening off and planting out
Gourds are frost-tender and must not go outside until all risk of frost has passed, which in most parts of the UK means late May to early June. Before planting out, harden off seedlings over seven to ten days by placing them outside in a sheltered spot during the day and bringing them back in at night, gradually increasing their exposure to outdoor conditions.
Plant out after hardening off into a warm, sheltered, sunny position. Gourds perform best against a south-facing wall or fence where the structure provides support and reflects additional warmth. Space plants at least 90cm apart, or more for vigorous bottle gourd varieties. Dig in a generous amount of well-rotted compost or manure before planting. Plant at the same depth as the root ball and water in well.
Soil and position
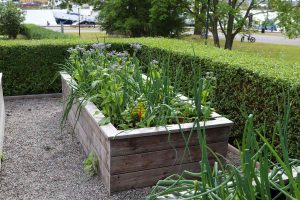
Gourds need full sun and shelter from strong winds. A position that receives at least six to eight hours of direct sunlight per day produces the best crop. They tolerate a range of soil types provided drainage is good and organic matter is plentiful. Waterlogged soil causes root rot and encourages damping off in young plants. If your soil is heavy clay, improve drainage by incorporating grit and compost before planting, or grow in raised beds. The soil pH should ideally be between 6.0 and 7.0. A position in a warm microclimate such as against a sunny wall, in a walled garden or in a polytunnel significantly improves results in the UK, particularly in northern regions where summers are shorter and cooler.
Support and training
Most gourd varieties are vigorous climbers and need substantial support. A trellis, fence or archway is ideal for ornamental and bottle gourds. Provide horizontal wires or netting for the tendrils to grip. Gourds can also be allowed to trail along the ground if space permits, though fruits in contact with soil are more prone to rotting and slug damage.
For climbing varieties, once the main stem reaches the top of the support, pinch out the growing tip to encourage lateral branching and more fruit production. Side shoots can be trained along horizontal wires or tied in. Remove any shoots that are not carrying flowers or fruits to concentrate the plant’s energy. Large fruits developing on climbing vines may need supporting individually with netting or old tights to prevent them snapping the stem under their own weight.
Watering
Gourds need consistent moisture throughout the growing season. Water deeply and regularly, particularly during fruit swelling. Allow the surface of the soil to dry slightly between waterings but never allow the plant to wilt from drought stress. Inconsistent watering causes problems including poor fruit development, blossom end rot and splitting. Water at the base of the plant rather than overhead to keep foliage dry and reduce the risk of fungal diseases. During hot dry spells, gourds may need watering daily. Mulching around the base of the plant after the soil has warmed in early summer helps retain moisture and suppress weeds throughout the season.
Feeding
Gourds are heavy feeders. Before planting, work plenty of well-rotted compost or manure into the soil. Once plants are established and beginning to flower, feed every two weeks with a high-potassium liquid feed such as a tomato fertiliser. The switch to high potassium encourages flowering and fruit development over leafy growth. In the early stages before flowering begins, a balanced fertiliser encourages strong vegetative growth. Do not over-feed with nitrogen-rich fertilisers once the plants are established, as this produces abundant foliage at the expense of fruit. If plants are growing vigorously but producing few flowers, reduce feeding and check that the potassium content is sufficient.
Pollination
Gourds produce separate male and female flowers on the same plant. Male flowers appear first and are borne on straight thin stems. Female flowers follow two to three weeks later and are identifiable by the small immature fruit at the base of the flower, behind the petals. Pollination is carried out by bees and other insects but in cool wet summers, hand pollination significantly improves fruit set.
To hand pollinate, wait until both a male and female flower are open at the same time, ideally on a dry morning. Using a soft paintbrush or a cotton bud, transfer pollen from the centre of the male flower to the centre of the female flower. Alternatively, pick a fully open male flower, fold back the petals, and press it gently against the centre of the open female flower. One male flower can pollinate several female flowers. If female flowers are falling without setting fruit, insufficient pollination is almost always the cause.
Harvesting
Knowing when each type of gourd is ready is key to getting the best results. Harvesting too early leaves fruit that will not cure properly. Leaving them too long risks frost damage. The right indicators are different for each type of gourd.
Curing and storing
Ornamental gourds and bottle gourds destined for decoration or craft use must be cured before they can be stored long term. Curing drives out the remaining moisture from the flesh, hardens the outer skin and prevents rotting. Wipe freshly harvested fruits with a cloth soaked in dilute household disinfectant to kill surface moulds. Place them in a single layer in a warm, dry, well-ventilated space such as a greenhouse, porch or airy shed.
Leave gourds to cure for two to six months, checking them periodically and discarding any that develop soft spots or rot. The curing process is complete when the gourd feels very light and you can hear the seeds rattling inside when shaken. A well-cured gourd will last for years. Gourds that feel heavy after four to five months still contain moisture and are likely to rot before curing is complete.
Pests, diseases and problems
Gourds share the pest and disease pressures of other cucurbits. The most common issues and their fixes are listed below, ranked by how likely they are to cause significant damage.
Remove diseased plants immediately. Cucumber mosaic virus has no treatment and spreads via aphids. Any plant showing mottled, distorted growth that does not improve should be removed from the plot entirely and disposed of in the bin, not the compost heap.
Varieties to grow
The right variety depends on what you want from the crop. Ornamental types are the easiest starting point. Bottle and luffa gourds need more warmth and a longer season. All are worth trying at least once.
Toxicity
Most ornamental gourds are not grown for eating and the question of toxicity rarely arises in practice. Some cucurbits, including certain gourd varieties, can contain high levels of cucurbitacins, bitter compounds that cause severe gastrointestinal distress if eaten. Cultivated ornamental gourds are not intended for consumption and should not be eaten. If a gourd tastes extremely bitter when sampled, do not eat it and discard the fruit. Bottle gourds can be eaten when harvested young and pale green, before the skin hardens, but they must not be bitter. A bitter taste indicates high cucurbitacin levels and the fruit should be discarded. The foliage and sap of gourd plants can cause skin irritation in sensitive individuals, so wearing gloves when handling the plants in large quantities is sensible.
Start a succession of ornamental gourds every two weeks from mid-April. Because ornamental gourds vary enormously in how long each fruit takes to mature, staggered sowings extend the harvest season significantly and increase the range of sizes and colours you get from a single growing year. A later sowing that catches up in warm summer weather often produces just as well as the first.
Share on socials: