At a glance
Chives are among the easiest and most rewarding herbs to grow in a UK garden. Once established from seed or a purchased clump, a chive plant is essentially permanent – it returns reliably each spring, tolerates a wide range of conditions from full sun to partial shade, performs well in the ground or in containers, and can be harvested repeatedly throughout the growing season. The slender hollow leaves bring a mild onion flavour to salads, soups, eggs and potato dishes; the purple or white pompom flowers are edible and decorative; and the plant itself is attractive enough to sit in an ornamental border as well as a dedicated herb bed. A single pot of chives on a kitchen windowsill, brought indoors in autumn, provides fresh herb throughout the months when the garden is dormant.
Chives belong to the Allium genus – the same family as onions, garlic and leeks – and share the family’s characteristic sulphur compounds. This makes them useful not only in the kitchen but as companion plants in the vegetable garden, where their scent deters certain pests. A clump of chives at the edge of a vegetable bed is genuinely practical in multiple ways simultaneously: it provides a continuous harvest, deters carrot fly and other pests, and produces attractive flowers that draw in pollinators through June and July.
Varieties – common and garlic chives
The two main types of chives grown in UK gardens are common chives (Allium schoenoprasum) and garlic chives (Allium tuberosum), and they are quite different plants in character despite both being called chives.
Common chives (Allium schoenoprasum) are the familiar herb with slender, hollow, tubular leaves reaching 20-30cm in height and soft purple-pink pompom flowers in June and July. They have a mild onion flavour that suits raw and cooked use – sprinkled over scrambled eggs, stirred into cream cheese, scattered over new potatoes or mixed into salad dressings. The flowers are edible and have a slightly stronger flavour than the leaves. Common chives die back to ground level in winter in most UK gardens but regrow reliably from the bulblets below soil each spring.
Within common chives there is some variety available. ‘Forecaste’ is a widely grown selection with particularly upright, thick leaves and good flavour. ‘Staro’ is a Dutch selection with strong, uniform growth. For most gardeners the species rather than a named variety is what’s available and entirely adequate.
Garlic chives (Allium tuberosum) are quite different. The leaves are flat rather than hollow and have a mild garlic rather than onion flavour – particularly useful in Asian cooking, where they feature in stir-fries, dumplings and noodle dishes. They flower later in the season, from July through to September, producing clusters of small white starry flowers rather than pompom heads. The flowers are also edible and have a more pronounced garlic flavour than the leaves. Garlic chives are evergreen or semi-evergreen in mild UK winters, which makes them useful for a winter kitchen harvest when common chives have died back. The flavour is more persistent and complex than common chives and the leaves are generally less tender when mature, so they benefit from more frequent cutting to keep the growth young and mild. Garlic chives self-seed prolifically if the flowers are allowed to set seed – deadheading after flowering prevents the plant from spreading to unwanted areas. Both types can be grown using the same basic techniques, though garlic chives prefer a slightly better-drained soil and a sunnier position.
Sowing, planting and establishing
Chives can be started from seed or from a purchased or divided clump. Seed is cheaper but slower – expect about two to three months from sowing to first harvest. A purchased pot plant or a clump divided from a friend’s garden gives an immediate usable harvest and is the quickest route to an established plant.
Sowing from seed: sow indoors from February to April in modules or small pots filled with seed compost. Chive seeds are small black teardrops – sow several per module at a depth of about 1cm and thin to three or four seedlings per module after germination, which takes 10-21 days at 15-20°C. Do not thin to a single seedling – chives establish better as small clumps from the start and the multiple-seedling approach more closely replicates the natural growth habit. Harden off for 10-14 days before transplanting outdoors once frost risk has passed, from mid-April onward. Direct outdoor sowing is possible from April to June in a prepared seedbed, but produces slower results and the thin emerging seedlings are easily lost among weed seedlings – indoor sowing with subsequent transplanting produces a much more reliable outcome for most gardeners.
Chives grow in any reasonably fertile, well-drained soil in full sun or partial shade. They are one of the few herbs that genuinely tolerate partial shade – a north-facing or east-facing aspect that would fail many herbs will still produce a reasonable chive crop, though leaf growth is more vigorous and flavour slightly stronger in a sunnier position. They are unfussy about soil pH and will grow in most average UK garden soils without amendment.
In containers, chives perform excellently. Use a peat-free multi-purpose compost and choose a pot at least 20cm in diameter to allow the clump room to develop. A pot on a kitchen windowsill or near the back door provides the most convenient harvesting access. In containers the compost dries faster than in-ground soil, so more frequent watering is needed in dry conditions. A liquid feed every two to three weeks through the growing season maintains vigour in pot-grown plants where nutrients are depleted more quickly.
Plant spacing for border planting is 20-30cm between clumps. Chives spread slowly by producing offsets and the clump expands over several years from the original planting. A well-established chive clump in its third or fourth season is considerably larger and more productive than a newly planted one, so spacing that seems generous initially fills in naturally over time.
Growing, care and harvesting
Chives need very little care once established. Water during prolonged dry periods, particularly for pot-grown plants and newly planted clumps. Established in-ground chives are reasonably drought-tolerant once their root system is developed, though dry conditions reduce leaf production. No regular feeding is needed for ground-planted chives in reasonably fertile soil; pot-grown chives benefit from a liquid feed every two to three weeks through the growing season to replace nutrients depleted from the container.
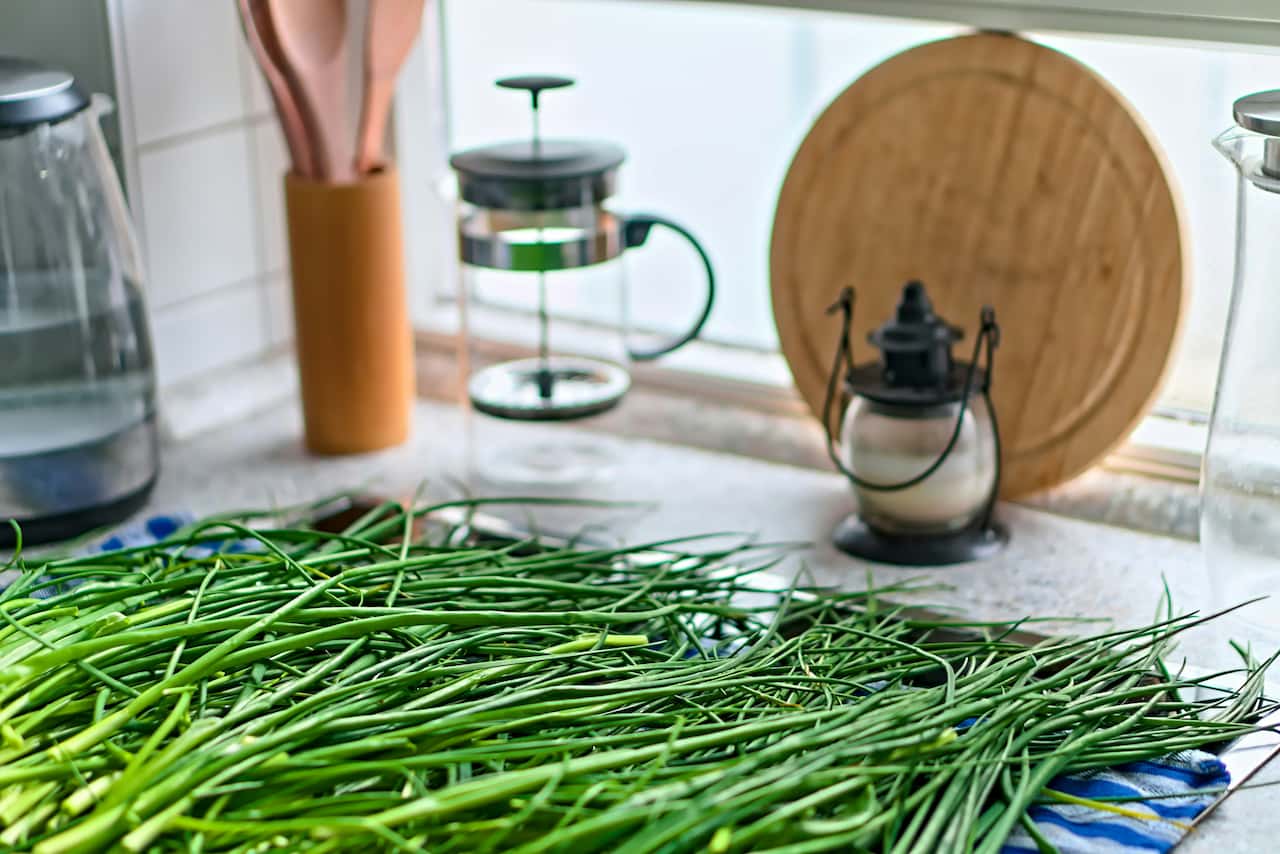
Harvesting is straightforward: cut leaves with scissors or a sharp knife to within 3-5cm of the base, taking the whole clump down rather than picking individual leaves from the top. This encourages a flush of fresh new growth from the base rather than producing a congested mass of leaves at different stages. The regrowth is typically ready to harvest again within three to four weeks in the growing season. Regular cutting actually improves the vigour of the plant – a clump that is harvested every few weeks through summer produces better quality leaves than one left untouched.
The August hard cut is one of the most useful techniques for maintaining high-quality chives. After the plant has flowered in June and July, the remaining foliage becomes tough, fibrous and less flavoursome as energy goes into seed production. Cutting the whole clump to within a few centimetres of the soil surface in late July or August triggers a flush of fresh, tender new growth that is ready to harvest within two to three weeks. This autumn regrowth is particularly well-flavoured – mild, tender and more useful in the kitchen than the summer foliage that preceded it.
The flowers of common chives are fully edible and have a pleasant mild onion flavour. They can be pulled apart into individual florets and scattered over salads, stirred into cream cheese or used as a garnish. The flavour is slightly stronger than the leaves. Letting some flowers develop and open is also valuable for pollinating insects – a flowering chive clump in June and July is a reliable source of nectar for bumblebees and hoverflies.
Dividing and propagating
Division is the primary method for propagating chives and for maintaining the vigour of established clumps. A chive clump that has been growing for three or more years without division becomes congested – the centre dies out, the outer edges spread and the overall harvest from the clump declines. Dividing restores vigour immediately and multiplies the stock for spreading to new positions. It also gives you free plants to pass on to other gardeners or to establish in new areas of the garden.
Divide in spring or autumn, when the plant is not actively growing hard. Lift the clump with a fork, shake off excess soil and pull the clump apart by hand into sections of roughly equal size – each section should have several bulblets attached and a reasonable amount of roots. Replant immediately at the original spacing or spread to new positions. Water in and the divisions will establish and begin producing harvestable leaves within a few weeks. Old chive clumps with a dead centre can be divided into a ring of vigorous outer sections and the dead central material discarded. The best divisions for replanting are the vigorous outer sections from a clump that has clearly been growing well – these establish faster and produce a better first-season harvest than thin, weak inner sections.
Self-seeding provides a free source of new plants if the flowers are allowed to set seed. Chive seeds germinate readily in most soils and the seedlings are easy to identify by their characteristic scent when brushed. Garlic chives in particular self-seed prolifically – if self-seeding is not wanted in a specific area, deadhead promptly after flowering before the seed heads dry and open.
Chives can also be potted up in autumn for indoor growing through winter. Lift a clump, pot into multi-purpose compost, cut back to 5cm and bring indoors to a bright windowsill. The plant will produce fresh growth through winter in a warm kitchen, providing harvests through the months when outdoor chives are dormant. After several weeks indoors the plant can be returned to the garden when the weather improves in spring.
Companion planting and garden uses
Chives have a well-established reputation as companion plants in the vegetable garden. The sulphur compounds that give them their flavour deter a number of pests when grown nearby. Chives planted alongside or between rows of carrots are said to deter carrot fly – the scent of the chives confuses the fly’s ability to locate carrot foliage by smell. The evidence for this is largely anecdotal rather than rigorously scientific, but it is widely practised and the cost of planting a row of chives between carrot rows is trivial. Growing them near tomatoes is similarly advocated for deterring aphids.
Chives are also used as companion plants near roses and apple trees, where they are believed to deter blackspot and scab respectively. The evidence base is mixed, but they cause no harm to either crop and the kitchen utility justifies growing them in the vicinity regardless. In the vegetable plot, chives function as useful edging plants at the front of beds – they define the border, deter pests from adjacent rows, and provide a continuous harvest without taking up significant space or shading neighbouring plants.
In the ornamental border, chives earn their place on visual merit alone. The purple-pink pompom flowers in June and July are genuinely attractive – not as dramatic as ornamental alliums, but neat and reliable, and they come with the bonus of a culinary harvest throughout the season. The tubular leaves have a clean, upright form that suits the front of a border or path edging. Growing chives in a mixed herb-and-flower border where appearance matters is entirely appropriate – they are decorative enough for ornamental use and the dual-purpose value makes them particularly good use of border space.
Chives also make an effective edging plant along paths and at the front of raised beds. The clumps spread slowly and neatly over several years and the purple flowers provide colour at the same time as roses and alliums are in bloom, creating a harmonious sequence of purple tones through June. In small gardens where every plant must earn multiple purposes, chives are exemplary – attractive, genuinely useful in the kitchen, low-maintenance and reliably perennial once established. Few plants of any kind offer the combination of ornamental value, culinary harvest and pest deterrence that chives provide from a single clump in a corner of a raised bed or herb garden.
Common problems
Chives have very few serious problems. They are resistant to most of the pests that trouble other members of the Allium family – white rot rarely affects them compared to onions and garlic, and they are rarely troubled by onion fly. Their most common issues are cultural rather than pathological.
Downy mildew and leaf streak viruses occasionally affect chives but rarely severely. More common is simply the plant yellowing and dying back in winter, which is entirely normal for common chives and should not be treated as a problem. The plant is dormant underground and will regrow reliably in spring. Garlic chives remain semi-evergreen and may keep some green growth through mild winters. A chive plant that fails to regrow in spring after an apparently normal autumn die-back has usually been lost to waterlogging – check that the planting site drains adequately and, if replanting, choose a position that does not collect water or improve drainage before replanting.
Chives growing in containers are more susceptible to vine weevil, whose larvae eat the roots and bulblets from below, causing the plant to wilt and collapse despite apparently adequate watering. The larvae are white C-shaped grubs found in the compost when the container is emptied. Biological control using Steinernema nematodes applied in spring or early autumn is effective for container-grown plants and is the recommended approach where vine weevil is a known problem in the garden. Replacing the compost annually when dividing and repotting pot-grown chives also reduces vine weevil pressure by removing larvae before populations build to damaging levels. Regular inspection of containers in autumn – when turning out the compost during division and replanting – is the simplest and most reliable early detection measure available to gardeners growing herbs in pots.
Share on socials: