At a glance
Laying turf is the most satisfying single-day garden project available. You start with bare soil and finish with a green lawn, with the transformation complete in hours rather than the weeks or months grass seed requires. It costs more than seeding but the result is immediate and the establishment period, while requiring careful watering, is far less fraught than nursing grass seed through germination. For most UK homeowners creating or replacing a lawn, turf is the right choice.
The preparation is everything. Turf laid on poorly prepared ground will fail regardless of how carefully it is laid. Bumpy ground makes an uneven lawn. Compacted ground prevents root establishment. Weedy ground allows weeds to grow through within weeks. The actual laying takes a few hours – the preparation deserves at least a full day, often more.
Best time to lay turf in the UK
Turf can technically be laid at any time of year in the UK, but autumn and spring give the best establishment results. Summer turf laying requires intensive daily watering and risks serious damage in dry spells. Midwinter laying on frozen or waterlogged ground is impractical. The ideal windows are September to October and March to April – when soil is moist, temperatures are moderate and the grass roots have the best conditions for rapid establishment.
Order turf for next-day delivery and lay it within 24 hours of arrival. Turf is a living product that deteriorates quickly, especially in warm weather. Rolls left stacked for more than 24 to 48 hours generate heat at the centre and the grass yellows and dies from the inside. Order for delivery the morning of your laying day.
Ground preparation
Good preparation is the difference between a lawn that establishes quickly and one that fails within the first season. This is the stage to invest time in – it cannot be corrected once turf is laid and any shortcuts taken here will be visible in the finished lawn for years.
Clear the area completely
Remove all existing vegetation – old grass, weeds and any plant debris. For weedy ground, apply a glyphosate weedkiller and wait two weeks before cultivating. This is the only opportunity to eliminate perennial weeds before they grow through the turf. Bindweed and couch grass left in the ground will come back through new turf within weeks.
Dig or rotovate to 15 to 20cm depth
Break up compacted soil thoroughly. Remove all stones larger than a thumbnail and any buried debris. Add a layer of topsoil if the existing soil is very poor – at least 10 to 15cm of good topsoil is needed for a healthy lawn root system. Poor subsoil alone will not sustain turf long-term.
Rake to a fine, level tilth and firm gently
Rake the surface to remove lumps and fill low spots. Walk systematically across the area with shuffling steps to firm gently – not compact. Rake again to a final fine, level surface. Check with a long straightedge laid across the area in both directions and fill any low spots before proceeding.
Apply pre-turfing fertiliser
Rake in a pre-turfing or pre-seeding fertiliser at the manufacturer’s recommended rate. This provides the phosphorus needed for root establishment in the critical first weeks. See our guide to the best lawn feeds for UK gardens for the differences between fertiliser types and when each applies.
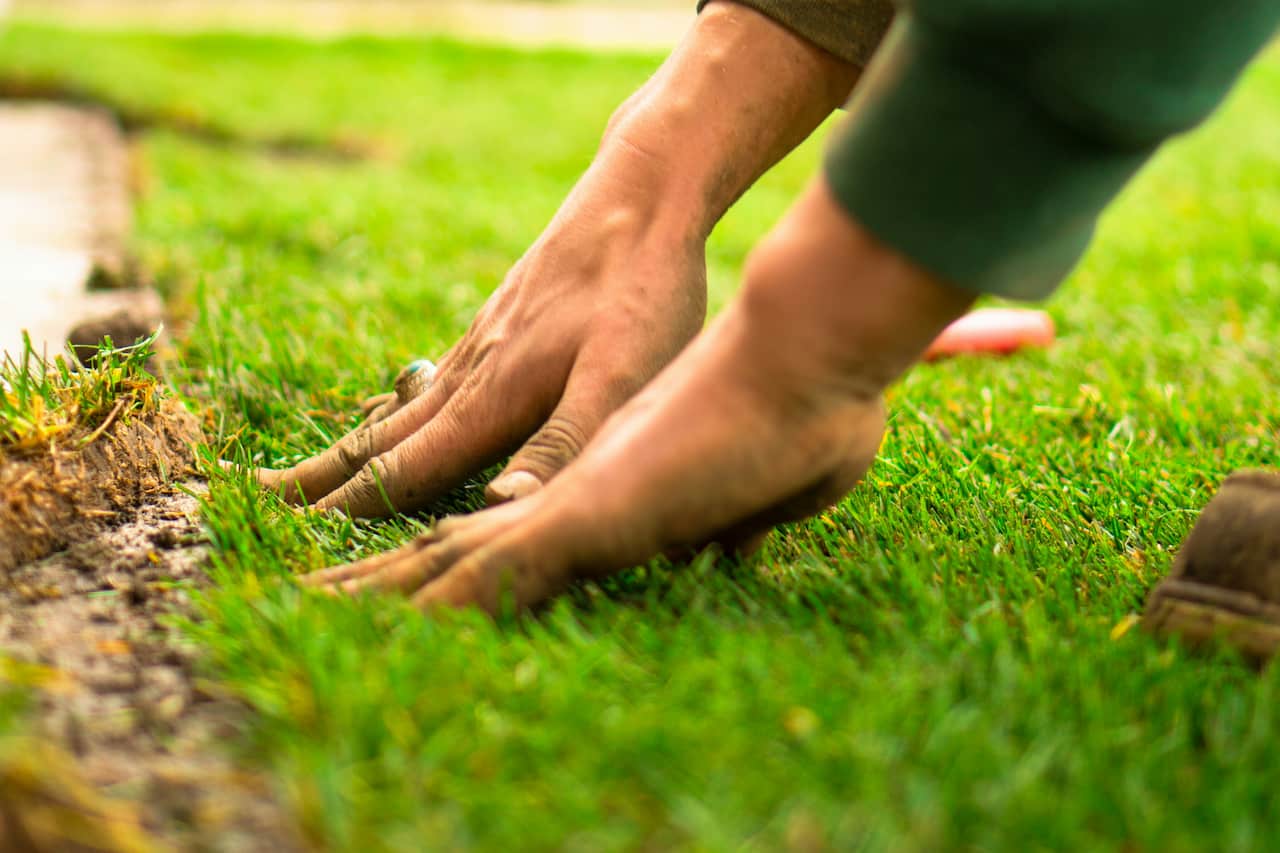
Laying the turf
The laying sequence and technique determine whether the finished lawn looks seamless or shows visible joints and uneven edges. The principles are straightforward but they all matter – skip any of them and the result will show it.
Watering and establishment
Water the turf thoroughly immediately after laying – this is the most critical step and cannot be delayed even by a few hours in warm weather. The rolls should be visibly saturated and the soil beneath moist to at least 5cm depth. In dry conditions, water daily for the first two weeks and every other day for the following two weeks. Lift a corner of a roll after five days to check root establishment – white roots growing down into the soil beneath are the sign that establishment is progressing well.
Never allow newly laid turf to dry out completely in the first four weeks. Turf that dries out before roots have established into the soil below will die and cannot be revived by subsequent watering. In the UK’s increasingly dry spring weather this is a genuine risk from April to June. Daily watering is non-negotiable during establishment – if you cannot commit to this, lay in autumn when natural rainfall takes over much of the requirement.
First cut and aftercare
The turf is ready for its first cut when you can tug a corner of a roll and feel clear resistance – the roots have established into the soil beneath. This typically takes four to six weeks in spring and three to four weeks in autumn. Set the mower at its highest cutting height for the first two to three cuts, gradually lowering to the desired height over subsequent sessions. Never remove more than a third of the leaf blade in a single cut – this is one of the most common mistakes made when mowing newly laid turf and it stresses the grass significantly at a vulnerable stage.
Once established, the lawn benefits from the same annual maintenance regime as any mature turf lawn. Aerating the lawn each autumn relieves compaction and dramatically improves drainage – particularly important in the first year when the rootzone is still developing. Following aeration with top dressing levels any minor surface irregularities and feeds the root zone with organic matter. Both tasks together take a Saturday morning and make a visible difference to turf health and colour through the following growing season.
Common problems and fixes
A well-laid turf lawn establishes quickly and gives years of satisfaction with the right ongoing care. Take time over the preparation, water consistently through establishment and raise the mower height for the first season. If you are weighing up turf versus seed, our guide on growing a lawn from seed in the UK covers the full comparison of cost, timing and results.
Share on socials: