At a glance
Weed membrane is one of the most misused products in the UK garden. Sold as a long-term solution to weed problems, it often delivers the opposite – a few years of partial suppression followed by a soil that has become harder to manage than before the membrane went down. The reason is almost always the same: the wrong type of membrane chosen for the job, or the right membrane laid incorrectly. Done well, weed membrane under gravel or paving is genuinely effective for ten years or more. Done poorly, it fails within three and leaves a garden full of weeds rooted into a degraded plastic layer that is very difficult to remove.
Understanding the difference between membrane types, and matching each to the correct application, is the starting point for any weed membrane decision. The key distinction is between woven permeable membranes – which allow water and air through while blocking light – and non-permeable sheet materials, which block everything. Both have legitimate uses but in very different situations, and using one where the other is needed is the most common cause of membrane failure.
Types of weed membrane and what each does
Woven polypropylene membrane is the most widely used and most versatile type. The woven structure allows water and air to pass through while blocking the light that weed seeds need to germinate. It is robust enough to hold its structure under gravel, stone chippings and bark mulch, and when properly installed under a suitable top dressing it can remain effective for a decade or more. Weight and density vary significantly between products – cheap lightweight versions sold at discount retailers degrade within a few seasons and allow weed roots to penetrate the weave, while heavier commercial-grade woven membranes are considerably more durable and worth the additional cost.
Spunbond non-woven membrane is softer, more flexible and typically less dense than woven alternatives. It tears more easily, degrades faster under UV exposure and is more prone to weed roots penetrating the material. It is useful in situations where flexibility matters – wrapping root balls, lining planters, temporary frost protection – but it is a poor choice under gravel or bark where a heavier woven membrane will always outperform it. It is frequently sold as “landscaping fabric” in rolls at garden centres and is often the type that gives weed membrane its poor reputation.
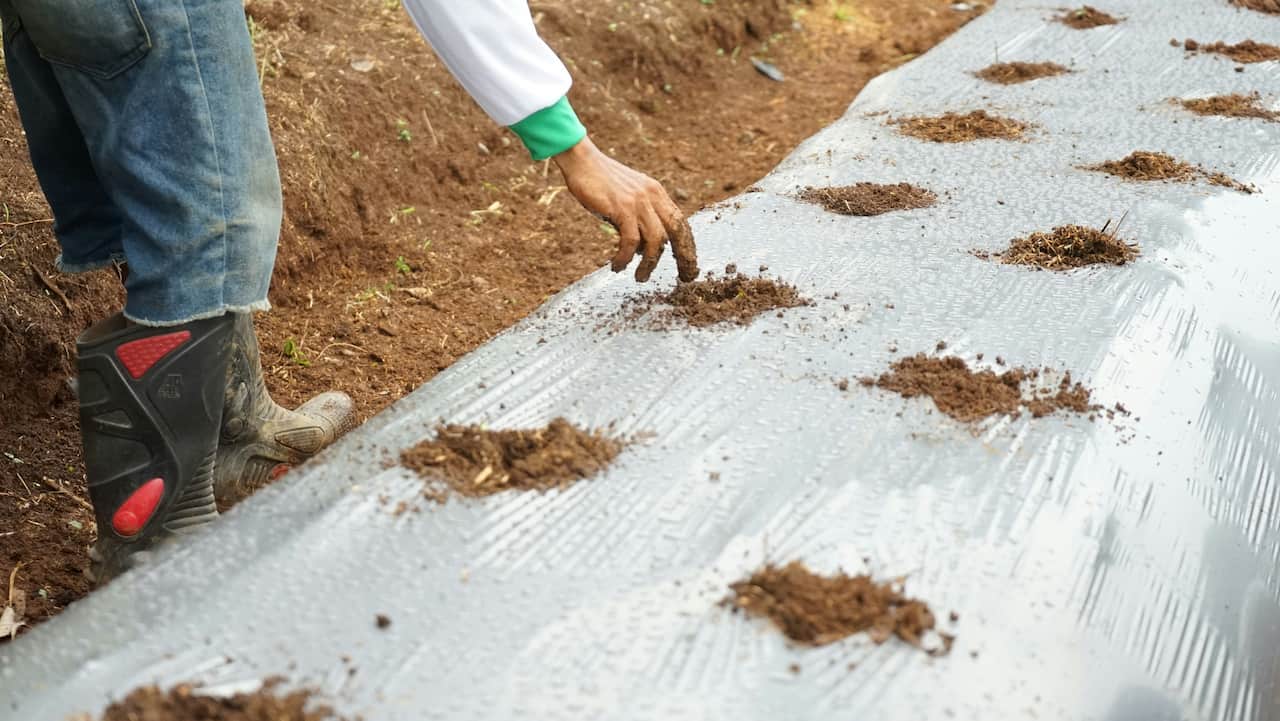
Black polythene sheeting is sometimes used as an impromptu weed suppressant under bark or gravel. It degrades rapidly under UV exposure, does not allow water through to soil or plant roots, and fragments into small pieces of plastic that are very difficult to remove. It is not a suitable long-term weed control material in any garden situation. Its only appropriate garden use is as a temporary covering over a bare area to exhaust perennial weed growth before planting – laid on the surface for a season, then removed and disposed of before any planting takes place.
Choosing the right membrane for the job
The application determines the specification. For a gravel driveway or path that will see foot traffic and vehicle movement, the membrane needs to be heavy enough to resist tearing when the surface material moves, dense enough to prevent weed roots from penetrating the weave over time, and UV-stabilised to resist degradation from light exposure at the edges. A minimum weight of 100gsm woven polypropylene is appropriate for this use – commercial-grade membranes rated at 130gsm or above are better for high-traffic areas and will last significantly longer.
Do not use weed membrane in vegetable beds. Any permeable membrane significantly disrupts soil biology, worm activity and the drainage structure that healthy growing soil depends on. Over time it degrades and fragments into the soil. The productive life of a vegetable bed is significantly shortened by membrane use. Deep mulching with straw, wood chip or cardboard achieves effective weed suppression without the long-term soil damage.
How to lay weed membrane correctly
The most important step in laying weed membrane is preparing the ground thoroughly before the membrane goes down. Every perennial weed root must be removed from the soil surface – bindweed, couch grass, dock and ground elder roots that remain in the soil when the membrane is laid will simply grow back up through or around the membrane within a season. There is no point laying membrane over a ground elder problem, for instance – the root system needs to be dealt with first. Membrane will slow regrowth but will not eliminate established perennial weeds with deep root systems.
Use landscape staples rather than the push-in plastic pegs often included with cheaper membranes. The plastic pegs degrade quickly outdoors and fail to hold the membrane firmly, particularly in clay soil. Galvanised steel landscape staples (U-shaped pins, typically 15-20cm long) grip the soil firmly, do not corrode and will outlast the membrane itself. They are available in bulk packs and represent a small additional cost that significantly improves the installation.
Why weed membrane fails and how to avoid it
The most common failure mode is organic matter accumulating on top of the membrane. Leaves, soil particles and plant debris build up over time on the membrane surface and in the top layer of gravel or bark. This organic layer creates exactly the conditions weed seeds need to germinate – moisture, nutrients and a foothold. The weeds that appear several years into a membrane installation are not growing through it from below but germinating in the debris layer on top of it. The solution is to rake and refresh the top dressing every few years and remove debris before it accumulates to a depth that supports weed growth.
Alternatives to weed membrane
For many garden situations, particularly planted borders and vegetable areas, alternatives to weed membrane deliver better long-term results with less disruption to the soil. Deep mulching with organic materials – bark chips, wood chip, straw or compost – suppresses weeds effectively while improving soil structure and feeding the organisms that make soil productive. A 10cm layer of bark chip on a well-prepared border will suppress annual weeds almost completely and slow perennial weed regrowth significantly, while simultaneously improving soil moisture retention and adding organic matter as it breaks down.
Cardboard sheet mulching – the basis of the no-dig gardening approach – is particularly effective for establishing new planted areas over weed-infested ground. Thick cardboard laid directly on the soil surface, overlapped by 30cm at joins and topped with 15-20cm of compost or wood chip, smothers existing vegetation and creates a planting medium that can be used in the same season. The cardboard biodegrades within a year or two, and the worm activity it generates improves soil structure significantly. Unlike weed membrane, it leaves no plastic residue in the soil and requires no removal when replanting.
Ground cover planting is the most effective long-term weed suppression strategy for established ornamental areas. Species such as hardy geraniums, epimedium, ajuga and pachysandra form dense mats that outcompete most weeds once established, require minimal maintenance and improve in coverage year on year. The initial establishment period of two to three years requires hand weeding between plants, but once the canopy closes the weed problem largely manages itself without any membrane or mulch maintenance.
Share on socials: