At a glance
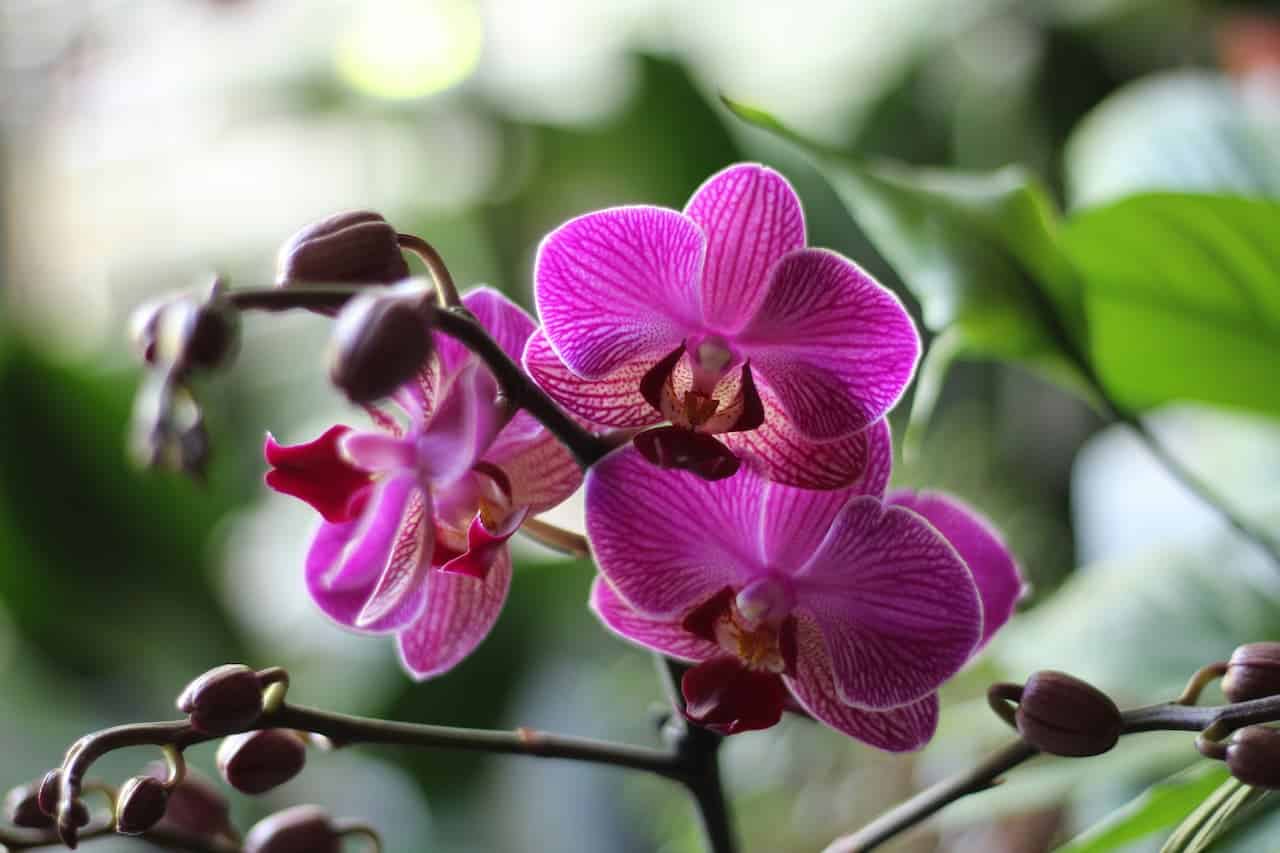
The Phalaenopsis – commonly called the moth orchid – is the orchid most people in the UK own, usually as a gift, and most commonly struggle to get to flower a second time. The failure is rarely the plant’s fault. Orchids are genuinely easy to keep alive and to rebloom once you understand a handful of principles that sit completely at odds with how most houseplants are treated. They want infrequent water, low nutrients, good indirect light and a cool spell in autumn. Most people give them the opposite of at least one of those things and wonder why the plant goes downhill.
This guide brings together the full picture – routine care, feeding, what to do when the last flower drops, how and when to repot, and how to read the signs when something is going wrong and bring the plant back. Whether you have a newly bought orchid at its first flowering, a bare-spiked plant that finished blooming months ago and has done nothing since, or a plant with yellowing leaves and suspect roots, the answer to whatever is happening is somewhere below.
Growing conditions – light, temperature and humidity
Phalaenopsis orchids are epiphytes in nature – they grow attached to tree bark in warm, humid forests, with their roots exposed to moving air rather than buried in soil. This background explains almost every care requirement they have. Their roots need to dry between waterings. They need humidity in the air rather than moisture at the root. They want bright light but never direct sun on leaves that evolved in the dappled canopy. Understanding that context makes every care decision feel logical rather than arbitrary.
Light is the most commonly misjudged factor in UK homes. An east or west-facing windowsill is ideal year-round, giving bright indirect light without the midday intensity that scorches leaves. A south-facing sill works in winter when UK sun is low and weak, but in summer the same position can cause bleaching and brown patches on the leaves. North-facing windows are usually too dim and will produce healthy foliage but no flowers. If leaves are a very dark, almost blackish green, the plant is not getting enough light. If white or yellow patches appear on the upper leaf surface, it is getting too much direct sun.
Temperature in a typical UK home is rarely a problem – Phalaenopsis are comfortable between 18 and 24°C during the day, which matches most living rooms. The minimum overnight temperature is 16°C; below this, growth stalls and flowering is disrupted. The bigger threat in UK homes is draughts rather than absolute cold. A window that is regularly left open, a position near an exterior door, or a spot on top of a television that blows warm then cool air – all of these cause the kind of erratic temperature swings that make orchids drop buds and deteriorate. Stable is more important than warm.
Humidity is the one condition a UK home often cannot naturally provide. Central heating in winter dries the air significantly, and Phalaenopsis prefer 50-70% humidity. The simplest solution is a shallow tray of pebbles filled with water placed beneath the pot – as the water evaporates it raises local humidity without the roots ever sitting in water. Grouping the orchid with other houseplants achieves a similar effect on a small scale. Misting the leaves occasionally in summer is fine, but water must not sit in the crown of the plant – the junction between leaves and stem – or it will rot.
Watering and feeding
Reading the roots is the correct way to know when to water a Phalaenopsis, and it takes the guesswork out of one of the most commonly misjudged aspects of orchid care. Most Phalaenopsis are sold in semi-transparent plastic nursery pots, which makes this easy. When the roots are bright green or silver-green, the plant has adequate moisture and does not need water. When the roots turn a dull silver-grey or greyish-white, the plant is ready for water. This approach self-adjusts for seasons and conditions without any thought required – it is more reliable than any fixed schedule.
When watering, take the inner plastic pot to the sink and water thoroughly until it runs freely from every drainage hole, then allow it to drain completely for several minutes before returning it to any outer decorative pot. Never leave standing water in the outer pot – this is one of the most reliable ways to cause root rot, and it can happen within days. In a typical UK home, this root-reading method usually results in watering every 7-14 days in summer and less often in winter. On hot, dry days the interval shortens. In a cool, low-light winter position it can extend to three weeks or more. Follow the roots, not the calendar.
Feeding is simpler than most orchid guides suggest. Use a specialist orchid fertiliser diluted to quarter strength, and apply it every second watering during the growing season – roughly March through September. Do not feed in autumn or winter. Once a month during the feeding season, water with plain water only to flush accumulated fertiliser salts from the bark before they reach levels that damage the roots. The four-in-one rule is also common and works well: feed three consecutive waterings, then flush with plain water on the fourth, then repeat. Both approaches protect the roots from salt build-up, which is the main risk of regular feeding. Never feed at full or half strength – orchids come from low-nutrient bark environments and are genuinely sensitive to fertiliser excess.
Use room-temperature water. Cold water from the tap can shock Phalaenopsis roots and cause spotting on leaves. Let the water sit for an hour or fill the watering can the evening before. Rainwater is ideal – it is soft and free from the chlorine and fluoride that UK tap water contains, both of which can build up in bark over time.
What to do after flowering
The end of flowering is where most people make their first mistake with an orchid. The flowers drop over the course of a week or two, leaving a bare green or brown spike. This moment looks like the plant is dying, but it is not – it is simply transitioning from its flowering phase into a period of recovery and root and leaf growth that will eventually lead to the next spike. What you do with the spent spike affects how quickly and how strongly that next flowering occurs.
There are three legitimate options for the spent spike, and they have meaningfully different outcomes. Cutting to the base is the most reliable approach for producing a strong new spike the following season, because it directs all the plant’s energy into producing new growth rather than maintaining an ageing stem. Cutting to a node – the small bump or joint on the spike, usually the second from the base – can occasionally produce a secondary keiki spike with a smaller flower set, but this secondary spike is reliably smaller and shorter-lived than a spike produced from a fresh base-cut stem, and it delays the plant’s recovery cycle. Leaving the spike entirely is only worth considering if the spike is still green and healthy – brown or shrivelling spikes should always be removed promptly as dead material on the plant is a potential entry point for disease.
After the spike is dealt with, the plant needs the same care regime as before – watering when roots go grey, feeding lightly through the growing season – while it builds the energy for the next bloom. The most reliable way to trigger a new flower spike on a Phalaenopsis that has recovered and is growing well is to move it somewhere cooler in September or October. A night temperature of 15-17°C for four to six weeks – a cool bedroom, an unheated hallway, or a position near a window that gets genuinely cool on autumn nights – mimics the temperature drop that triggers flowering in the plant’s native environment. After this cool period, move it back to normal room temperature and a new spike should appear within six to twelve weeks. Without this cool period, a healthy well-fed orchid can simply sit and grow leaves for years without ever producing a new spike.
How to repot an orchid
Phalaenopsis should be repotted every one to two years – not because they outgrow their pots quickly, but because the bark-based compost they live in breaks down over time. As bark ages it compresses, retains more moisture than it should and stops providing the airy, fast-draining environment that orchid roots need. A plant sitting in old, dense, soggy bark is likely to develop root rot even if the watering regime is perfect. The visual sign that repotting is needed is bark that looks dark and compacted rather than chunky and open, or roots that are spilling over the rim of the pot in large numbers with no space for the new growth.
The best time to repot is spring or early summer, when new growth is visible and the plant has the most energy to recover. Never repot a plant that is in active bud or bloom – the disturbance almost always causes bud drop. Never overpot into a significantly larger container, as excess bark holds moisture for too long around sparse roots and causes rot. If the roots fit comfortably in the old pot after trimming, reuse it. If it genuinely needs more space, go up by one pot size only.
When removing the plant from its pot, work the roots free gently. If they have attached firmly to the pot wall, soak the pot in water for a few minutes first to loosen the grip without tearing. Remove all of the old bark from between the roots, rinsing under a gentle tap if needed. Healthy roots are firm and plump – silvery-white when dry, bright green when wet. Dead roots are brown and mushy, or hollow and papery. Cut off all dead roots with clean, sharp scissors or secateurs – leaving dead root material in the pot creates an environment for rot and fungal problems. Shorten any remaining healthy roots that are excessively long, but only if they genuinely do not fit – orchids do not benefit from heavy root pruning of healthy material. Once repotted in fresh bark, water lightly and allow the plant to settle for a week before resuming the normal watering routine.
Never use ordinary potting compost for an orchid. Standard peat or multipurpose compost holds water for far too long around orchid roots, which are designed for the fast drainage of bark. The result is root rot within weeks. Use only a purpose-made orchid bark mix. Fine bark grades suit smaller Phalaenopsis; medium grade for established plants.
Common problems and what they mean
Most orchid problems announce themselves clearly through changes to leaves or roots, and most have straightforward causes once the pattern is recognised. The single most important diagnostic habit is to look at the roots first – they tell the story of what has been happening to the plant before the leaves do, because the leaves are the last part of the plant to show stress. A plant with healthy green or silver-grey roots that is showing one or two yellow lower leaves is almost certainly fine. A plant with brown mushy roots and yellow upper leaves is in serious trouble regardless of how the rest of the plant looks.
How to revive a struggling orchid
A Phalaenopsis that looks dead is very often not dead at all. It is in one of two states: genuinely dormant and resting after flowering, with healthy roots and firm green leaves despite bare spikes and no visible activity; or in actual distress, with compromised roots, yellowing or wrinkled leaves and declining overall condition. The distinction matters because the two states need completely different responses – and misreading dormancy as distress leads to well-intentioned overwatering that turns a resting plant into a genuinely dying one.
The dormancy check is simple: look at the roots. Dormant plant with healthy roots – silver-grey, plump, firm when pressed – needs nothing except patience and the cool autumn period to trigger a new spike. Distressed plant with compromised roots – brown and mushy from overwatering, or dry and shrivelled from neglect – needs active intervention. The two main causes of distress in UK orchids are overwatering leading to root rot, and underwatering leading to dehydration. Both look concerning from the outside but have different root symptoms that tell them apart before the leaves give any information.
Recovery from root rot or dehydration takes months, not weeks. A plant that has had its root system compromised will grow slowly while it rebuilds. New root tips – bright green tips emerging from silver roots – are the first reliable sign that recovery is underway. New leaf growth follows much later. The temptation during this period is to increase watering or feeding to hurry the process, but both make things worse. A recovering plant needs exactly the same care regime as a healthy one, just applied patiently. Stable conditions, correct light, water only when roots grey, no feeding until the plant shows clear signs of active growth returning.
Share on socials: